Me 163B radio controlled model
Bob Chubb from Stowe, Pennsylvania sent me this report on his 82 inch wing span (1/4.5 scale) Me 163 model. It is based on drawings by Jim Kiehl (Largo, Florida, (727) 595-0954), who sells them for $50. Joe Saitta (Seminal, Florida, (727) 398-4417) sells packages of pre-cut kits containing light plywood formers, spars, balsa ribs, and the cockpit components based on these drawings. Together with the clear canopy, the fiberglass cowl (nose cone) and most of the other flat balsa stock, the kit sells for $180. A deluxe version became recently available: it includes a fiberglass fuselage, and costs $290. According to Bob it will cut building time a lot, and reduce the weight considerably. For scratch builders the fiberglass cowl (nose cone) and the vacuum formed canopy are available for $55.00. Lastly, plans and a kit for a 100" wing span version with removable wings are also available.
| ||
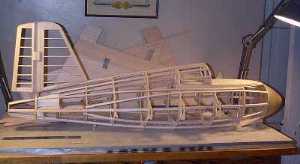
| The bare structure of the fuselage, showing the pre-cut formers and stringers, and the fiberglass cowl. The light plywood fuselage formers are 1/8" thick. Hard balsa stringers (3/8" x 3/8") are located at 12, 3, 6 and 9 o'clock and are notched into the formers. The remaining stringers are 1/4" x 1/4" light balsa. | ||
| ||
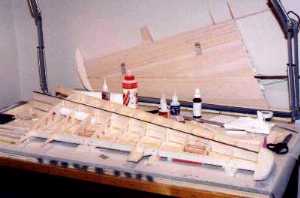
| The wings are built up as follows. The spars are 3" high x 1/4" thick x 42" long (approximately) light balsa, reinforced with .03" thick x 1/4" wide unidirectional carbon fiber strips laminated on the top and bottom of the spar. The ribs are 3/32" thick light balsa, 11 per side, spaced approximately 3 1/2". Light balsa wood blocks are used on the wing tips, and have to be added to the tail root and the leading edge of the wing roots. The leading edge is 3/8" thick soft balsa (tapered), and the trailing edge is 1/4" thick soft balsa. 1/16" thick soft balsa sheeting covers the wing. | ||
| ||
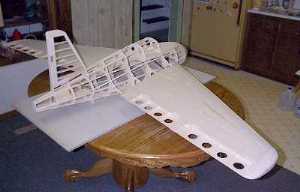
| Rear right view, showing the control surfaces. Bob will employ all four as elevons; on the real aircraft the inboard ones are trimming surfaces and the outboard ones serve as elevons. | ||
| ||
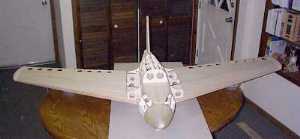
| Front view, showing of the very realistic planform. The airframe as currently pictured weighs approximately 5 pounds. The total weight is expected to be around 13 pounds flight ready with an empty tank. | ||
| ||
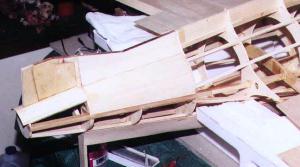
| The frame and stringer fuselage is then covered with strips of thin balsa (1/16" soft balsa), attached with cyano-acrylate glue. Being composed of many narrow strips, it is a bit rough though. The vertical tail is treated similarly. Shown in this picture however is the removable servo/receiver hatch. | ||
| ||
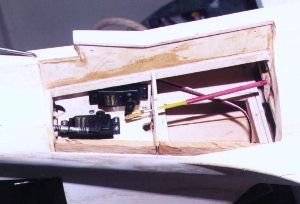
| This picture shows the servos are installed beneath the removable hatch. Bob used a pair of standard Futaba S148 servos here. One controls the throttle and the other controls the rudder/tail wheel assembly. | ||
| ||
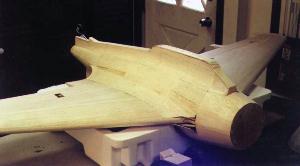
| The skid will be fixed in the down position and will not be retractable. Bob feels it would look very nice with a retractable landing skid but he fears that it wouldn't be strong enough (being of balsa construction). The skid contact surface in the plans is 1/8" thick x 3/8" wide lite plywood with a double layer of fiberglass and epoxy resin, but Bob has increased the width to 1 1/2" and capped it with two layers of 1/16" light ply. | ||
| ||
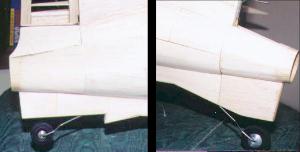
| Bob learned that an R/C Komet needs a different ground attitude than a real one, in order to get enough lift for take-off. To achieve the required nose-up attitude, the original tail wheel housing seen right was modified to the shape seen on the left. | ||
| ||
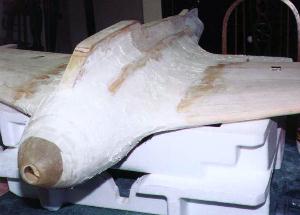
| The next step is covering the balsa skin with a thin coat of 'micro', a mixture of epoxy resin and glass microballoons. This works like putty, is light-weight and sands easily. | ||
| ||
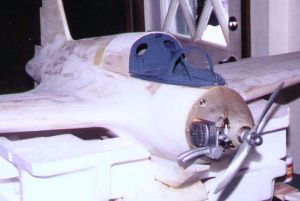
| Here the sanding has been completed, and the engine and engine cowl have been installed for test fitting. | ||
| ||
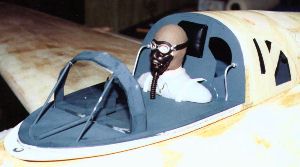
| The cockpit and canopy under construction. The fuel tank will be housed right under the cockpit, so the detailing stops at the pilot's shoulder level. Note the window frame with bulletproof glass just in front of the pilot. The pilot has been also given an oxygen mask. | ||
| ||
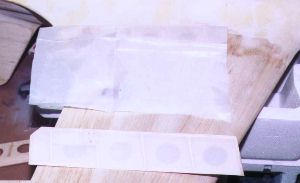
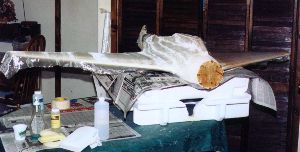
| The elevons are then covered heat shrinkable polyester fabric. The lower elevon has been completed and the upper one only has the fabric trimmed to the rough size. | ||
| ||
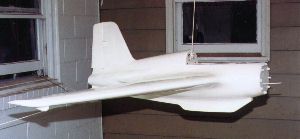
| After completion of the sanding, the whole model is covered with fiberglass (1/2 ounce per square yard) and epoxy resin. The lower right wing has been glassed and it waiting to be trimmed and lightly sanded. The lower left side of the model is covered with one continuous dry piece of glass fiber cloth. The fabric hanging down on the lower right wing's leading edge shows how transparent glass fiber becomes when impregnated with epoxy. After covering the whole model in glass fiber, it is given one last light sanding. | ||
| ||
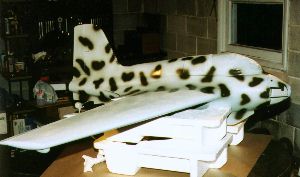
| The sanded model is then painted with several coats of pale yellow epoxy primer. The entire model was completely wet sanded between every primer coat to fill in all of the small imperfections. | ||
| ||
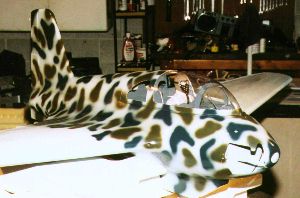
| Bob modeled his Komet after pictures of 'White 14', a Komet with a completely mottled fuselage. The model was first given an overall coat of specially mixed water reduceble polyurethane RLM 76. Bob then started with the most difficult part of the painting process, the mottles. RLM 70 and 71 were used, since these appeared to be the most likely choices back in 1944. | ||
| ||
| Fuselage mottling in two colors completed. Note that the scanner turns the colors a bit more blue than they are in reality. | ||
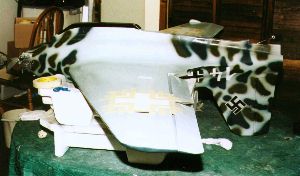
| ||
| Markings were applied with custom-made masks. Note the code '14' and the swastika already applied to the fuselage and tail, and the iron cross mask applied to the lower wing surface. | ||
| ||
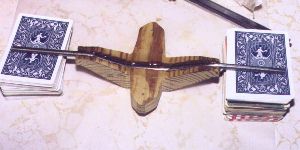
| The last part to be built was the take-off dolly. Bob started with a 1/4" spring steel axle that was bent to shape. It was fitted in a wooden part that had a slot milled into it. It was then sanded smooth. | ||
| ||
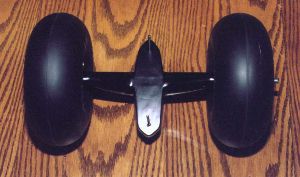
| The finished dolly with wheels fitted. The limited selection of RC tires resulted in too wide tires being fitted, but they will likely provide better springing during take-off and its own crash landing after being ejected! The wheel covers are custom made by a friend of Bob's, with 8 lug nuts. | ||
| ||
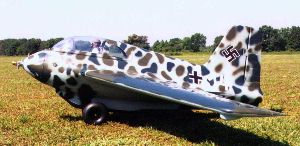
| Finished! Great side view of the model. Bob reports that the finished flight ready model weighs 12 pounds. | ||
| ||
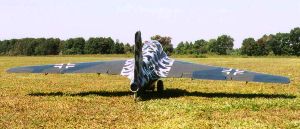
| Rear view, showing the wing's upper camouflage and the all white iron crosses. | ||
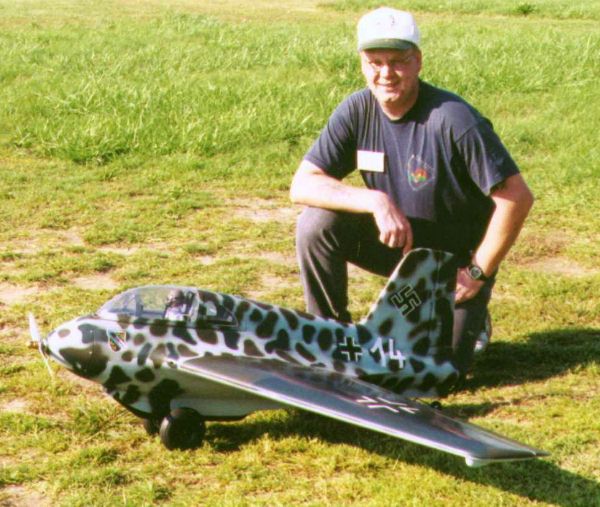
A picture of the proud builder with his model. Bob finished his model too late to fly it in 1999. He will wait until spring of 2000 to take his model to the air.
| ||
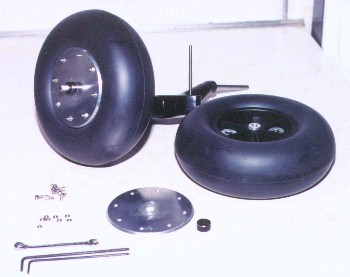
| Bob wasn't satisfied with the undersize wheels on his dolly. Sometime later he finally found tires much closer to the correct scale. Brian Yakscoe, a friend of Bob's, machined the scale wheel covers. | ||
| ||
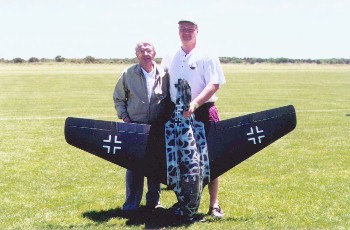
| At the Warbirds Over Long Island on June 3, 2000 Bob met Rudolf Opitz, the famous Komet test pilot. The day before the event his Komet was flown for the first time to ensure that there were no problems with it at the event. | ||
| ||
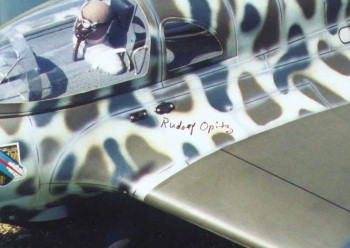
| Mr Opitz was kind enough to put his autograph on the wing root of Bob's Komet. Note also that Bob added painted panel lines to his model. | ||
| ||
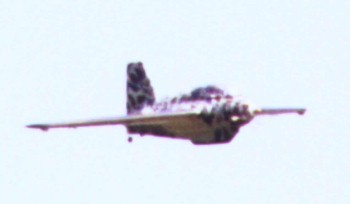
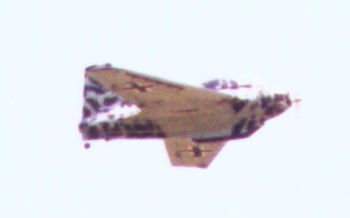
| Some 'in-action' photos! Bob reports the model flies incredibly well, with only elevon control required for outstanding handling, and the rudder is only needed for take off. It seems that all Komet flyers agree on the excellent handling qualities, just like the pilots of the 1:1 scale version 55 years ago. | ||
| ||
| Another fly-by, showing the very realistic finish of the model. | ||
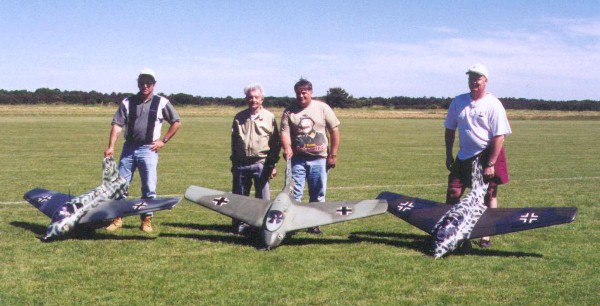
Concluding this report, a great photo of three RC Komets and their builders (left to right: Kevin Shaw, Sal Calvegna and Bob Chubb), joined by Komet pilot Rudolf Opitz. What more could a modeler want?
Bob also created a web page about his model, and his model was featured in Model Airplane News, both in the December 2000 issue ('Scale Techniques' section) and January 2001 issue ('Pilot Projects' section).
Later Bob added underwing flaps/speedbrakes, just like the real one had, to reduce the landing speed of his model. At a Warbirds event the model was being filmed for a featured spot in a video covering the entire event. The announcement of three full scale warbirds made a very quick landing necessary. Bob came in too hot, the Komet did not flare quick enough, and a hard landing resulted. The model was still intact, but some cracks and in the upper wing roots appeared. Bob decided to retire his Komet, also since it was autographed by Rudi Opitz. Bob has acquired a fiberglass Me 163 fuselage by Joe Saitta for a new model, and he plans to convert it into a Japanese J8M1 Shusui.