Esci 1/72 F-100D Super Sabre
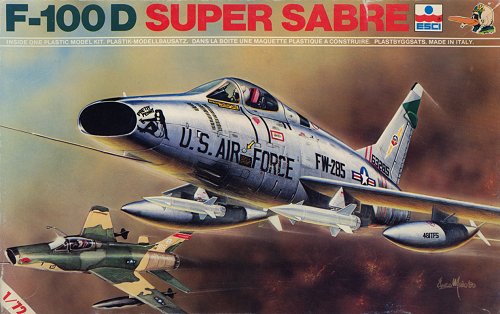
| I often build aircraft that I've seen for real, but this is a sad exception. I just missed some Danish F-100's visiting RAF Wildenrath, and they were taken out of service a few weeks later. That did not stop me from buying Esci's excellent F-100 however, back in 1986. And still not finished! As far as I remember, the buy was largely inspired by François Verlinden's 'On plastic Wings' which contained a very nice built example of this kit. Another factor was a ModelDecal sheet that had decals for Danish Sabre G-222, and some photos of the incredible weathering of Danish Super Sabres. The weathered paint seemed like a serious painting challenge.
|
Model quality
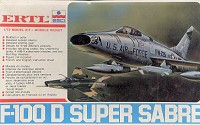
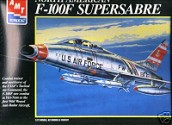
The Esci kit was issued around 1983 I think, and it outclassed the Hasegawa model completely. Esci outsourced the design and production of all moulds, and reportedly this one was done by a company called Suntak from Japan. The kit has very few problems that I am aware of. I can only think of minor details like the dragchute cable recess tabs on the right fuselage half (on the real thing they are only present on the left side). Being a kit from the eighties, don't expect a highly detailed cockpit though: it has decals for the instruments, and a basic seat. The model was issued as a two-seat F-100F in the USA in the late eighties by AMT. And then Ertl closed the Esci business, and the molds were reportedly left to deteriorate outdoors in the USA. Shown below are some of the different boxes in which this model was sold. My kit has catalog number 9022.

| 
| 
| 
|
| Esci 9024
| Esci 9042
| Ertl-Esci 8557
| AMT-Ertl 8892
|
Italeri, Revell and Tamiya reissues
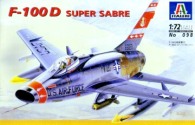
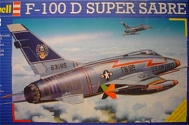
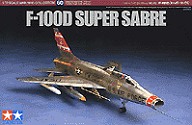
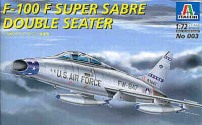
Luckily, Italeri reissued the Esci model in 1998. The Italeri kit is 99% identical, but not an exact copy. The story behind this resurrection is still not known, but Italeri repeated it with other old Esci models. Most likely the kit's masters survived, and a new mould was cut. The Italeri version has one mistake though: it has an extra canopy bow that should be removed. The cockpit detailing was improved with raised details on the side consoles and instrument panel, but nothing too much like the real thing. The ejection seat has more parts. The Italeri model doesn't have the Bullpup missiles of the Esci issue, instead it has two nice M117 bombs and two LAU-10 rocket pods. The kit has the shorter (275 gallon) version of the large drop tanks whereas Esci had the longer ones (335 gallon, used from the mid-sixties on). The Italeri tanks are also slightly fatter, 9.5 mm diameter instead of 8.9 mm, or a 14% larger cross-section area (which is what you see). Another small difference is the external ribbing of the rudder. Esci molded both sides of ribbed part on the left fuselage half, Italeri splits it between the two halves. The landing gear detail and the tail skid were improved; the main gear tires are larger in diameter, who is right here is not yet established. Decals options are for natural metal USAF aircraft (353TFS/354TFW, 1958, with red bands with little white arrows on intake and fin), a silver or natural metal Danish AF aircraft (1961 with large roundels) and a Vietnam scheme French AF aircraft (EC4/11). Revell reboxed the Italeri kit around 2000 (what decals?), and later by Tamiya (Thunderbirds and ??? decals). The two-seater F-100F was also reissued by Italeri.
| 
| 
| 
|
| Italeri 098
| Revell 04604
| Tamiya 60760
| Italeri 003
|
Accessories
Reheat has a photo-etched F-100D set, but I've never seen it in the flesh. Flightpath do an access ladder. I bought Eduard's F-100F set 72-164 in 1997. In 2000, Eduard issued an F-100D set (72287 or SS169). Aires issued two resin sets: cockpit set 7068, and a landing gear bay set (7069). High Planes Models from Australia produce an injection-molded slat set for 5 Au$. And in 2004, Obscureco from the USA issued a complete resin wing plus slat set.
Construction
General assembly took place many, many years ago. As far as I remember, it went pretty straightforward. The wing was a tight fit inside the fuselage cut-out. Recently I decided to finish the model, since the assembly didn't show any big faults, and the kit's quality is on par with many current models.
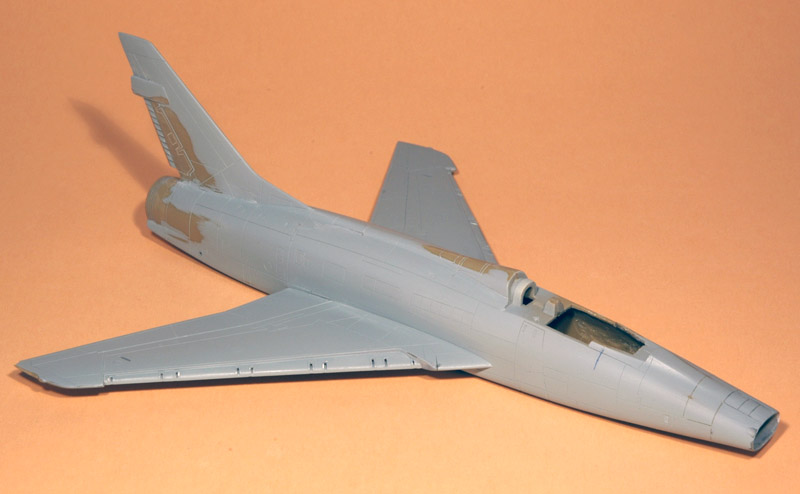
To check the build quality the model was base-coated in light grey. You can see several touch-up jobs in progress. My model was moulded in tan plastic by the way, a color you don't see very often. Anyway, the model looked very, very good after this first layer of paint.
| 
|
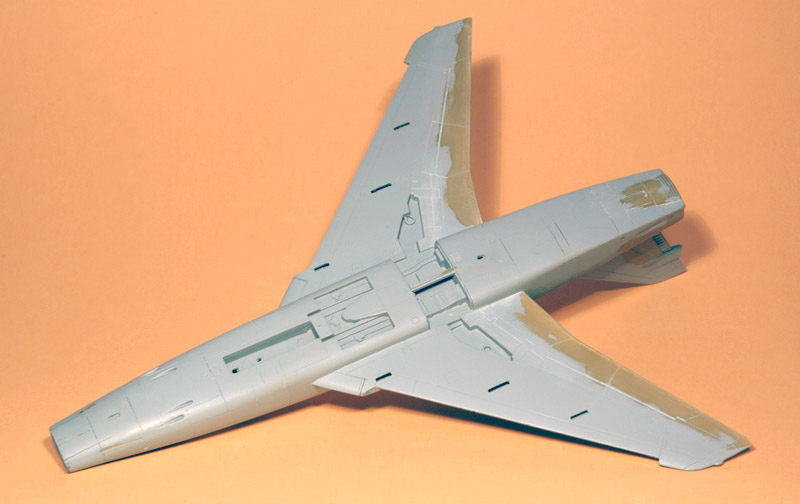
| The lower side again shows the excellent detailing. A strange exception is the bare nose landing gear bay. The details in the main landing gear bays would prevent retraction of the landing gear, but I decided to leave that alone. The wing's trailing edges are being sanded on the lower side to thin them. The panel containing the four gun muzzles was improved slightly by opening the muzzles.
|
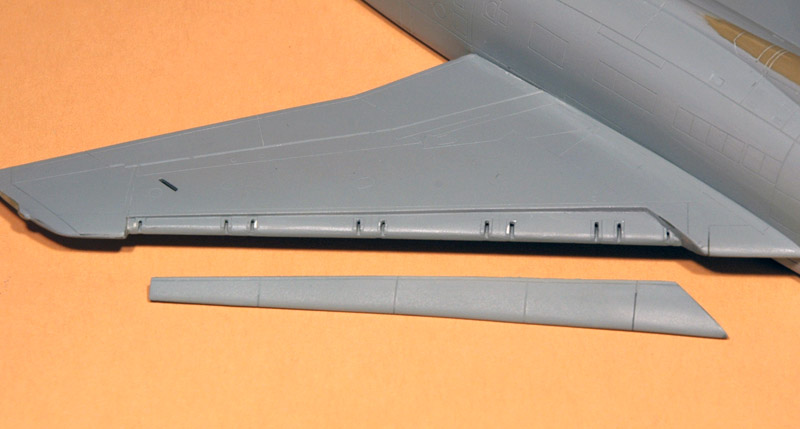
| Way back I had opened the slats, since I always planned to do a parked F-100D. My cutting techniques hadn't been honed to a fine art, and I had to cut up the wings of a second kit to obtain new slats. The slats were assembled from the upper and lower parts, and the inside filled with putty. I built a new slat interior with plastic card and added some detailing. I hadn't built the slat tracks yet.
| 
|
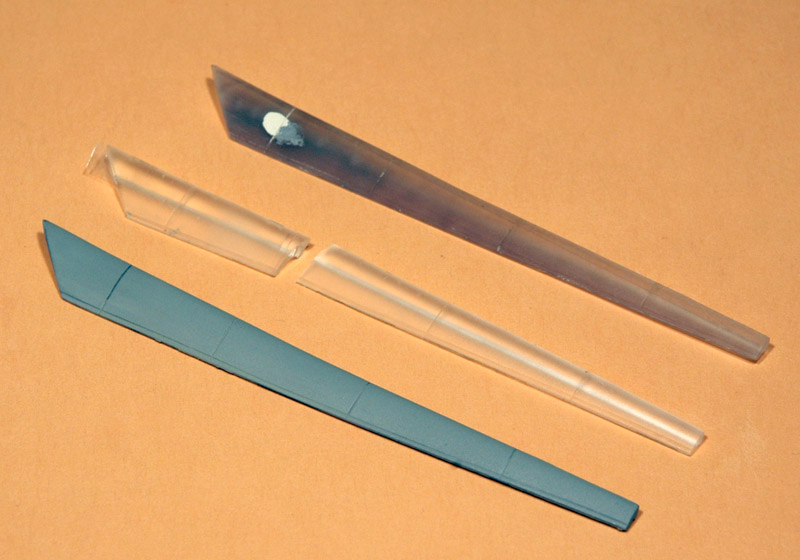
| The slats were extremely vulnerable, and they had warped over the years, while resting in the box. While trying to straighten them, I broke the slats a few times on the weld lines in the plastic. Repairing them was even more difficult. I would have liked to use the High Planes Models slats, but neither Luchtvaart Hobby Shop or Hannants sold them at the time. Therefore I cast a silicone rubber mould of the Esci slats (bottom), and cast new resin (epoxy) slats. These proved to be equally vulnerable, probably because I hadn't postcured the parts, something I did not appreciate enough at the time. So I tried to reinforce them with some carbon fiber tows, but this was not very successful. I found a solution eventually, by putting a piece of cured glass fiber prepreg in the mould (top). This finally gave me strong slats. And a few weeks later Luchtvaart Hobby Shop suddenly had the High Planes Models slats..
|
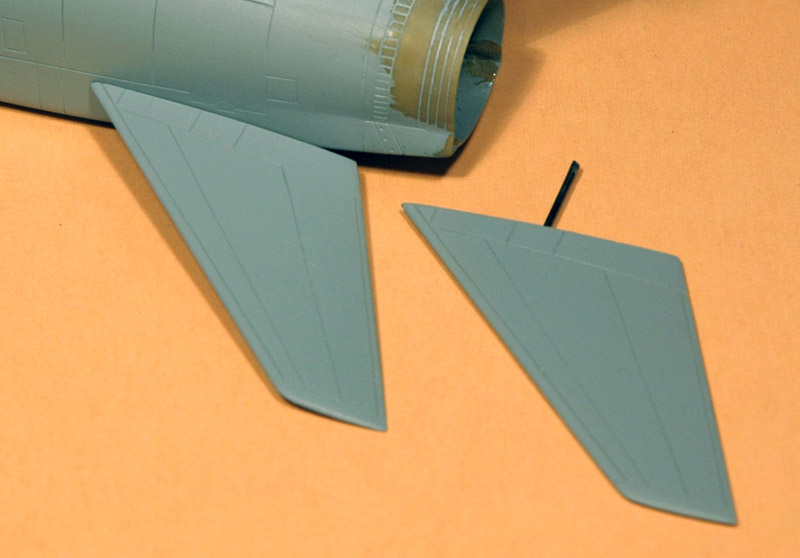
| The horizontal tails of parked F-100's are positioned trailing edge down. This meant the fixed tailplane mounting had to be changed. I removed the mounting tabs from the tailplanes and glued them in the fuselage. A large hole was drilled in the fuselage sides (see picture below), and a piece of tube was glued through these holes. Small holes were drilled in the tailplanes, and a piece of steel wire was glued in the holes. After some delicate bending of the wires, the tailplanes sat nice and straight against the fuselage, and could be set at any angle. The effect is very nice I must say!
| 
|
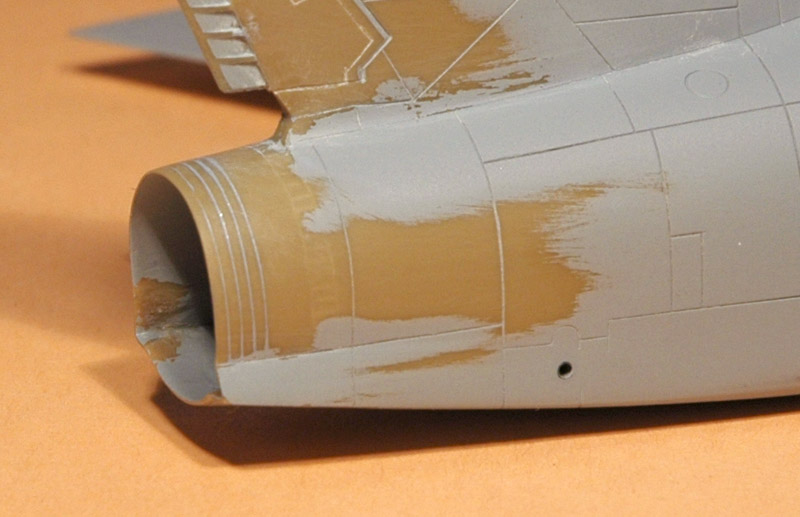
| Another rear fuselage modification. Esci wants you to glue the nozzle against the flat rear side of the fuselage. I thought it would look a lot better if the nozzle projected from an open rear fuselage. To achieve this, I cut away the flat rear side, and sanded the edges thin. The nozzle can now be mounted on an afterburner can.
I filled the last four vertical panel lines on the rear fuselage, since they are rivet lines in reality. A funny error is that Esci moulded the dragchute cable recess tabs on both the left and right sides - you have to fill the tabs on the right side (still vaguely visible).
|
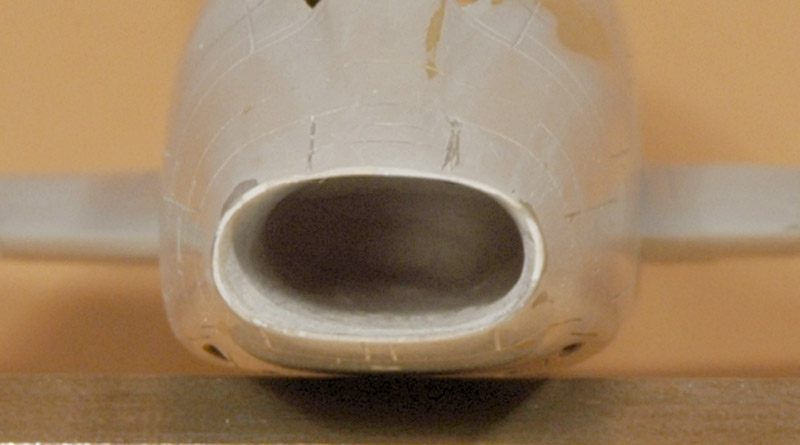
The inlet has a sort-of similar problem as the exhaust: it's only a few millimeters deep, blanked off by a wall / bulkhead. I cut away the wall before mounting the inlet piece, pushed a load of Milliput inside the nose, and then used a wetted brush handle to create a 'quasi infinite' air intake duct. It's quite effective I think, but difficult to photograph!
You can also see two difficult repairs of the inlet's edge, in the 3 and 10 o'clock positions (see also the next photo). During a move the delicate nose got bumped, and in two places pieces were broken off. I repaired it with a mix of super glue and polystyrene sanding dust (from 100 grit sandpaper). That was the only material I could think off that was strong enough for the job: ordinary putty is too weak, Milliput would be much stronger but it doesn't bond very well. The CA/PS mix worked very well.
| 
|
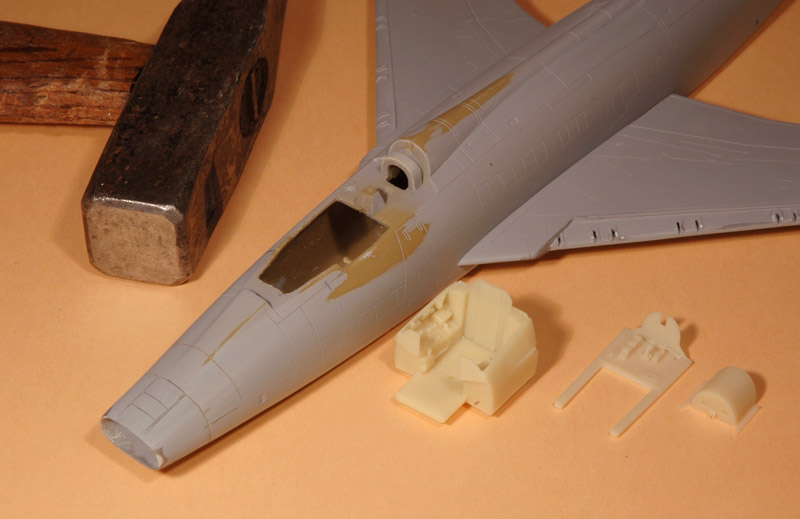
| Way back, when I assembled the model, I installed the kit's very basic tub with decals for instruments. My building standards have improved over the years, and I think the original cockpit is no longer acceptable. Rebuilding a cockpit in glued-together fuselage halves is not easy by the way! A few years back I started off with an Eduard F-100F photo-etched set, but I later bought an Aires resin cockpit (7068). First task was to Dremel out the old Esci tub, plus a lot of Milliput that resulted from building the inlet duct. Luckily I had the tools to make the resin tub fit in the assembled fuselage, see top left :-) Seriously, the tub will have to be cut in pieces to install it.
|
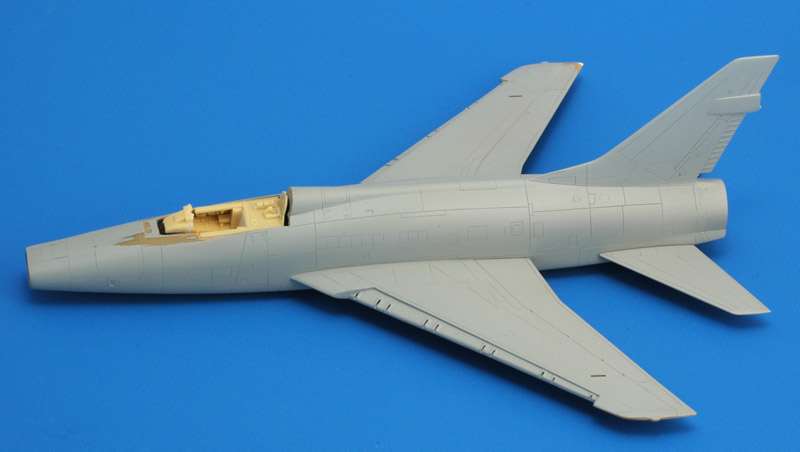
| Over to a new photo background color. Here's a view of the model in its current state. Work is concentrating on the cockpit.
| 
|
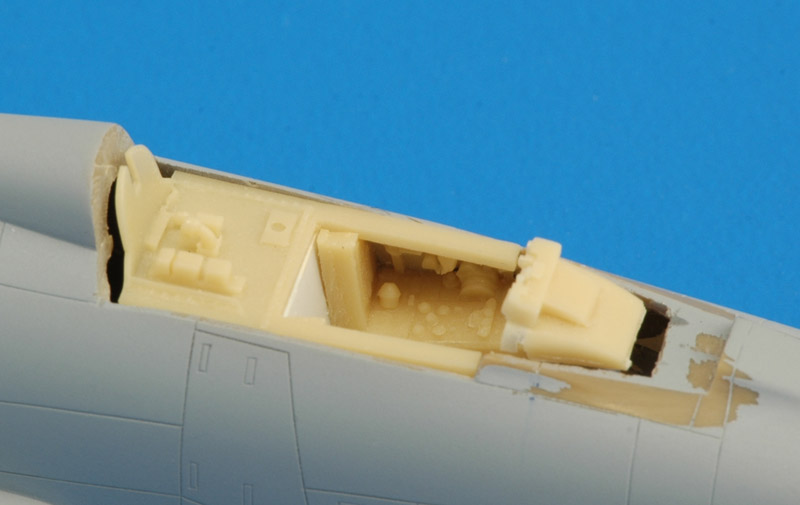
| After removing the original Esci cockpit, I built a new floor and a rear cockpit bulkhead, following the cant angle visible as a panel line on the exterior. Next I installed the side consoles, cut off from the Aires tub. The other parts are not glued yet. There's still plenty of work to do, including finding the correct seat, a Martin-Baker Mark GY5.
|
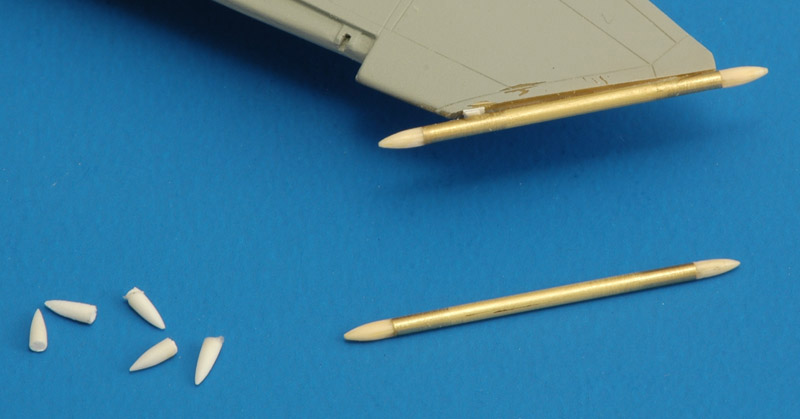
Working from the excellent drawings in Dan Mil #7, I measured that the wingtip RWR antennas were 1.2-1.3 mm diameter and 28.5 mm long (translating to 90 x 1050 mm in reality), and of which 21.5 mm was cilindrical, with two 3.5 mm conical ends. I made the former from 1.3 mm Albion tubing, and the latter from 1.3 mm plastic rod, turned in my motor tool against sandpaper.
However the conical ends proved to be prone to breaking, many failed during the sanding. Since the model would be handled a lot during assembly and painting, and these antenna's were at the wing tips, I needed something stronger. The best alternative I could think of was a toothpick soaked in superglue. That material worked equally well during the turning, and felt a lot stronger.
| 
|
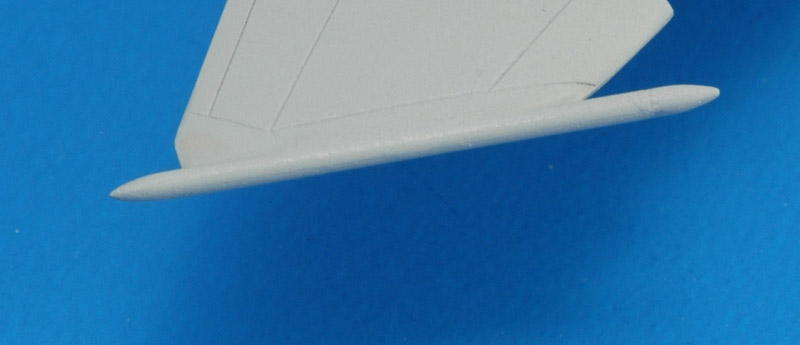
| After a round of Apoxie, sanding and painting they look like an integral part of the wing tips. The T-33 tip lights are not installed yet.
|
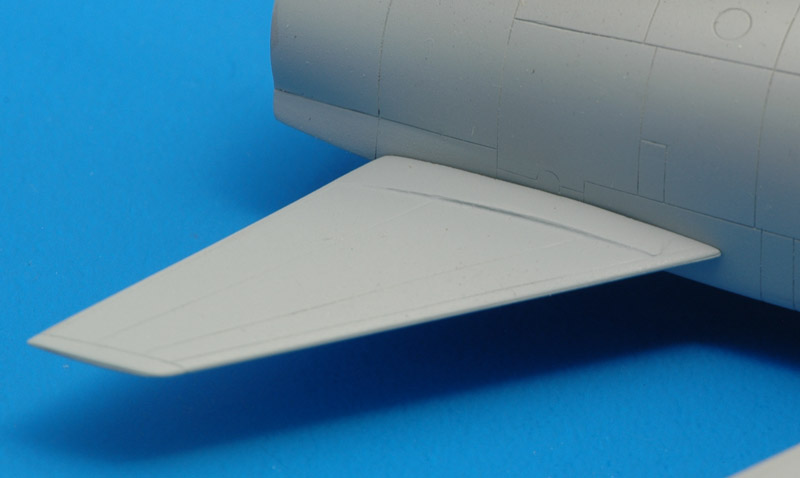
| The horizontal tails lack one detail: the thicker root on both sides. I copied the contour from the old Monogram 1/48 model, by gluing an 1 x 0.4 mm plastic strip along the inner rib panel line, and sanding its thickness to zero at both ends. The remainder was filled with Apoxie.
| 
|
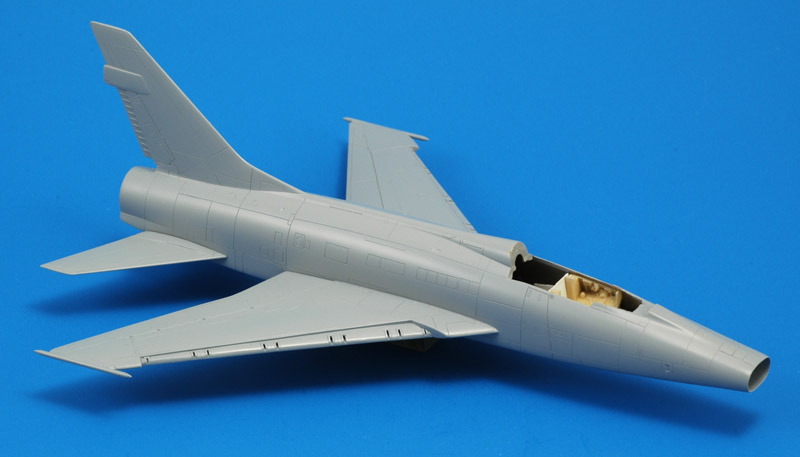
| At this point in time, I discovered Mr Paint / MRP, and repainted the whole model in FS 36375. It looks like unpainted plastic now! What an excellent paint. And just in time to replace the ever-worsening Humbrol paint.
|
Stores
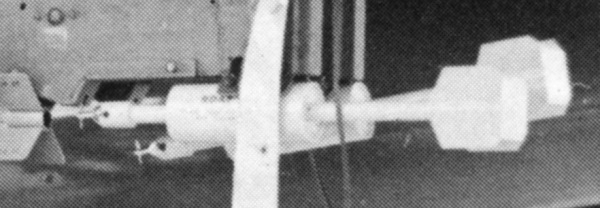
Lars Myrup Lassen (IPMS-Denmark) researched the practice bombs and found their designations. I tried to measure them from the photos and came up with some numbers.
The upper one is called 'Øvelsesbombe M55' (practice bomb Model 55, 55 would be the year of acceptance/procurement of the design) and looks like a scaled down Mk82/83/84. An analysis of the photo shows, using the pylon as the reference length, that it is around 700 mm / 27.5" long including the propeller fuze, and 675 mm / 26.5" if only the body and tail section are measured.
The lower one is called 'Øvelsesbombe M72' looks like a long-tailed Mk 106 with an extended fuze. The length of the bomb minus extender is around 600 mm / 24", and 780 mm / 30.5" with fuse extender. The body scales to around 100 mm / 4", which is correct for a Mk 106. The tail span is around 145 mm / 5.5". The Mk 106 shown on this Ordnance and Armament page looks largely similar, but the 550 mm length quoted doesn't agree (perhaps a mistake?) and its tail span appears slightly smaller. The page states a length of 550 mm. Current Mk 106's (like the Mk 106 Mod 4) have a much shorter tail arm with smaller fins, their span is identical to the body diameter. The almost identical BDU-48 is 10 lbs, the Mk 106 is 5 lbs.
| 
|
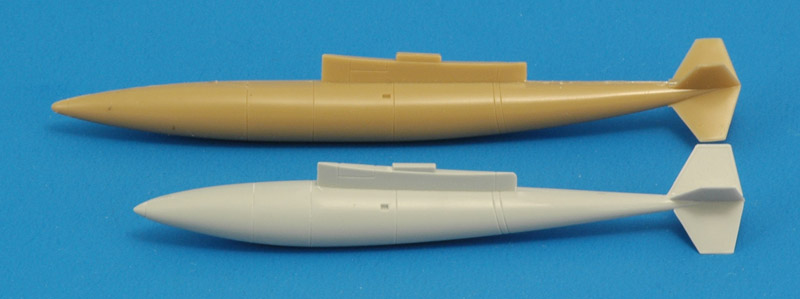
| The old Esci kit contains the long 335 gallon pylon tanks, whereas the Danish air force only used the original short 275-gallon tanks. The former had a 28" cilindrical section added, at the panel line at the leading edge of the pylon. I found a set in the Italeri reissue. Note the slightly larger diameter.
|
In 2022, fifteen years later, I found an excellent source of information on the practice bombs: Tinbox Tillaegget 4-86 says on page 5, translated to English:
"M/55: In the early 1960s we acquired a new, Swedish practice bomb called the M/55. It weighs 15 kg and is equipped with a marking charge consisting of a powder cartridge and a glass ampoule containing smoke-forming liquid. On impact, the powder cartridge shoots the ampoule out of the back of the bomb, causing the glass to break and a cloud of smoke to mark the impact. Colloquially, the bomb is called a blue practice bomb after its medium blue color. It is used on the F-100, Draken and F-16."
"M/72: To simulate the Mk82S ['S' is short for Snakeye here, I guess], in the early 1970s, FMK constructed a hi-drag practice bomb called the M/72. It weighs only 3.4 kg and is equipped with a marker charge that works on the same principle as the charge in the M/55. When the F-16 came with its highly accurate weapon delivery system, FMK's weapons engineering department had to set about changing the M/72's ballistics to fit the F-16. The solution was a cap that can be mounted between the boom body and the holder for the stop mechanism. The M/72 is usually referred to as a red practice bomb after its orange-red color. It is used on the F-100, Draken and F-16."
More finds: Tinbox (magazine) 4-75 shows a SAAB/MFI T-17 cutaway drawing, with a four-tube rocket pod that was likely used on the Danish F-100D too.
Modeling links
Some links to other 1/72 F-100s:
Links
Some other links:
Return to models page


