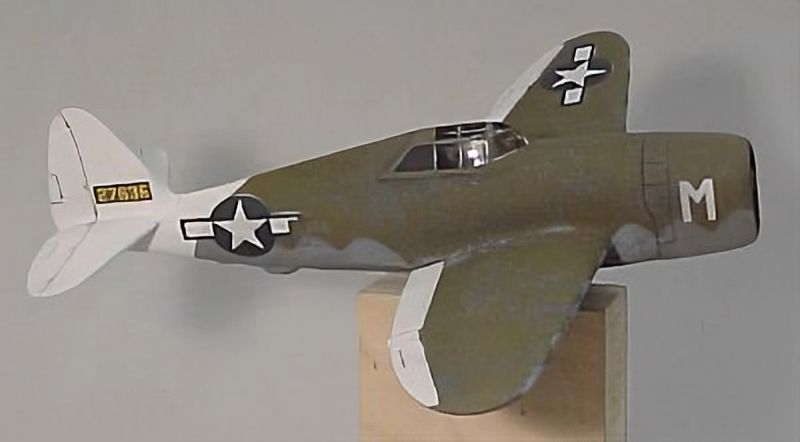
Monogram 1/48 P-47D Razorback
'Play toy'
| At the time, I had a three-year old nephew that has a strong interest in aircraft. He points at every contrail and exclaims 'Fietuig!' ('vliegtuig' or aircraft). And he has discovered my box of scrap models, and almost every weekend one more is demolished during his playing. I had a Monogram 1/48 P-47D Razorback lying around that I wasn't planning to build, and I decided to build an indestructible play toy from it.
|
Construction
The model was built quick and dirty. I built it to survive, so the landing gear is retracted, guns and pitot tube are cut off, and the prop was deleted. It's just a fuselage, wings and tail. It was then completely filled with epoxy resin. This was done in stages, to avoid an exothermic reaction that could melt the model. The model now weighs a little over 200 grams.
Unfortunately I did not document the construction phase with photos. I had started this modeling website a year earlier, and used a university Sony Mavica with 3.5" floppy disk to shoot the 640 x 480 pixel photos. Photo cropping lead to even smaller pictures on the website. The photo shoots were very irregular too, missing many steps of the build processes of various models. In 2022 I used Upscale.media to enlarge the 1999-vintage photos below to double the size. The quality difference with a normally enlarged digital photo is enormous! Thanks to Meindert de Vreeze for the tip.
Painting
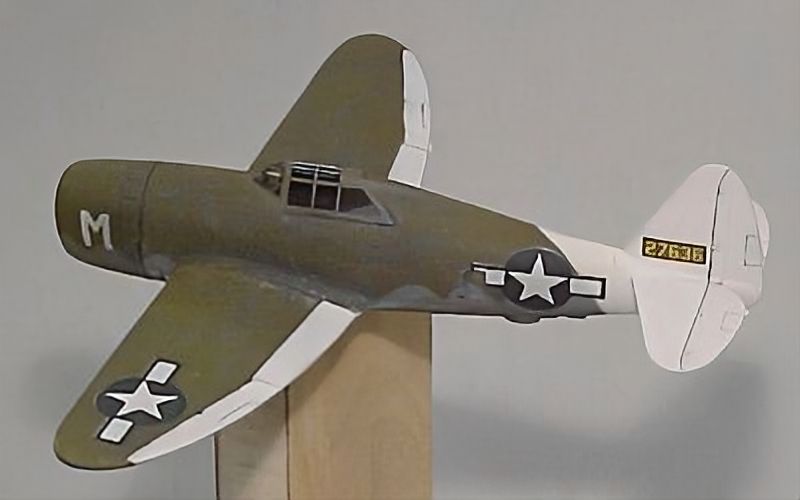
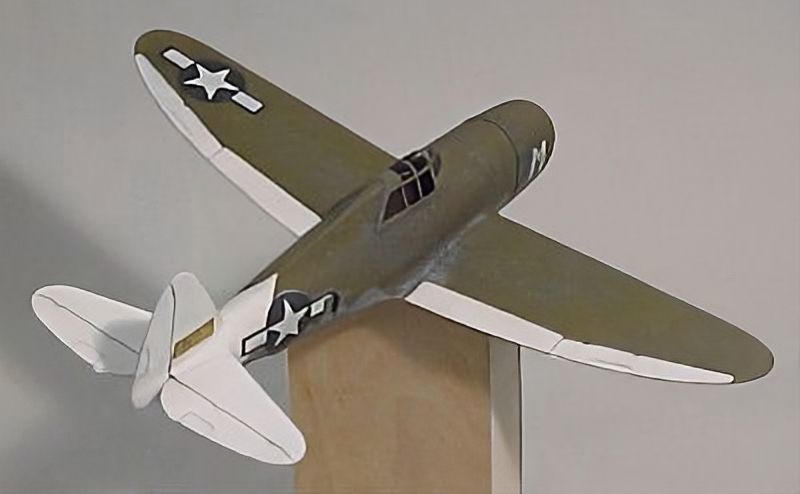
The inspiration for the camo scheme came from the November 1999 Fine Scale Modeler. This Pacific scheme consists of the standard colors Medium Grey 43 and Dark Olive 41, with a white tail and leading edges. I painted the upper side with an old tin of Humbrol Authentics HM7 Khaki Drab, which resulted in a horribly grainy surface. I used a suede brush (!) to remove the worst of the grainy dust. The demarcation line was then masked with Blu-Tack 'sausages' and Maskol, and painted Humbrol 126. I had tried an old tin of Humbrol Authentics HU3 Neutral Grey 43 first, and although it matched the FS very well, I found it too dark.
During the Blu-Tack masking I had forgotten all about the white leading edges from the FSM article. I liked the wavy demarcation I had sprayed, so I decided to paint the flaps and ailerons white instead. Tamiya tape was used for this. I also covered the rectangle for the serial number. Humbrol gloss white (22) was then sprayed, and I didn't care that it showed some fine orange peel. After every layer of paint I oven dried the model for an hour at 50 degrees Celsius. Thus painting was performed in one evening!
| 
|

| Next were the decals. I tried one kit decal on rivet covered test wing, with Klir (Belgian Future) underneath. I was highly surprised to find that it conformed to the surface like the best Microscale decal! But I removed the decal glue beforehand, since it looked very milky whitish. I painted the area with some Klir, put the decal on, and then restrained myself from touching it for some hours. The decals were not registered nicely, and some white peeps out from under the stars and bars.
|
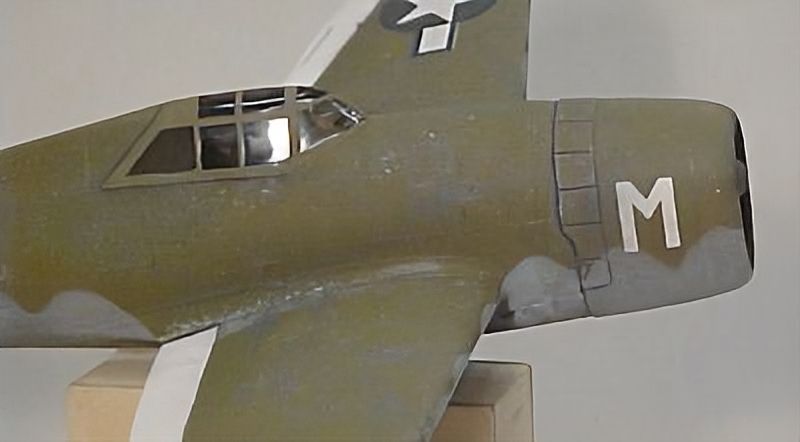
| Last step was heavy weathering, both for my own fun and to make the model visually attractive for a 3-year old. Since the model had raised lines, I dry brushed the panel lines with the darkest grey I had (Humbrol 66). The decals were dry brushed too, which made them look much better. Paint chipping was added all over the model and on the wing roots by using a Scotchbrite pad and light grey paint (Humbrol 127). Lastly I used a dark grey watercolor to wash the engine cowling, control surfaces and cockpit. The result was a rather overdone weathering, but also an attractive model. Francois Verlinden would be proud of me!
| 
|

| This close-up shows the weathering in more detail. All in all I had a great time slapping this model together. Assembly was about one evening, painting also one evening, and decaling and weathering one afternoon. My other models take years to finish!
Unfortunately, the model won't serve as a play toy for now. First of all, both tail planes already failed during play-testing it (being too thin to be filled with epoxy). Secondly, my sister thought Mr. 'Fietuig' would use the heavy model to hit his 18 months old brother, instead of playing with it. So, for the time being I can zoom it around the room!
Some time later Mr. 'Fietuig' was shown the model. He declared that is was broken, pointing at the radial engine, and that he did not want to play with it. Thank you very much!
|
It gave me time to find a fix for the broken tail planes. I decided to use a piece of aircraft grade 7075 aluminium as a tip-to-tip replacement. First I cut out the planform, then used a belt sander to give it an airfoil shape. A slot was cut in the rear fuselage, and the new tail plane was bonded with epoxy mixed with microballoons. After sanding and painting it was as good as new. And it is very strong. I planned to scribe the elevators, but I never came to it.
A year or so later, the Thunderbolt was declared safe for playing. First modification was a shark mouth painted on the cowling. He kept asking for a plane with a 'mondje' (little mouth). It is now often used to play air combat with a Mirage III (likewise filled with epoxy). Which nephew gets which plane depends on the difficult trade-off of having a plane with a 'mondje' or a plane with a pointy nose :-)
The model disappeared some time later, as many toys do. Maybe it turns up one nice day :-)
Return to models page


