Shapeways 1/72 PowerPlanes
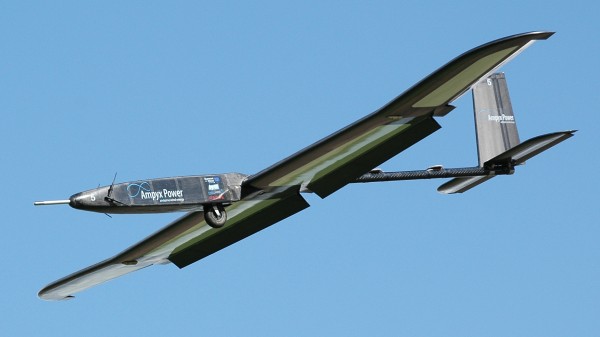
| I worked at Ampyx Power where we were busy developing a new way of harvesting wind energy, called PowerPlane. The concept is novel: an unpowered, unmanned aircraft is connected to a winch on the ground by a long cable, and the winch drives a generator. The aircraft uses the wind to generate as much lift as possible, pulling on the cable, driving the winch and thus generating electric power. Once the cable length is exhausted, the plane glides back to the winch while the cable is reeled in, and the process starts over again. The concept uses just a fraction of the materials of an equivalent wind turbine. This should result in a kilowatt-hour price comparable to the cheapest kind of electricity, coal-generated, without any subsidies. Ampyx Power currently flies small aircraft (5.5 meter span) to demonstrate and develop the concept on a 10 kilowatt scale. A 50 minute test flight can be viewed on YouTube.
|
Model number one
At one point we decided to produce a desk model of the AP-1B aircraft (since then replaced by AP-2A). I built simple flat plastic card sample models in various scales, and the team selected the 1/72 scale version. I didn't mind since it fits nicely in my collection :-) It resulted in a fairly small model: 76 mm span and 55 mm length including pitot tube (about the size of a BD-5J). Jesús Blasco made a simplified CAD-model so we could have it 3D printed. The model was printed by Shapeways using their most detailed method, called Frosted Ultra Detail. Compared to my first 3D printed model (the Eaglet from 2006) I was surprised by the lack of progress in five years. The printing steps were much more prominent on this model. Furthermore the model was deformed, one wing tip completely lacked dihedral. Lastly the parts were very greasy/waxy. To be honest: I did not contact Shapeways to discuss these problems, maybe they could have solved them (see notes at the end of the page)
Construction
|
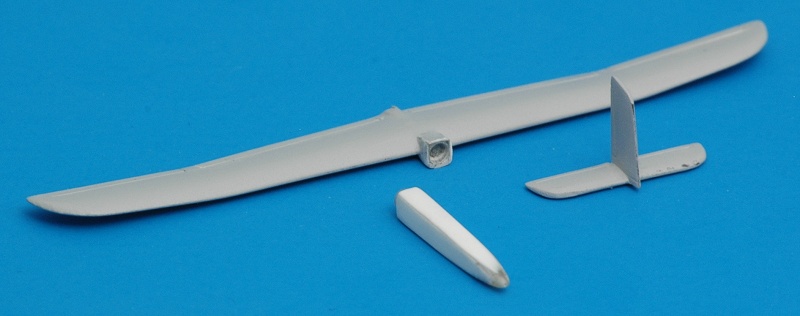
The model was done in three parts to allow resin casting in the future. The parts can be seen in the photo, after priming and sanding, not the rough stuff that came out of the printer! I corrected the dihedral problem by cutting of the tip and reattaching it at an angle. Next step was repeated spray painting and sanding to eliminate the printing steps. But the Humbrol enamel paint refused to cure. This was caused by either the printing material or the wax, because the same paint sprayed on a regular model cured as normal. Out came the thinner to clean the parts. I then tried Mr Surfacer, and fortunately that worked fine. It finally allowed me to make the parts smooth. The nose section looked slightly undersize to me, and indeed it was 0.2 mm too small in both height and width. I glued 0.1 mm plastic card to all four sides to solve that.
| 
|
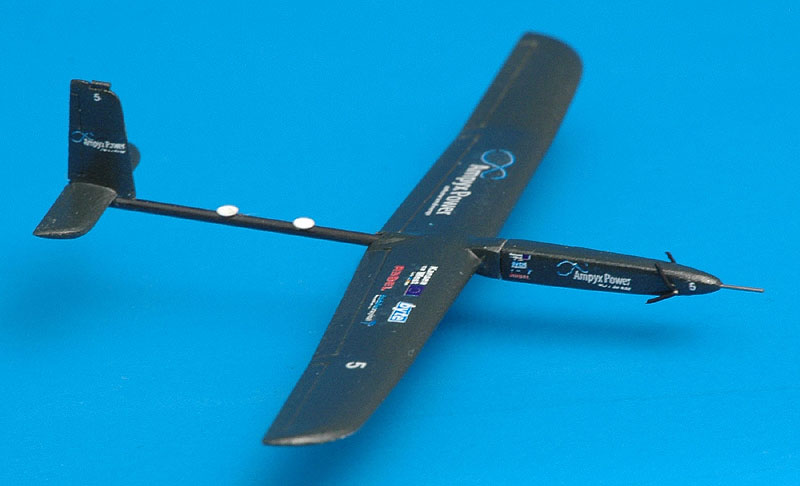
| Fast forward to the finished model! I had to paint and decal it in a big hurry to have it finished in time for an IPMS meeting. First I added some details to the basic airframe: a 0.3 mm pitot tube on the nose, four antennas on the side of the nose, two GPS antennas on the tail boom (cut with a Waldron Punch & Die) and lastly a small video camera to the tip of the vertical tail. The tail boom is a piece of 1 mm carbon rod.
Time for paint. The 1:1 design had evolved into a full carbon fiber structure, so the exterior was black throughout. Because of the previous Humbrol problems, I used acrylic paints, Vallejo Model Air. The color is a attempt at simulating carbon fiber, mixed from 71.056 Black Grey and 71.073 Gun Metal Metalizer in a 5:1 ratio.
|
Last to add were the decals, that were done on an Alps. The whole set of 13 decals occupied a decal sheet of 15 by 20 millimeters! They were applied using a bit of Future floor polish.
After a minimal drying time I applied a clear finish. I again used Future, which gave a slightly rough surface. The model lacks conspicuity markings on the lower side of the wing, we hadn't decided on them at the time.
| 
|
Feedback from Shapeways
About a year after I finished the model, I had the opportunity to chat with Shapeways representatives that were present at the 2012 Scale Model Challenge near Eindhoven.
When asked about the waxy / greasy residue that prevented my paint from hardening, the explanation was clear. 'Frosted Ultra Detail' (FUD) parts are printed free-standing on a base plate. This makes it necessary that the printer also prints 'support wax' underneath overhanging parts, since it can't print in free space. The wax contaminates the parts, and currently Shapeways removes it before delivery. Back when my parts were printed, they did not known of a good way to remove it, and delivered it as was.
The deformed parts could not be explained, and the representative advised to contact Shapeways in such cases. Which makes sense.
Model number two
I built another copy of the Ampyx Power PowerPlane #5, for a coworker that did most of the manufacturing of the aircraft. It was his and my 'baby' and we very were proud that it survived two years of experimental flying. The aircraft is now in use as a training aircraft, since it was replaced by two new AP-2A aircraft.
Construction
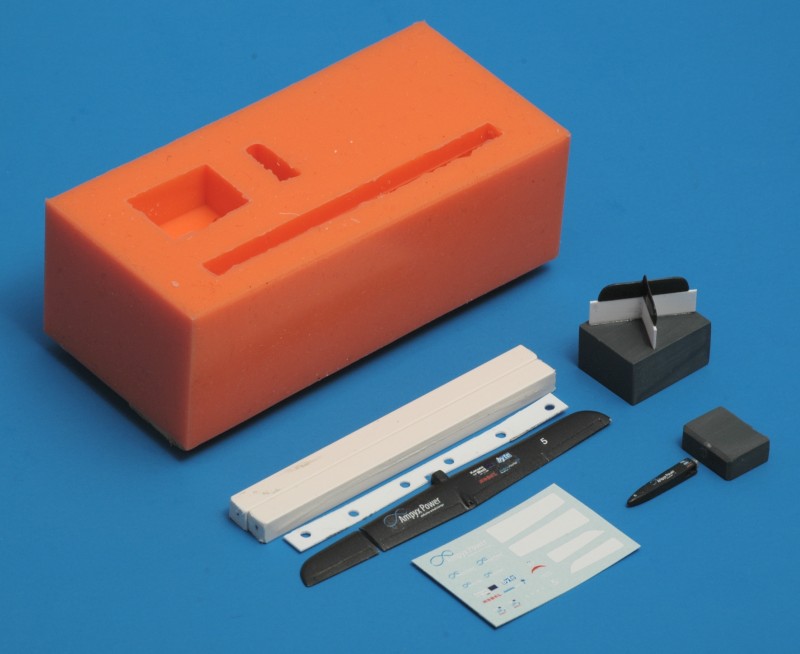
I broke up my first model, so I could cast a silicone rubber mold. Shown here are the mould and the remains of the original model. Also shown is a small sheet of Alps-printed decals.
I used epoxy resin to cast a copy, hoping that a good postcure would give me a material that could survive the heat inside a car (it might be hung from the rear view mirror).
| 
|
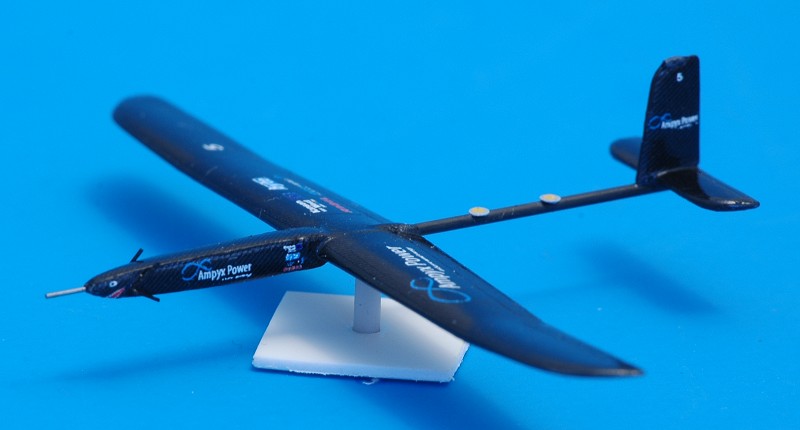
| Construction was simple: the wing and nose were glued together, and everything was covered with the finest carbon fiber decal I could find (F1 Specialties CF20). I used Future as a decal softener and glue. I printed a couple of new decal sets on Daco glossy decal paper, and applied these too with Future. Some of the decals are very, very small, and although I'm used to working on small models, my limits were tested.
Compared to the first model, this one got a sharkmouth and shark eyes decals. These markings were added to the real aircraft after achieving 25 flights. The last details were the pitot tube, four antennas on the nose, and two GPS antennas on the rear fuselage tube. I was very happy with the result, since it was quite a bit better than my first attempt. But I do need to gather courage and energy before I attempt this again!
|
Model number three
I built another copy of the Ampyx Power PowerPlane #5, for a coworker that left the company. I had very little time, and built it in an elapsed time of 4 1/2 hours, an absolute record for me. In that sense it was a very special model for me, since most other models take years to finish.
Construction
|
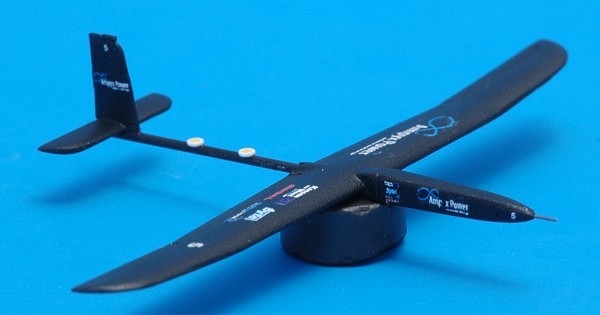
Like the previous Powerplane, the model was assembled from a set of resin castings and 1mm carbon fiber rod representing the tailboom. Because it needed to be done *very* rapidly, I used Vallejo Model Air acrylic paint. The color is another attempt at simulating carbon fiber, mixed from 71.057 Black, 71.056 Black Grey and 71.073 Gun Metal Metalizer in a 5:1:1 ratio. I think it looked reasonably nice. Next were the decals, and I used the markings without the sharkmouth, to create some variation.
| 
|
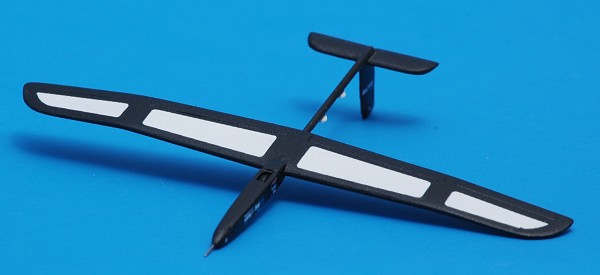
| On the lower side, the wings received decals representing the white conspicuacy markings. After a very short drying time, Vallejo 70.522 Satin Varnish was sprayed over the model, giving it a nice even sheen. The only parts missing were the antennas on the nose, but time was up!
|
Return to models page


