Me 163 kits and accessories


Kai Reckstadt sent this report on Hasegawa Komet. Over to Kai:
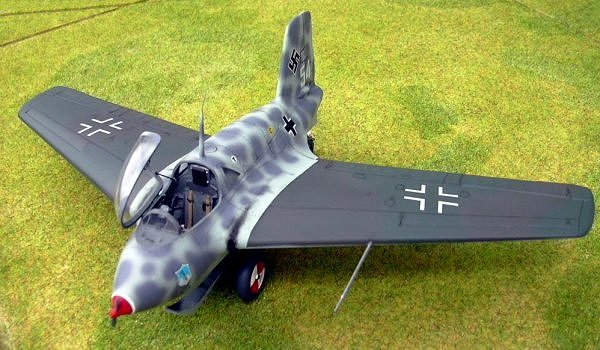
This is the Hasegawa 1/32 scale Me 163 B. The model was basically built straight out of the box. In addition I used most of the parts of Eduard photo-etched set 32-058. The fit of the model is o.k. except the trailing edge. Hasegawa made a strange division of the upper and lower wing halves, with the division halfway the lower side of the elevons and trim flaps. An extra problem is that these parts have a fabric texture, which is difficult to restore. I decided not to glue the tail section to the fuselage to be able to show the rocket engine. Therefore I improved the fit of these parts with plastic sheet. Where sanding led to destruction of the raised panel lines I rescribed them. This was necessary on the gun-bay doors, the covers for C-Stoff and T-Stoff filler caps on upper fuselage, etc.
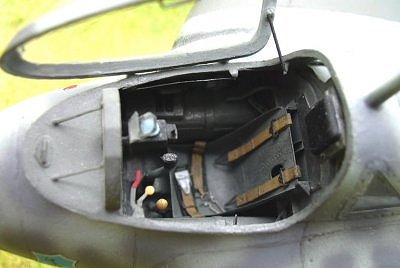
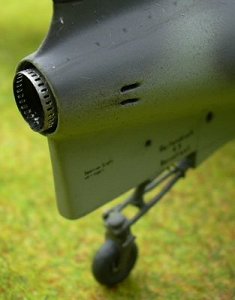
The Eduard set is a real improvement of detail, especially regarding the cockpit and the skid. The parts included in this set allow refining of the cockpit, the landing-skid, starter dolly, tail wheel and rocket engine exhaust. Examples of the cockpit and tail detailing are shown below. There are some details that are even not provided by Eduard (steering mechanism of the tail wheel, handle for closing the canopy) which I scratch-built. I also did not use some parts of the set (e.g. the FuG 25a IFF whip antenna, small parts on top of wing), which easily can be scratch-built from sprue and look better than the photo-etched parts.


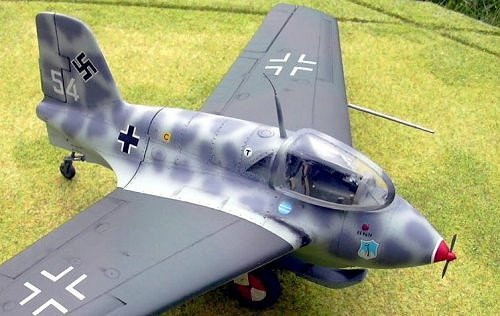
Painting was done with a Badger 150 airbrush using Hannants Xtracolors. My model represents the mysterious 'White 54', a Me 163B of 6./JG400 based at Husum, May 1945. Colours are RLM 76 (overall), RLM 81 and RLM 82 (top of the wing) and RLM 75 (spots on the fuselage). Decals were used from the kit and from Revellís 1/48 kit, since some of the stencils offered by Hasegawa are not correct or even missing. The Hasegawa decals are a little bit thick but their appearance is o.k. when using Mr. Mark Softer. Weathering was applied with a small brush using mat black enamel colour, which I thinned in different ratios. Last step was a coat of flat varnish.

I enjoyed building this model and I can highly recommend the Eduard set to improve its detail.