Tamiya 1/24 Porsche 956 chassis
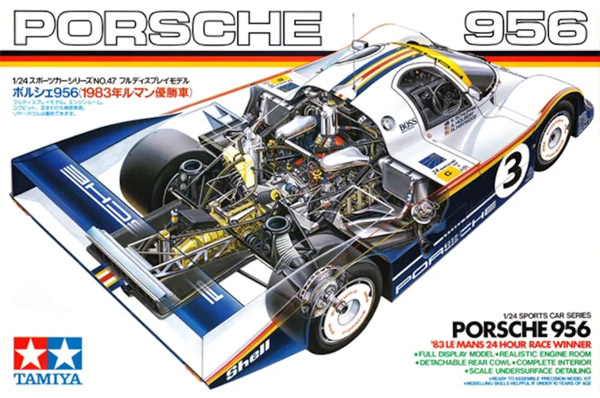
| I have a long-time fascination for the Porsche 956, as much from an engineering as from a modeling viewpoint. The 956's aluminium chassis was the first race car chassis I found some good data on, and it always remained a favorite. I am still planning to do some stress calculations on it, one day. It also made me want to do a better detailed version of the partial chassis provided in Tamiya's 956 kit. I would use it both as a stand-alone model (possibly with the engine attached) and as a detailing part for my 956 models. I would love to build a 956 model in the way the original is built, i.e. with the chassis and engine as the backbone. This page shows my first attempt at building such a chassis. I haven't done much on the rest of the model by the way. I should also add that Johnny B. from Sweden was a great help with this project.
|
References
My only hard data was the drawing shown below (plus top and front views) plus some four photos of the first two chassis under construction, found in 'Der Porsche 956/962' by Lothar Boschen and Gustav Büsing. According to the caption the drawing shows 'the first version' of the 956. Does that mean the prototype? And was the chassis changed later? I have never been able to find an answer to that question. The photos of the monocoques under construction are quite confusing, since they show at least two different ones. One has a completely flat bottom, and fits the book's description of being a production test chassis, using different sheet metal thicknesses and a non-standard floor contour. It would not fit the car properly at the front and at the rear. The captions however say that this is the first road-worthy chassis, but I am pretty sure this is an error. The second one looks much more like the real thing, but still it could represent a prototype configuration. Plenty of questions remain..

Construction
The Tamiya chassis does not agree with all measurements of the above drawing, but after lots of doubting I thought I had figured out the differences, and set to work. I cut up two 956 chassis parts to build the rear half of the chassis (seat area plus fuel tank). I wanted to build a chassis without the passenger seat installed, since this was not used in all races. I slightly narrowed the chassis to what I thought was the correct width.
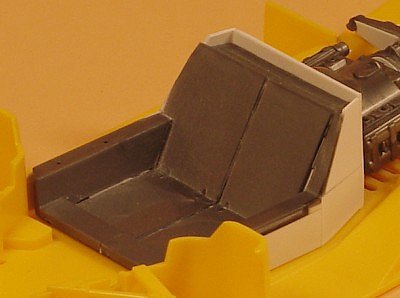
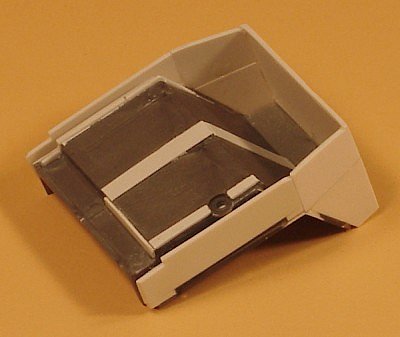
A lower view shows the various parts better. I constructed the tank largely from 1 mm plastic card. I left the locater pin on the floor panel in position, as well as the locater hole on the chassis (displaced slightly to compensate for the decreased chassis width).
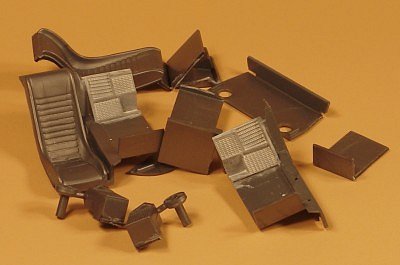
And these are the remaining parts! The radiator parts will have to modified or replaced in order to be able to complete the model, but that's a problem for later. The passenger seat can be adapted to fit the chassis again.
And after all this work I found out there is a pretty big mistake in the Tamiya parts that I had overlooked, and that could explain some of the dimensional problems I never figured out. The rear cockpit bulkhead is canted 25 degrees in the drawing shown above, and 30 degrees in the Tamiya chassis. Although it is only 5 degrees, this messes up the tank dimensions considerably. And therefore the chassis project is halted until I figure out what to do now.
If I hadn't run into this problem, I would have proceeded roughly as follows. First I would have removed the chassis floor, since the double plastic thickness makes the driver sit way too high. Then I would have built the front end, partially using the existing Tamiya nose parts (which are a rough representation of the chassis nose). An interesting part would be the 'Delle', an indentation under the pedal area. Having finished all of that, it was time to add rivet heads, someway, somehow. And then the roll cage.
Different approach
I'm currently drawing the chassis in a solid modeler (Inventor), see screen dumps below. Although it is a rather crazy plan, I may photo-etch the components at some point.
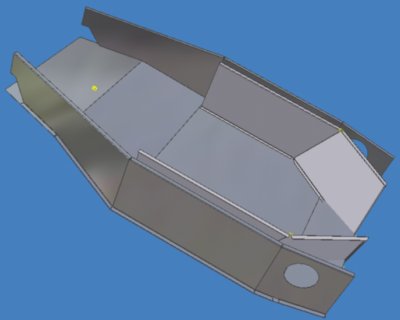
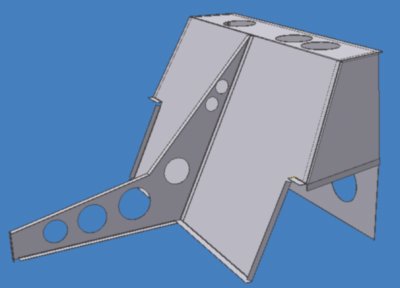
Links
Return to models page


