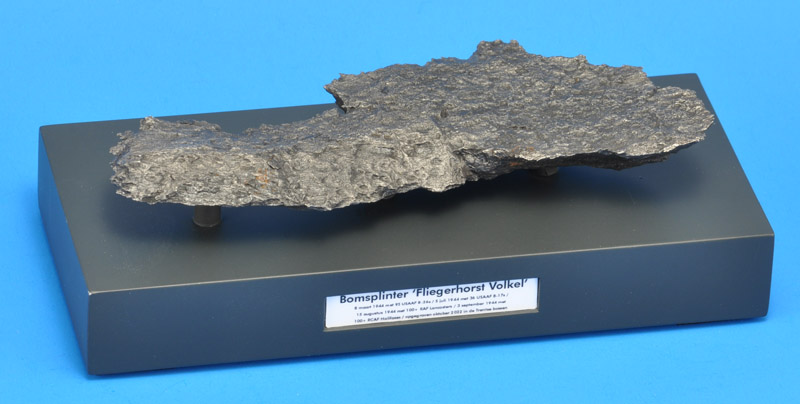
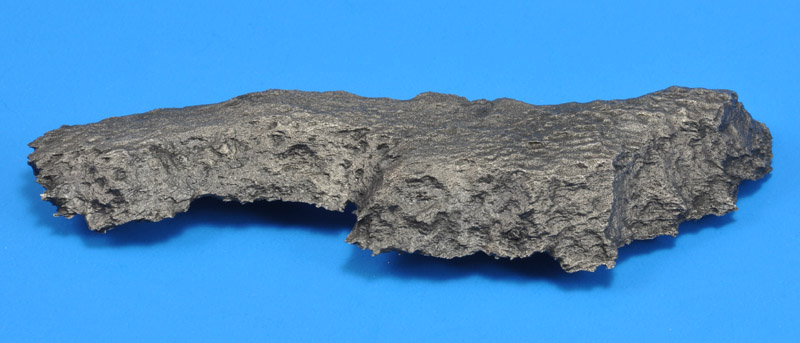
Volkel bomb splinter (full scale)


When I learned about a few untouched 78-year old bomb craters near Volkel air base, I wanted to see them for myself. I was suitably impressed, and decided to come back with a metal detector, to try and find some bomb splinters. I found exactly one, but it surely was impressive. It's a sobering thought that such a sharp-edged object would fly around at close to supersonic speed, causing horrendous damage.


Location

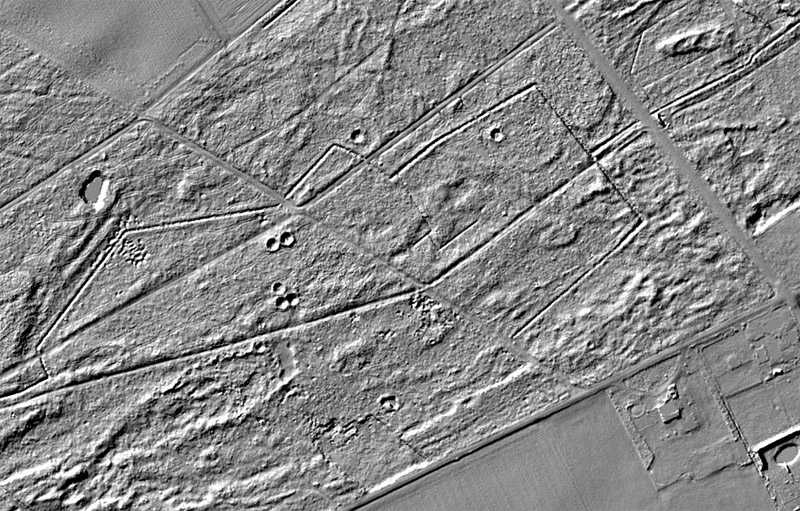
Old spotting friend Stefan found seven large craters on the Actueel Hoogtebestand Nederland, a highly detailed height map, where foliage can be switched on and off (off here). Select one of the 'hillshade' layers in the 'hamburger menu', and unselect the colored layer(s).

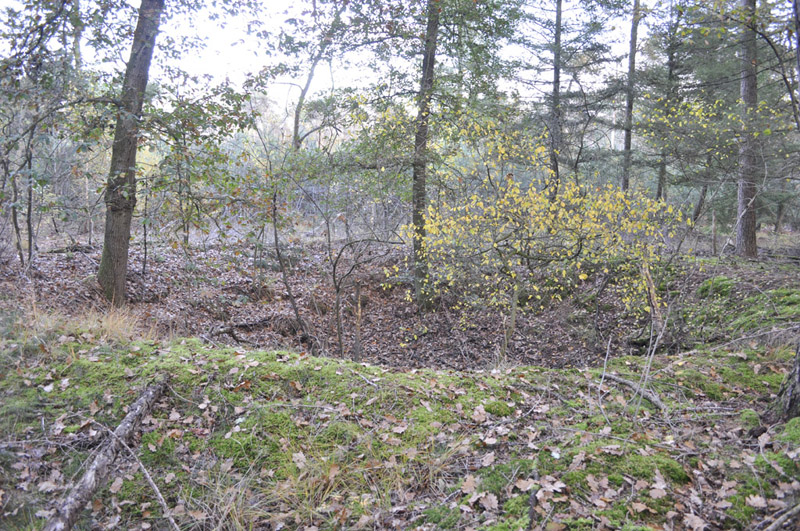
Location is the 'Trentse bossen' just north of Volkel air base. The bomb craters are also indicated on public information boards that the forestry service put up. The craters are mostly situated very close to the paths through the woods, but they are amazingly easy to overlook.
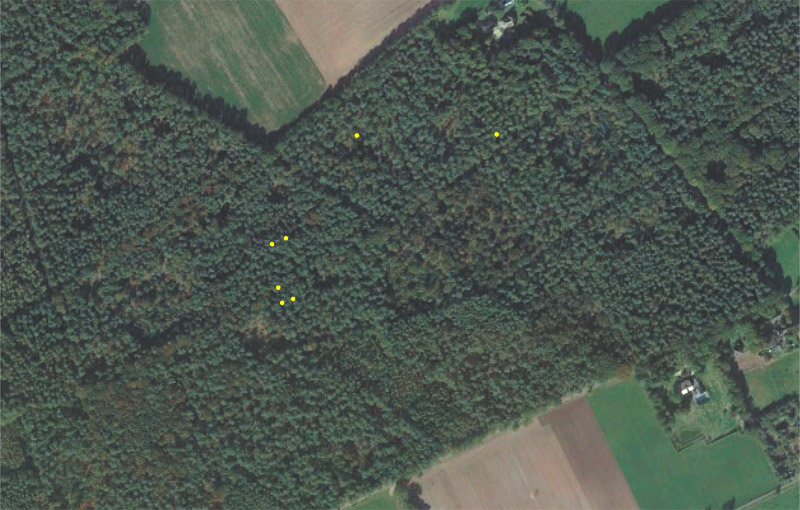
Here's the exact same area, taken from Google Earth (2022 image). I've put yellow dots over the bomb craters, to show how invisible they are on a regular aerial photo.
The bomb craters are very difficult to photograph - they appear so much part of the terrain that they just don't show. This is the most eastwards bomb crater, that had a bit of open area around it. It's about 10 meters diameter and 2 meters deep.


As found

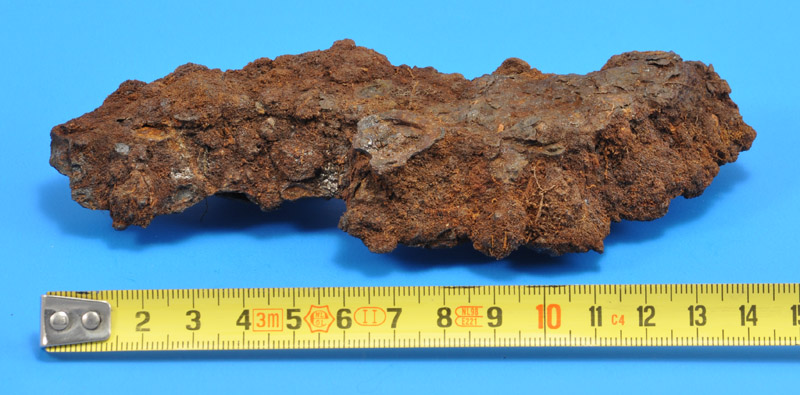
Here's the splinter as I found it. It's 14 centimeters in length. It looks like earth is still attached, but I could not brush it off.

I found the splinter at the upper edge of a crater. It's easiest to assume that it came from the bomb that caused the crater, but in theory it could also come from another bomb.
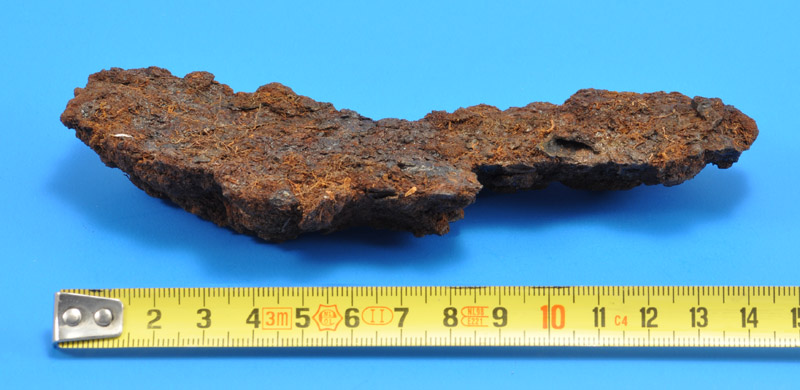
A view from what I think is the inside of the bomb case.
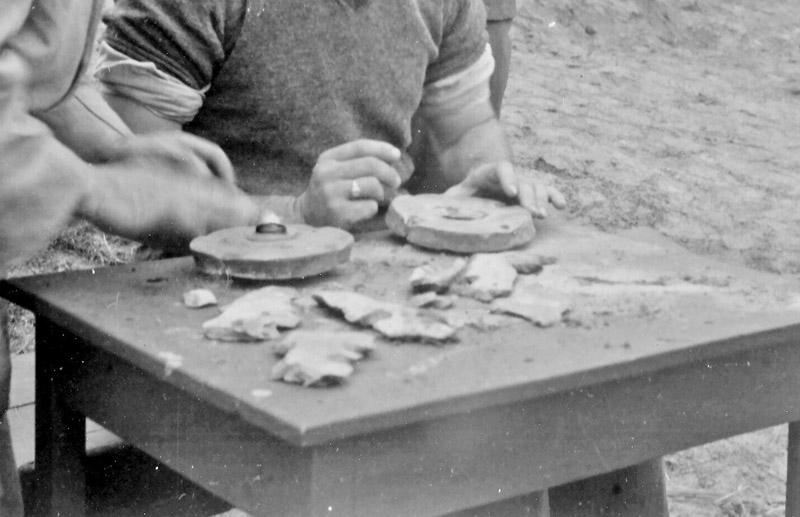
I found a unique photo showing 'fresh' bomb splinters. The caption of this Nederlands Instituut voor Militaire Historie photo reports that Luftwaffe personnel collected bomb splinters after an RAF bombardment. The size and shape of the splinters is similar to the one I found.


Cleaning

I first tried to clean the splinter in an ultrasonic cleaner, but to my surprise, almost nothing came off.

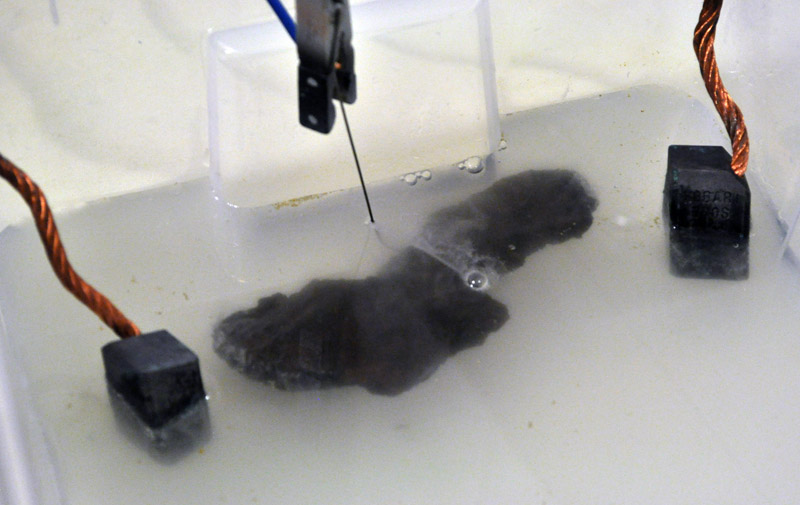
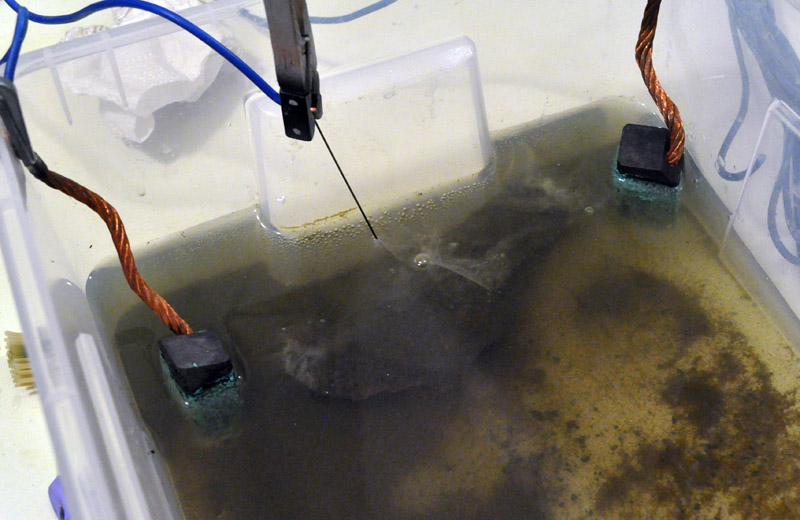
Secondly, I tried electrolysis, as seen on YouTube. Here's my initial set-up. I wanted to avoid creating the rust sludge that comes with the use of steel positive electrodes, so I sourced two carbon brushes from a large electric motor.

I used an old toy train transformer, that on average gave 12 volts and 0.8 amps, 10 Watts power, while using 18-19 Watts. In most YouTube videos, more power is used. Maybe I could have used a laptop power supply, they are often 19 volts and a few amps.
The amount of crud coming off was quite amazing. I made three runs with fresh ingredients, some 40 hours in total, and it looked like it still wasn't done.

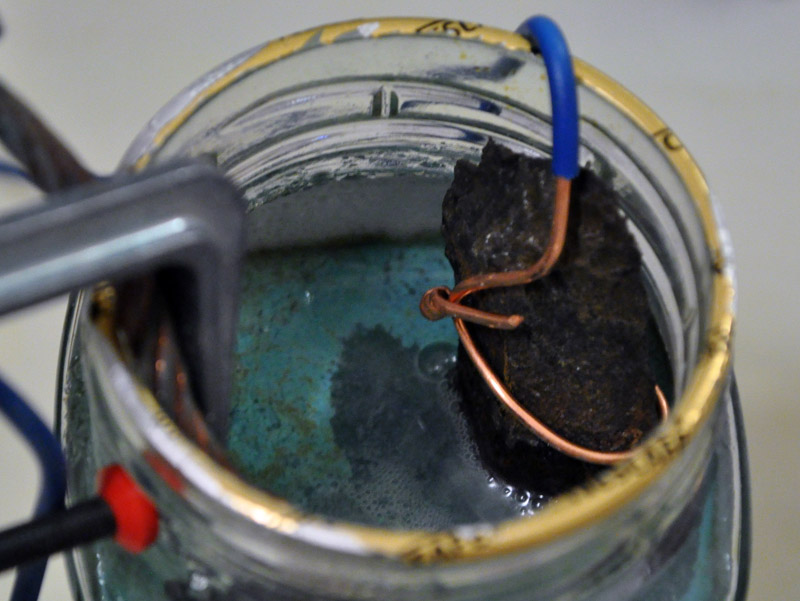
The setup had two errors. I think the process was inefficient since I had submerged the negative wire around the splinter. Most of the action therefore took place on that wire. But that's how most YouTube instructions did it. Secondly, the carbon brushes had some copper in them, creating a green (and probably toxic) compound on them. I had assumed they were 100% carbon.
My second setup eliminated the problem of the submerged negative wire. But the green floating sludge shows that copper is still contaminating the water. Even in this phase, a lot of crud came off. It looked like it would never end!

From time to time I used a stiff brass wire brush to remove the loose parts. That also showed fairly clearly where rust scale was still present, because of the color difference. In some cases I used a knife to pry off the scale; that probably saved me a lot of electrolysis time.
After the last electrolysis run, I used a motor tool with a small wire wheel to clean the whole surface. It created a lot of fine black dust (Fe3O4 ?), but it did reveal clean bare steel, finally. The process created a lot of dirty hands, tools and rags. Something to consider before starting.

I read that it was recommended to put a clear coat on the steel, to stop rust from reappearing. I used Alclad AL-312 semi-gloss. It took away quite a bit of the bare steel's shine, but I thought that was OK. Before the clear coat, it looked like a black part that was drybrushed with silver paint, almost like a fake.
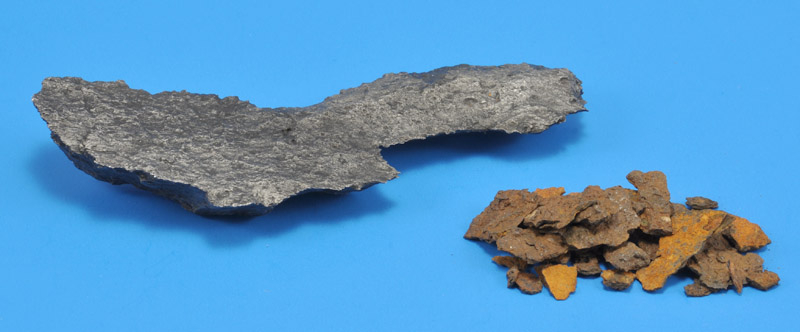
Here's the other side, more of the same. Mass after cleaning is 294 grams. Maximum thickness is 15 mm, on the wide end, whereas the minimum thickness is 11 mm, on the narrow end. I saved some of the rust scale that I pried off. It was approximately 3 mm thick. A volume increase of 7 times is used in the off-shore world, so the 3 mm scale would only represent 0.4 mm of unrusted steel.


Base

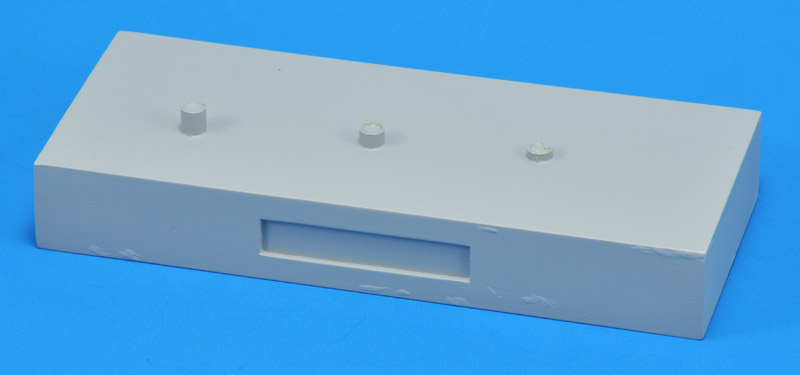
I decided to mount my find on a base. I built a box of 160 x 70 x 23 mm from 1.5 mm plastic card. Three brass tubes, of different heights, were installed as supports for the splinter. The box was filled with plaster of Paris, followed by a round of sanding, Mr Surfacer from a spray can and more sanding.


Return to models page