To limit the costs of the decal sheet, it's much preferred that the customer supplies all the source material.
| A customer wanted decals for the two Ferrari 550s of the Care-Racing team during the 2004 season. He had bought an expensive resin 1/24 model of the Ferrari 550, and I think he roughly doubled his expenses with this decal sheet. Welcome to the reality of custom decals.. |
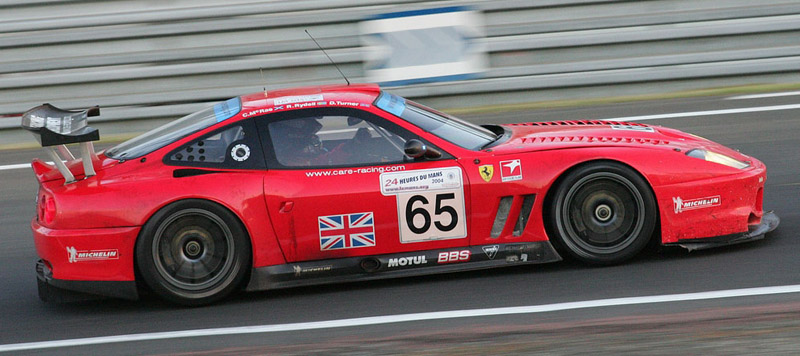
| Generally, it's no problem finding photos of race cars. The customer provided plenty, and here's just one example. In 2004, digital photos were relatively small, so the smaller details are not always easy to distinguish.
To limit the costs of the decal sheet, it's much preferred that the customer supplies all the source material. |
|
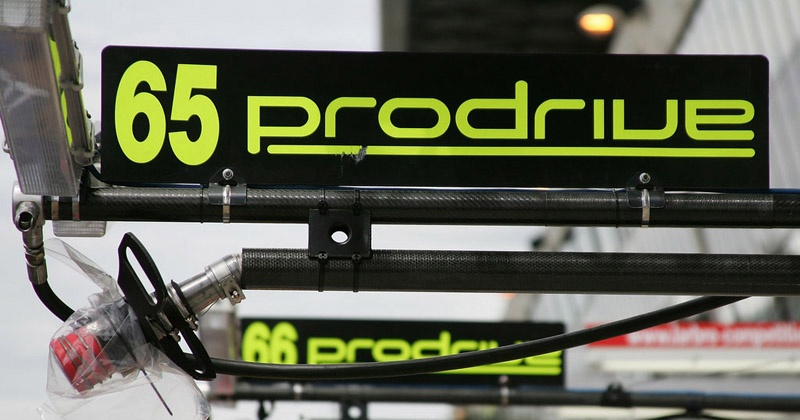
| The customer also wanted decals for the pit equipment. With a good straight photo like this, it's fairly easy to draw. |
| I use an old version of CorelDraw, a popular vector graphics software. The process generally starts with the easy bits: the sponsor logos that can be found in vector format, on sites like Brands of the World. The logos are not scaled yet, and a few need further modifications to match the stickers on the car. | 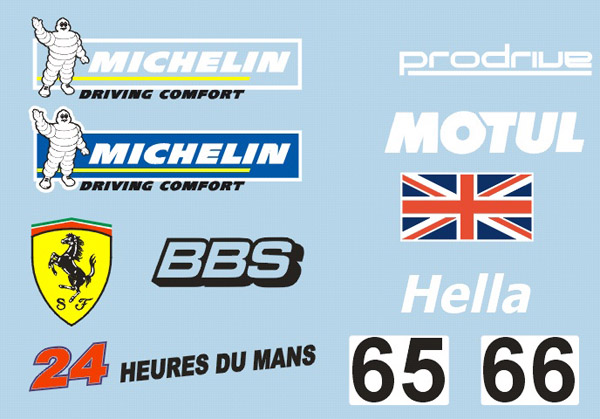
|
| Other logos have to be drawn over photos. Of course, this is far more laborious. Or the correct font has to be identified, like for the team logo. This often requires a long search through say 1,000 fonts, or the use of What the font!. But in this case it was easy: humble Arial.
On an Alps, the white ink needs to be doubled or tripled to be fully opaque. The door numbers were to be printed with white only once, to give them the semi-translucent color seen on the real cars (see top photo). |
| Help from the customer is often required to size and shape the decals. Here are measurements of the front and rear windows, to help draw the window banners.
Sizing can also be done by other means. If the wheelbase is known, either of the full-size car or of the scale model, all markings on the side of the car can be scaled pretty easily. | 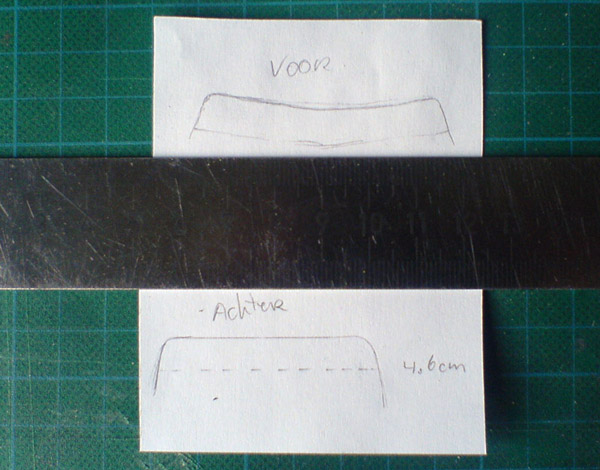
|
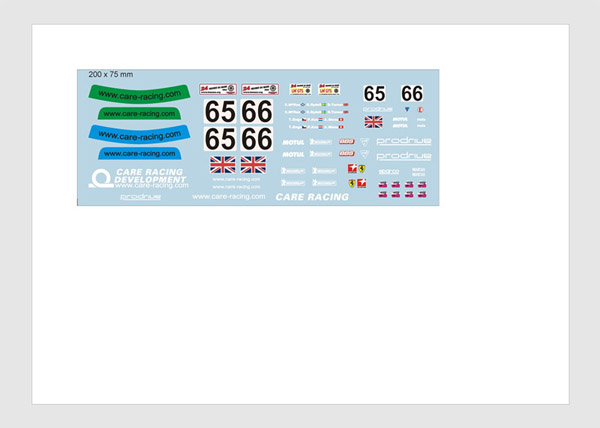
| I provided an A4 Word document for the customer to print, so he could do a final size check of the decals on the model. |
| After the artwork was finished and approved, there was one more step: to prepare the artwork for decal printing. The preparations depend on the printer used, and in this case in was an Alps printer. I split the artwork in three layers: the first one to print with the Alps white cartridge (with the artwork in black!), then a layer to be printed with the OKI Blue cartridge (again with the artwork in black), and lastly all remaining colors to be printed with the Alps CMYK cartridges (with artwork in their true colors).
Note that no decal film outline was defined. Alps printers cannot print decal film, so all Alps decals are printed on continuous decal paper. The user has to cut out each decal. Note also that the window banners did not get a white undercoat, since they are to be applied to transparant parts. | 
|
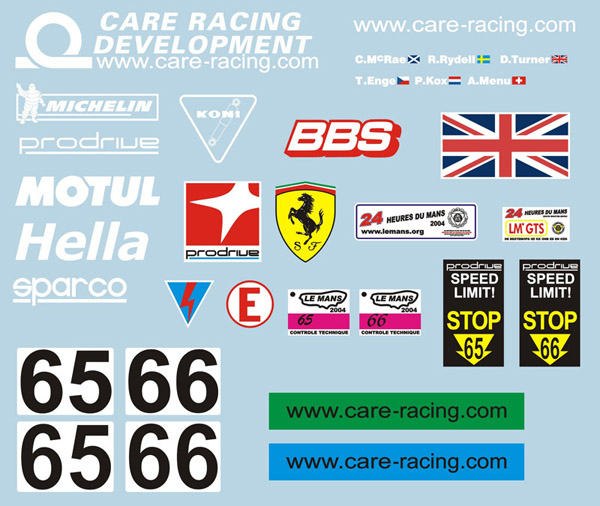
| The end result, an A4 full of decals, looked pretty impressive. There was room for three full sets on the A4 sheet, plus decals for the pit equipment and race suits.
The decals were printed on an Alps by the late Colin King. Unfortunately, I don't have a photo of the printed sheet, since it was sent directly to the customer. All in all, I spent nine hours on the artwork plus communication. | 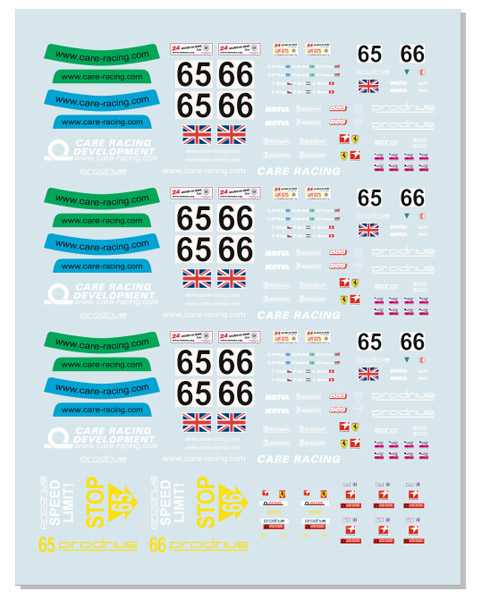
|