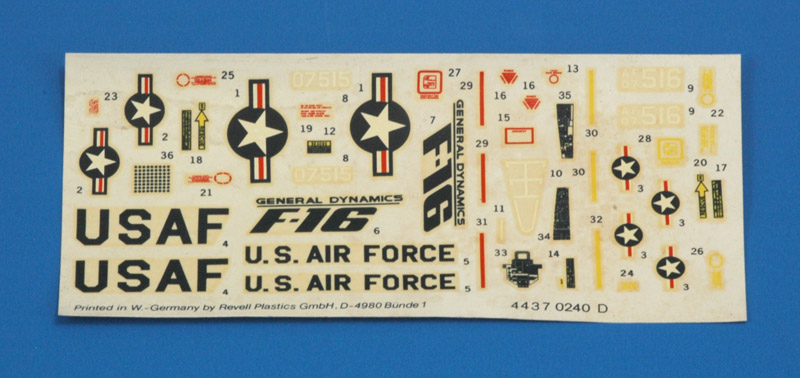
| In this example, I was my own customer. The decal sheet of the classic Revell 1/72 F-16 from 1976 (H-222 and derivatives) looked quite sad and tired. And of course, the decal film had yellowed. |
| Here's a photo of the decal sheet of my kit, most likely over 40 years old. The biggest problem for me was that it was printed with one intermediate color for both the black and dark blue parts |
|
| The markings shown here were done according to the USAF standards as outlined in Tech Order 1-1-4, that can be found online. They did not match the Revell designs perfectly, but I preferred the correct markings.
The fact that Revell used a common ink for black and dark blue decals creates a question mark: what color should the 'USAF' and 'U.S. AIR FORCE' texts have? The box photo shows black markings. Tech Order 1-1-4, 1978 and 1994/1998 issues, says in section 3-3 'General specifications for lettering and numerals used in marking of aircraft': "Unless otherwise specified herein, insignia blue, color No 15044, will be used for letters and numerals applied on gray or white surfaces. Gloss black, color No 17875, may be used as a substitute for the insignia-blue. Insignia-white, color No 17925, will be used on red finishes". Therefore, the Tech Order does not help with the color choice, except that the black 'USAF' on the red wing should have been white. In the end I chose black. Note that the bars in the 'star and bar' designs are slightly offset to the top side, a fact overlooked by many decal designers. Finding the correct printing colors can be really difficult. The 'insignia blue' in the star-and-bar is very dark, and it took me several attempts to find a good match. But I have no control over what the (outsourced) printer does with the colors, so it remains difficult. | 
|
| The remainder had to be drawn by hand over the scan. This varied from a done-in-five-seconds warning stripe, to a highly detailed cockpit panel that took half an hour.
The yellow markings were probably orange on the real aircraft. For the first print, I decided to keep the decals yellow, but they can be changed to orange easily of course. My first guess would be FS 33538, a warm yellow. |
| For completeness, I also added the decal numbers. I combined decals 10 and 11, for my own convenience. I don't know why Revell would split those air refueling markings. | 
|
| The last step is splitting up the artwork to prepare it for decal printing. I had these decals printed by SpotModel in Spain, and they supply a template with instructions. According to these instructions, I made three layers, shown staggered here for two decals: the bottom layer with a white undercoat, a middle layer with the artwork, and a top layer for the decal film, shown as an outline here. | 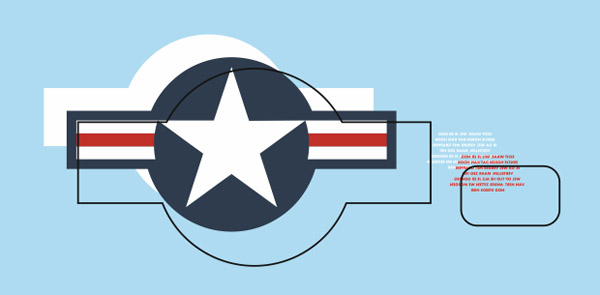
|
| Here's the end result. I decided to retain the layout of the original decal sheet, including the numbers, just for fun. SpotModel printed the design. I like the vibrant colors, and the decals have individual decal films, just like commercial decals.
I did not record the time spent on this decal sheet, but I would estimate it at six hours. | 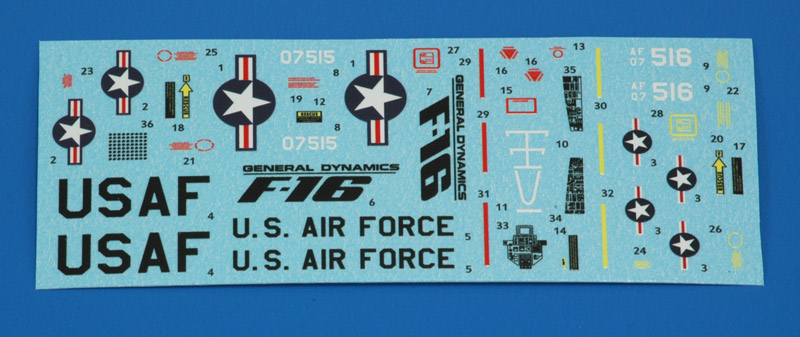
|
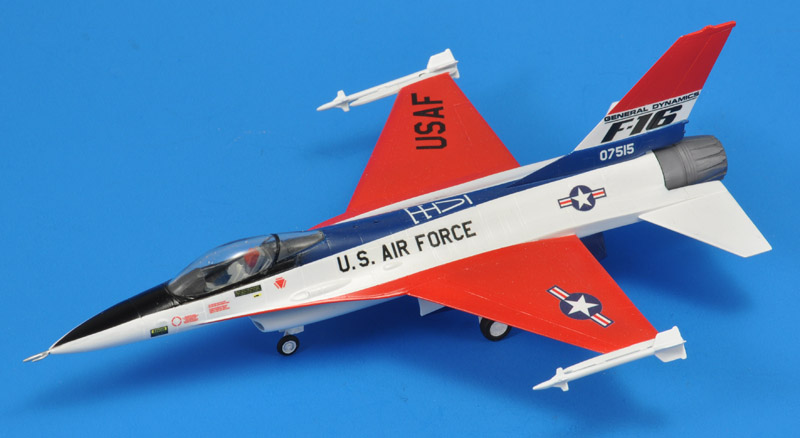
| The finished model achieved the goal of representing the box art model. Since weathering did not exist yet at that time, I did not weather the model. |