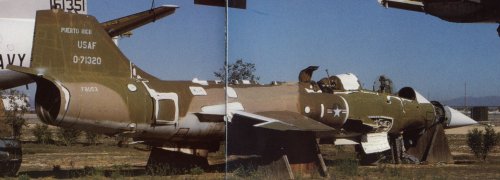
As mentioned on the TF-104G page, I have two Hasegawa TF-104G's, and the second one should become a Puerto Rico ANG F-104D in storage at Davis-Monthan. Photos of this aircraft, 57-1320, can be found in several books about AMARC. I had always wanted to try an aircraft partly in spraylat, and with some parts missing. When my modeling friend Tjepke showed me his Verlinden Detail Set for the TF-104G, I knew I had found the right aircraft. As it happens, 57-1320 has all three hatches on the right forward fuselage open, and Verlinden provides interiors for those. I don't care much for open hatches on normal models: it feels like showing off to me, and in real life the hatches are closed most of the time. But on a gutted aircraft like at AMARC, it's really appropriate. Another aspect of the choice for this aircraft was that the real aircraft has only a few markings, and these can be made easily with an Alps printer. And so I started work on my third Starfighter model. I later bought an Eduard photo-etched set for the TF-104G (72-115), but I haven't used it so far. |
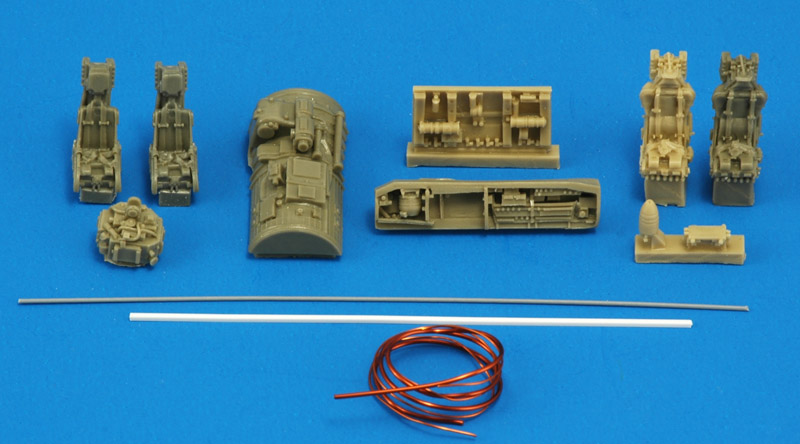
The resin parts: left to right two C2 seats, radar set, the partial engine, hydraulic hatch, electronics and oxygen bay, Marin-Baker seats, ram-air turbine bullet, radar antenna base. |
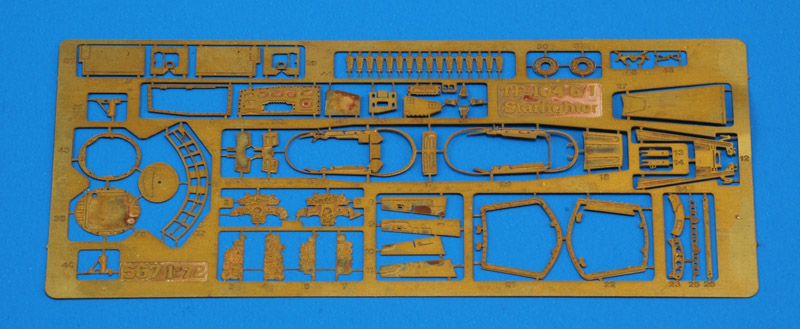
The large photo-etched sheet: |
I started with the three hatches on the forward fuselage (from front to rear: avionics, ram air turbine, liquid oxygen). My inexperience with removing hatches showed clearly when I opened them. I had scraped the interior very thin, and then tried to cut out the hatches, attempting to get them out clean, so I could use them again. Very wrong. The thin plastic deformed severely during my cutting attempts, and both the fuselage and the hatches were damaged. With 20/20 hindsight I would have taken my losses with the hatches, and would have started with drilling holes in the hatches, followed by lots of cutting and filing until the opening was right. Then the edges could be thinned.
Anyway, I could repair the damage reasonable well, and started installing the Verlinden hatch interior. Wrong. It didn't fit. The compartments are stepped, and the resin part does not have the proper steps. Radical solution: I cast a copy of the part, cut out the middle section, and installed the forward and aft ends. The middle one is basically a square box without detailing, so this is the best way around the problem. The photo-etch part around the forward compartment didn't fit either, and had to be modified. I poked through the thin edge of the aft compartment, and roughly repaired it with Milliput. |
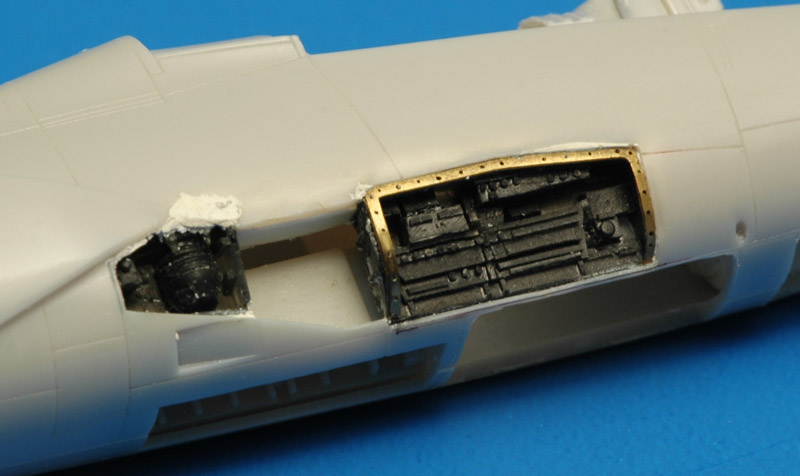
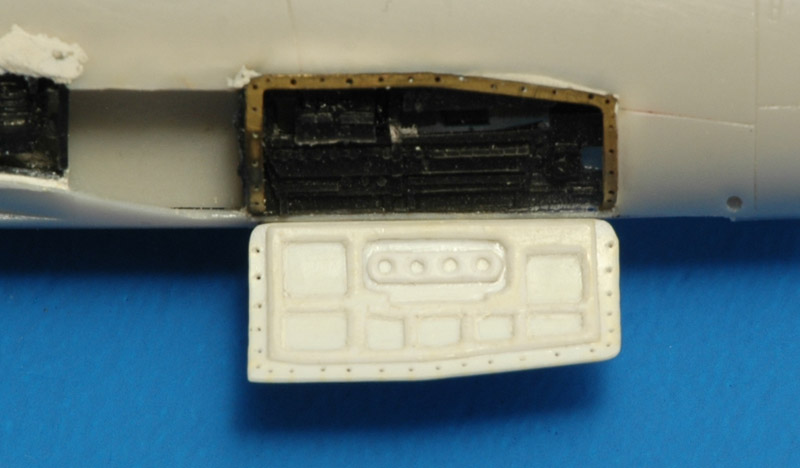
A bit nervous about having destroyed the hatches, I had to prove that I could build a new hatch. Verlinden provides a photo-etch part to detail the interior, but it is rather flat compared to the real thing. I copied the basic lay-out of the photo-etched part on 0.3 mm plastic, and started cutting out the shapes. Then I chamfered the edges, and lastly sanded them slightly. I now had an extremely vulnerable part representing the hatch interior. Next I cut the hatch skin from 0.3 mm card, and rolled it around a brush handle to give it a curvature. From experience I know that this curvature will reduce in time, but this can be avoided by gluing the two parts together. The result can be seen on the left: much better than the combination of Hasegawa hatch and Verlinden p/e. I still have to make the other two hatches, but they are much easier, since they do not require elaborate interior detailing. |
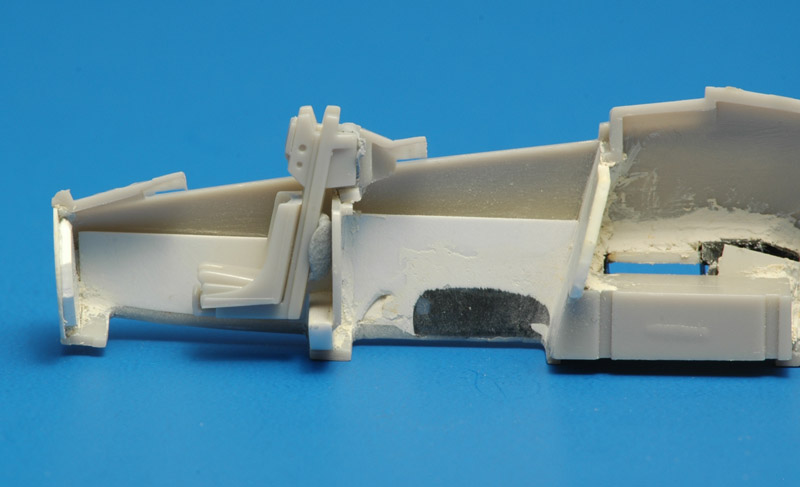
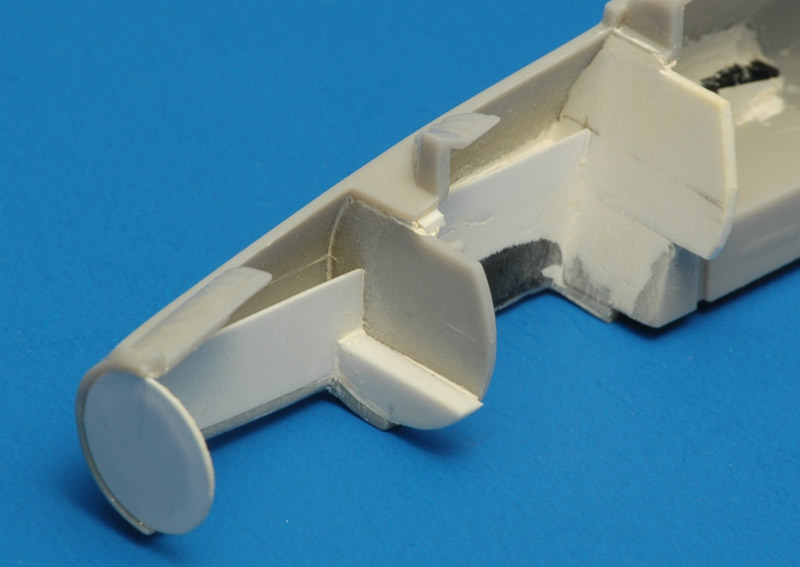
With a very large opening in the fuselage side, it had become really vulnerable. Therefore, the next thing to do was to install the nose gear bay, and glue card in the gaps between the gear bay and the forward and rear compartments. This restored the stability of the fuselage side more or less. The photo on the left shows the situation a few steps further though. You can see three plastic card bulkheads installed, the rear one canted. I don't have a structural design manual of the F-104D, so I used the panel lines on the exterior to establish the bulkhead positions. The rear bulkhead of the front cockpit was given a step, identical to that of the the single seater cockpit.
Next I opened the ejection seat hatches on the lower fuselage. These are probably remains of the old downward ejecting seats, but were retained on later versions to allow easy seat removal. In the AMARC photos of 57-1320, the hatches are removed, and the seats are lowered through these hatches. |
This photo shows the same as the previous photo. It also shows the side consoles under construction. I want to portray them largely gutted, and this is easier built from scratch than modified from kit parts. I will probably not use the Hasegawa cockpit parts at all, even though they are very nicely done. One of the next jobs is installing C-shaped ejection seat rails against the bulkheads.
The last detail to mention is that the radome plus the forward metal part are sawn off. These move forward together on rails, to allow access to the radar avionics, and on 57-1320 they are pulled forward. The radome parts were assembled again, scraped thinner, and are now ready for installation. |
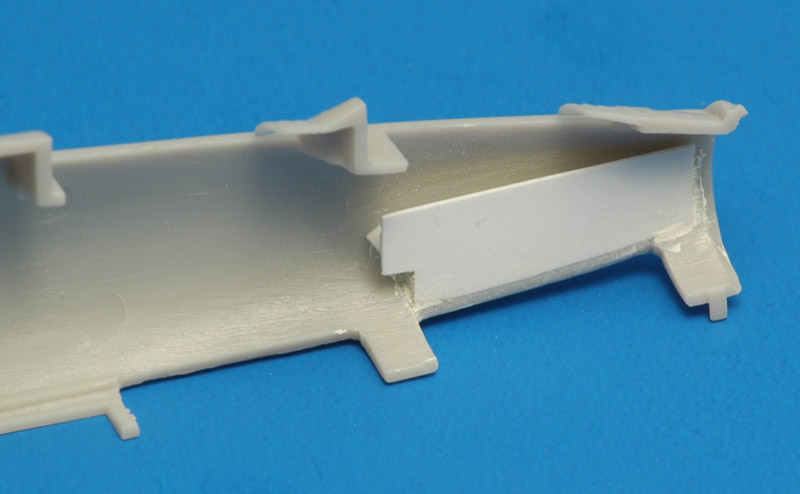
Identical work was performed on the left fuselage half. It requires lots of fitting, because the side consoles had to fit between the bulkheads in the right fuselage half. |
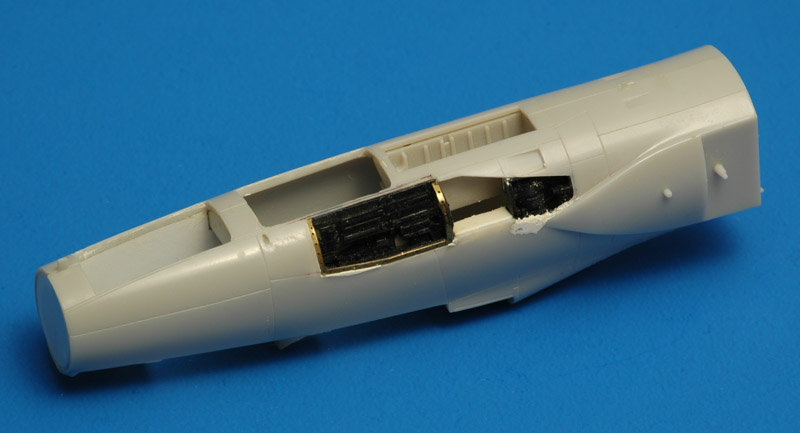
This photo shows the openings created in the lower front fuselage. You can see the very thin edge remaining between the rear ejection seat hatch and the forward compartment. The ram-air turbine compartment has a roof piece added, but it is not finished yet. |
The tail section shows a number of modifications. The rudder was removed, but the remains of the piano hinge are still to be added. This Starfighter had its horizontal tail removed, and for this removal, the fin cap was also taken off. Two details to add are the horizontal tail pivot, and the horizontal tail actuator arm. Like with the TF-104G, I will have to fill hundreds of stupid rivets. Hasegawa what were you thinking?! Another 'interesting' job will be to create an interior inside the tail, because there is no engine anymore. |
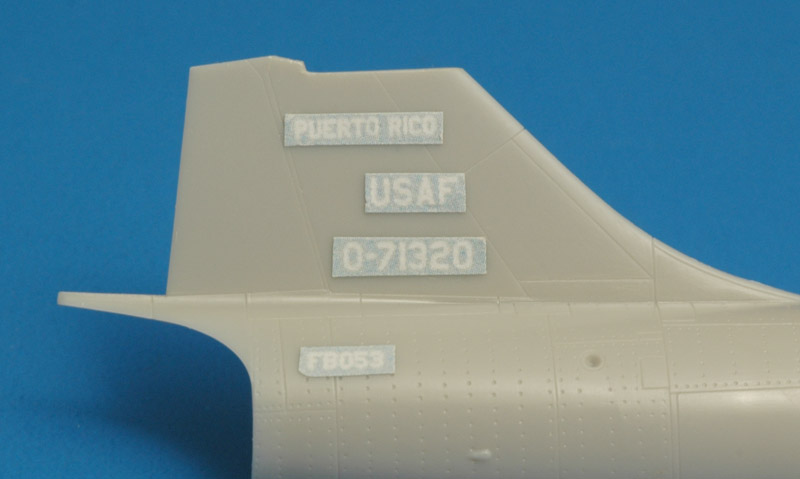
I will use Alps-printed decals for the (few) markings on this aircraft. I designed the artwork in CorelDraw, and printed it on a sticker sheet. This allowed a final check of the dimensions of the decals, as can be seen above. On the rear fuselage you can see the AMARC park code 'FB053'. In the mean time the real Alps decals have been printed, and they turned out very nice.
Later I found more PR ANG F-104 decals. Propagteam sheet 72104 has decals for an F-104C, but its markings are too different from my F-104D to be useful. The old Esci F-104C kit (#9011) also has decals for a PR ANG Starfighter, and they are quite close to my decals.