1/25 'Duel' Peterbilt 281 windshield gaskets
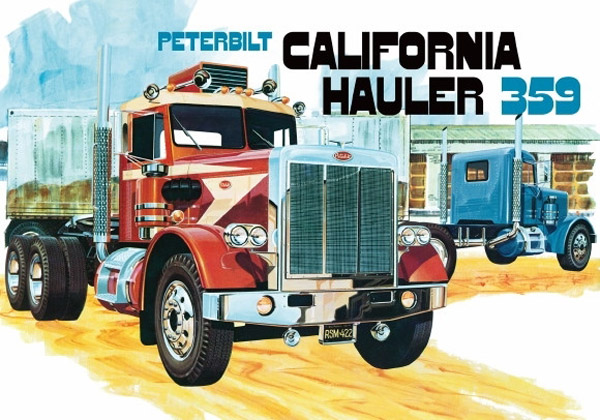


The movie 'Duel' made an impression when I saw it as a child, just like 'Convoy' did in a different way. 40 years later, I have plans to build two US trucks: the 'Duel' Peterbilt 281 and the 'Convoy' Mack R700. For the Duel truck, you generally start with the AMT Peterbilt 359. It's a complicated project: cab, hood, grille, wheels, tires, engine, axles have to be changed. I started work on the front wheels and the cabin's front windows.


The Peterbilt Spotters Guide reports: "Post-1960 Unilite cab that featured larger glass, a new instrument panel, smaller rubber windshield gaskets and a larger rear window" and "This view shows the pre 1960 cab. Note the slider rear window, the drip rail that surrounds the roof of the cab". I also found "The (Duel) cab is earlier and has even smaller windows than the California Hauler 'small window' Unilite cab 351 and AITM has the correct cab."

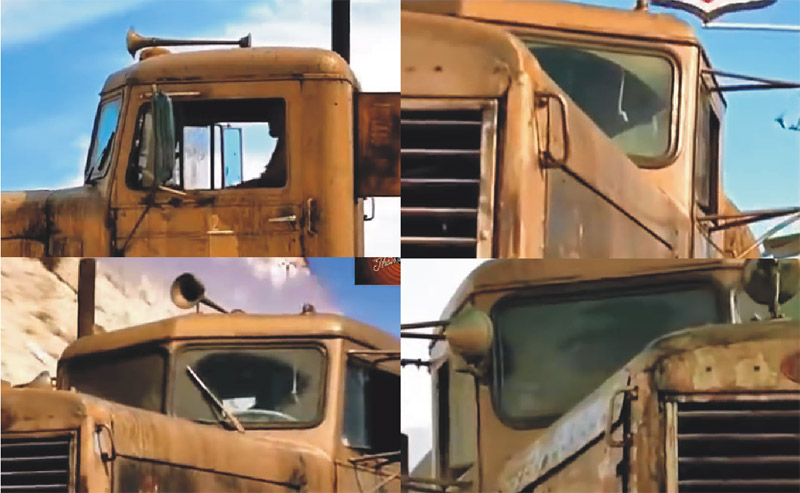
The movie truck is a 1955, so it has a drip rail above the windshield, therefore the windshields must be decreased in height. The cab is probably steel instead of aluminum (Unilite), hence no rivets, or less rivets.

The photo compilation shows these details clearly. The solution might be simple: design 3D printed wide rubber gaskets, slightly lower windshields, to be glued inside the kit's window openings. An alternative is to make the rubber gaskets with (for example) two lead wire diameters.
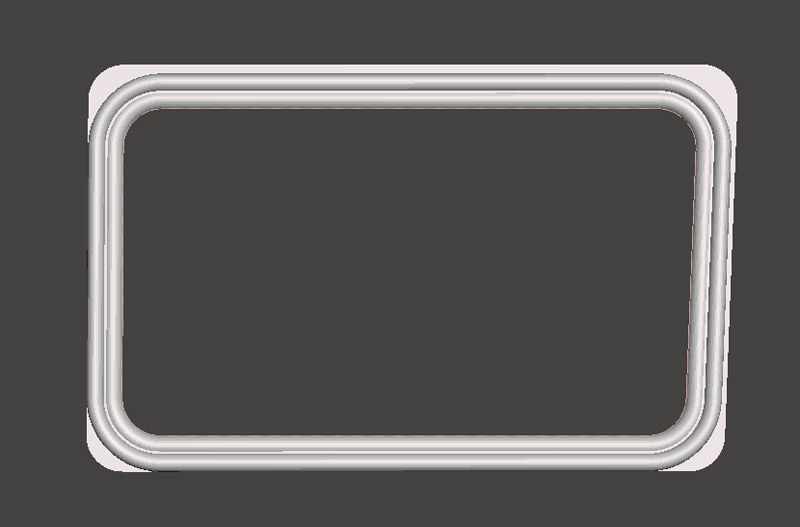
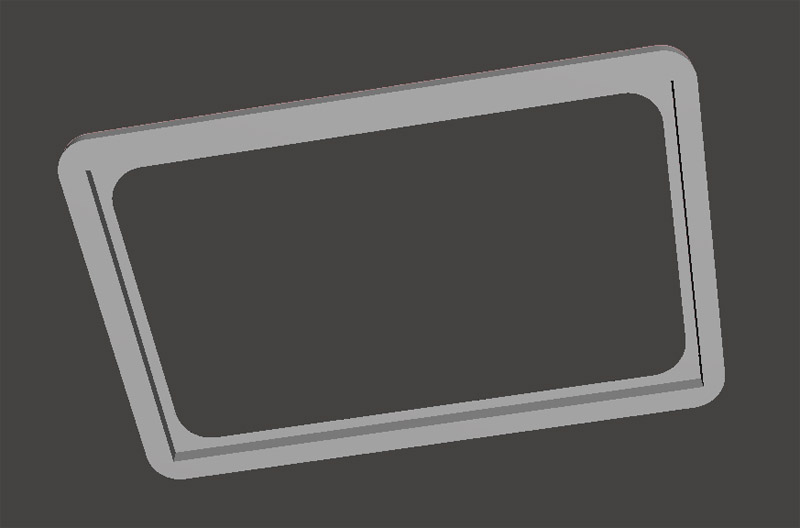
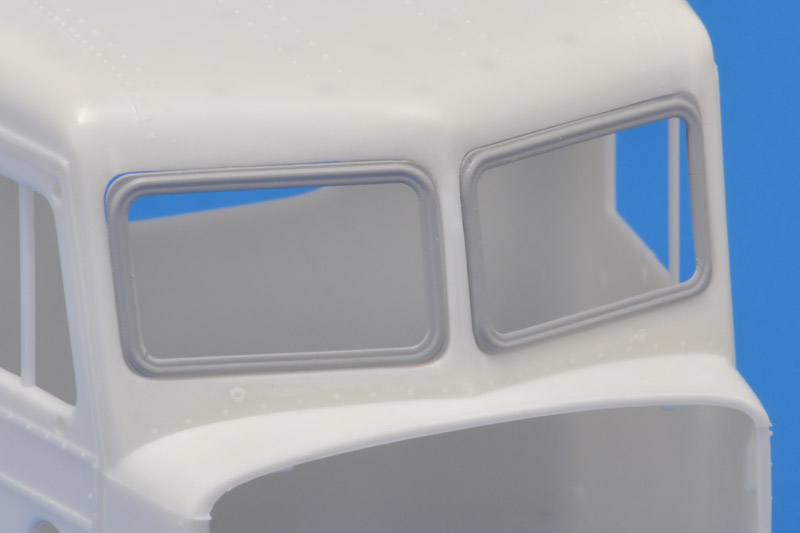
Here's the first version of the windshield correction piece. The radius of the pre-1960 windshield corners are much larger, so I decided to start with an insert made to fit the kit windows, and added the rubber gasket on top of that piece. On the top side I left 0.5 mm to create a bit of space to the drip rail.
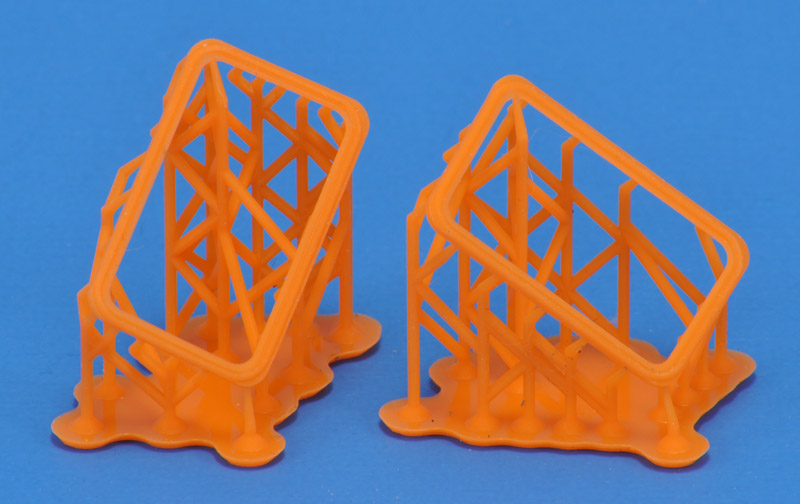
On the back side I made a recess for the windows. One problem might be whether the part as designed is printable. It will require a ton of supports I guess.
The prints by club member Wim turned out fine. I was afraid that they would be too floppy to print.
I gave the parts four light coats of Tamiya Surface Primer. They fitted nicely in the window openings, with minimal sanding of the corners. I based the design on measurements the left window opening, therefore the fit of the right-hand part was a little less tight.

The kit's cabin had moldings around the windows, the chrome trim. Since these were not present on the old 281 version, I sanded them all off. The 3D printed parts can be glued in now.


Return to models page