3D printed parts for the 1/25 Peterbilt 281 from 'Duel'


The movie 'Duel' made an impression when I saw it as a child, just like 'Convoy' did in a different way. 40 years later, I have plans to build two US trucks: the 'Duel' Peterbilt 281 and the 'Convoy' Mack R700. For the Duel truck, you generally start with the AMT Peterbilt 359. It's a complicated project: cab, hood, grille, wheels, tires, engine, axles have to be changed. I started work on the front wheels and the cabin's front windows.


Front axle wheels

The front axle wheels have been identified as five hole (diamond shape), split-rim Budd wheels. First, I wanted to know whether the wheels were 20" or 22" diameter. I had heard or read that director Spielberg had bigger wheels and tires fitted, to make the truck look more menacing. On the MCM forum, Brian Smith suggested comparing the bolt pattern diameter to the rim size - an excellent idea!
I did a photo measurements of three movie screenshots, and determined the relative size of the bolt pattern diameter compared to the outer rim size. I averaged the size of the outer and inner bolt pattern diameters. The middle and right one agreed nicely at 44%, the left one resulted in 52.6%. Maybe we don't see the whirling nuts, just the the sheet metal disc?

Next was finding the value of the bolt pattern diameter for US 10-bolt wheels. 11.25" / 285.75 mm kept coming up on the internet, so I used that. Using that figure plus the 44% from the photo analysis, I get 11.25"/.44 makes 25.6". Deduct two times 2 inch for the tire retaining lip, and I get ~21.6". That's close to the 22" I was guessing. The value of the tire bead retaining lip comes from a Dutch reference from 1961 (Steinbuch); it lists 50.8-51.0 mm (i.e. 2 inch) for 10.00W-20 wheels. But I have no idea whether that number is correct for US trucks.

I will assume 22" wheels from here on.
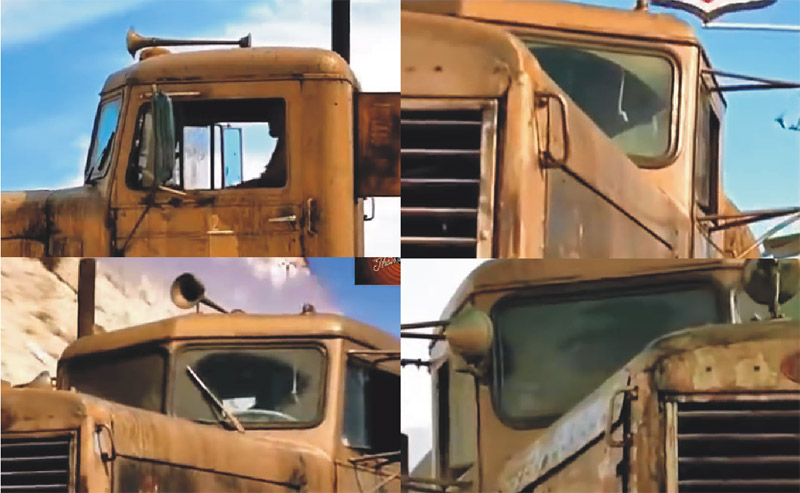
Apparently wheels for the Duel truck were made by 'Griffen Designs' in resin around 2009, but they no longer active (see The Duel Truck, who makes a kit). Also mentioned are the front wheels of an AMT fire truck, likely the American-LaFrance Custom Pumper / Ladder Chief / Aero Chief series of models. What I found showed five-hole wheels, but the holes were D-shaped, and I could not find the size. Lastly, the Moluminum Tyrone Truck Mate Wheels. Also a five-holer, but with elliptical holes, and again I could not find the size. 'DoubleTake' is also mentioned, but has closed shop.

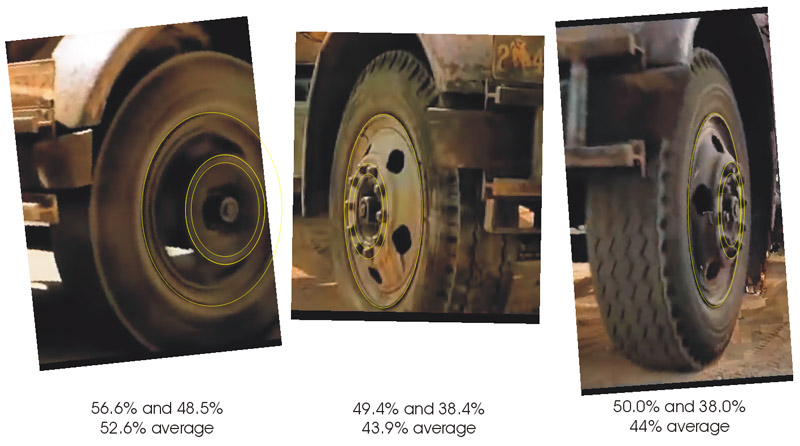
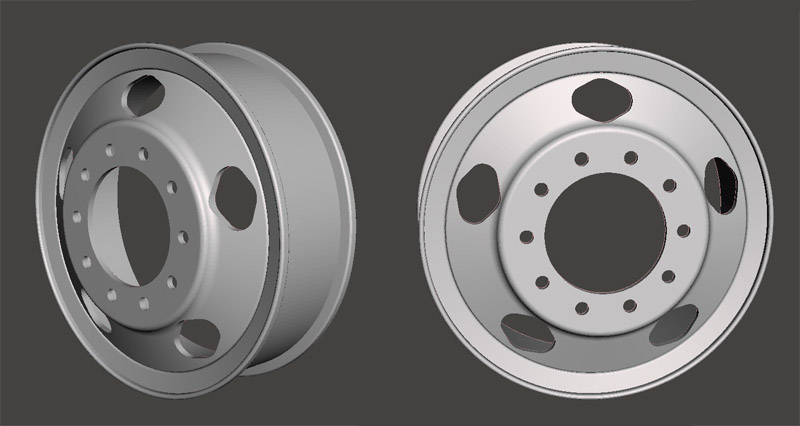
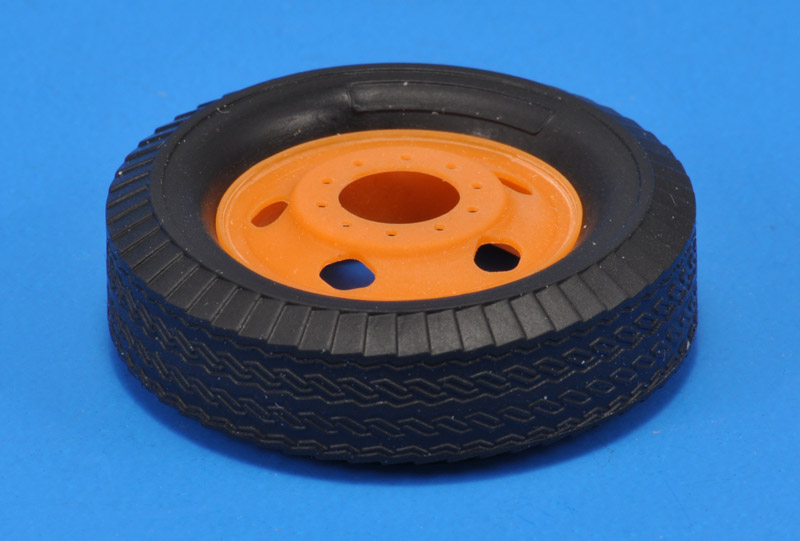
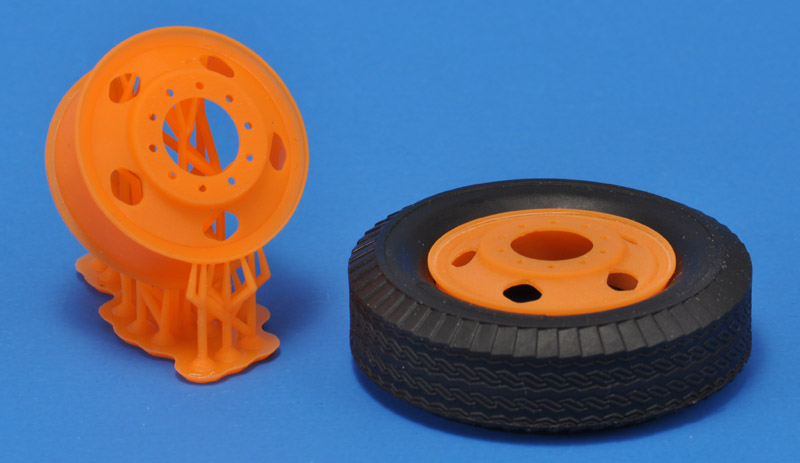
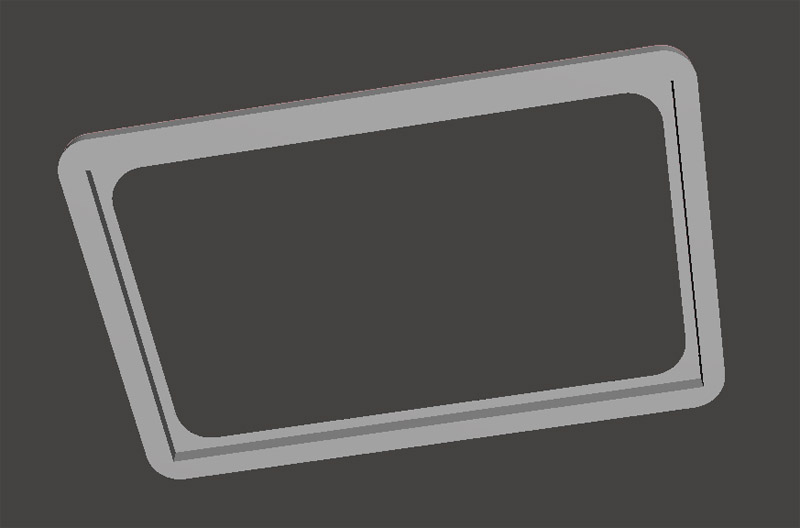
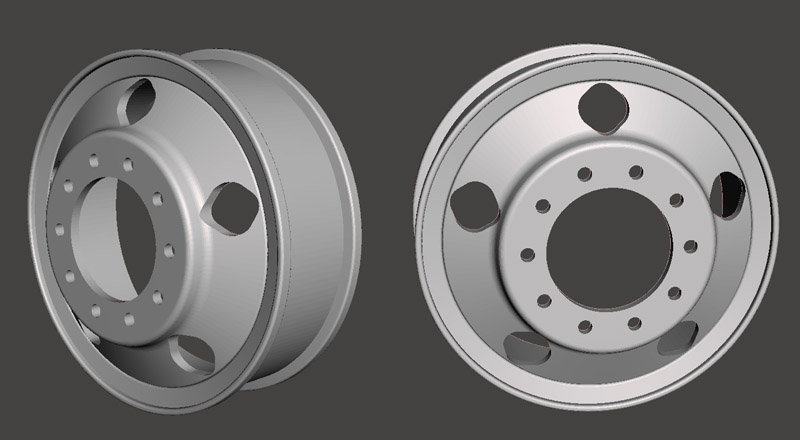
I concluded it was easier to have my own wheels printed, than find and order them from the USA. Here's my first version of the front wheel in 3D. It needs to be refined. All dimensions in 'axle direction' were guesstimated from the photos, I don't have a way to measure them.

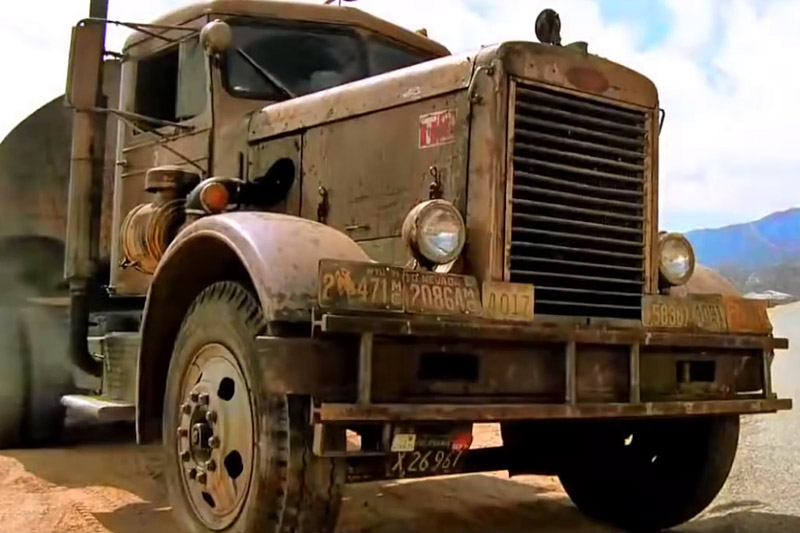
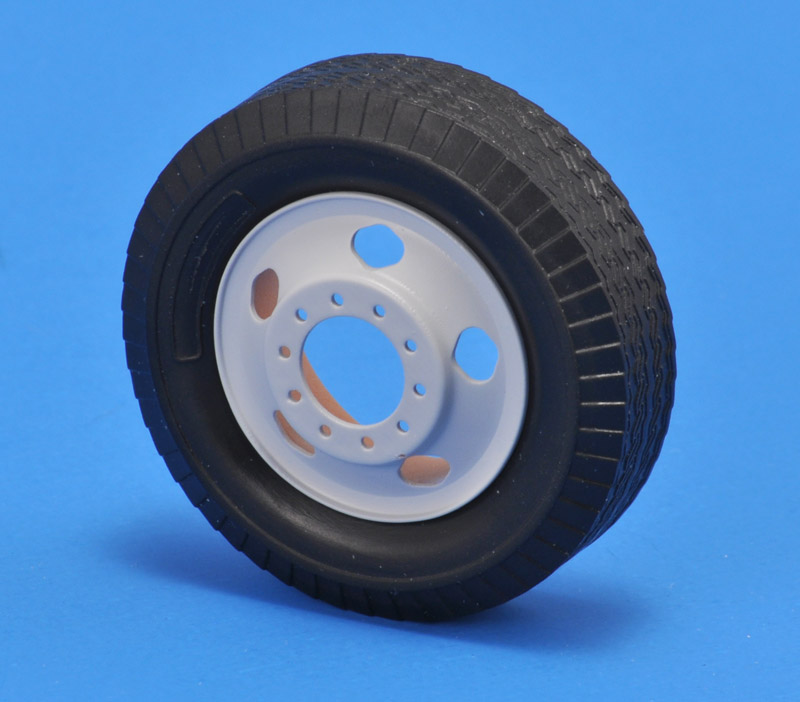
Note to myself: the front wheels have different colors.
A second version of the front wheel. Wider diamond cutouts, a slightly less dished disc, slightly smaller wall thickness for the disc.
Here's the first print by club member Wim Hoogendoorn, in orange resin no less. It looks great I think! But I clearly made a mistake with the wheel width. With the tire beads on the rim, the wheel sits too deep in the tire. I'll have to redesign the 3D CAD part.
Shown here are the first print with the tire only half on the rim, and the second print with changes. I increased width between the tire beads by one millimeter, and increased the depth of the disc by the same amount.
I gave the parts four light coats of Tamiya Surface Primer. The wheel fitted nicely in the AMT Parts Pack tire. I think I'm done!


Cabin front windows modifications

The Peterbilt Spotters Guide reports: "Post-1960 Unilite cab that featured larger glass, a new instrument panel, smaller rubber windshield gaskets and a larger rear window" and "This view shows the pre 1960 cab. Note the slider rear window, the drip rail that surrounds the roof of the cab". I also found "The (Duel) cab is earlier and has even smaller windows than the California Hauler 'small window' Unilite cab 351 and AITM has the correct cab."

The movie truck is a 1955, so it has a drip rail above the windshield, therefore the windshield must be decreased in height. It's probably steel instead of aluminum (Unilite), hence no rivets, or less rivets.

The photo compilation shows these details clearly. The solution might be simple: design 3D printed wide rubber inserts, slightly lower, to be glued inside the kit's windows. Alternative one could make the rubber gasket with (for example) two lead wire diameters.
Here's the first version of the windshield correction piece. The radius of the pre-1960 windshield corners are much larger, so I decided to start with an insert made to fit the kit windows, and added the rubber gasket on top of that piece. On the top side I left 0.5 mm to create a bit of space to the drip rail.
On the back side I made a recess for the windows. One problem might be whether the part as designed is printable. It will require a ton of supports I guess.
The prints by club member Wim turned out fine. I was afraid that they would be too floppy to print.
I gave the parts four light coats of Tamiya Surface Primer. They fitted nicely in the window openings, with minimal sanding of the corners. I based the design on measurements the left window opening, therefore the fit of the right-hand part was a little less tight.

The kit's cabin had moldings around the windows, the chrome trim, as can be seen in the movie screenshots shown above. Since these were not present on the old 281 version, I sanded them all off. The 3D printed parts can be glued in now.


Return to models page