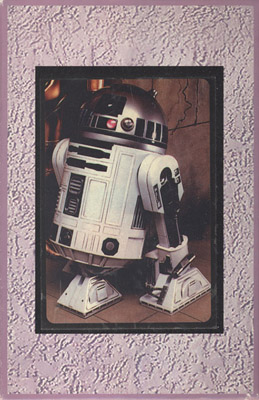
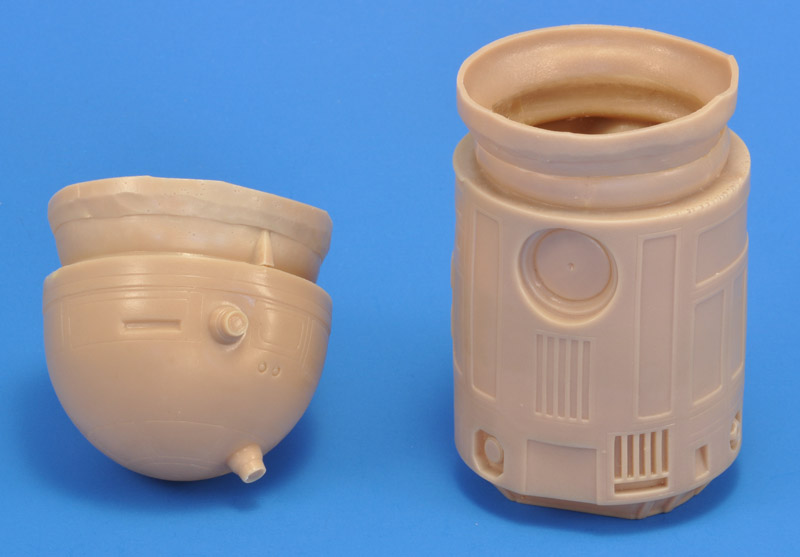
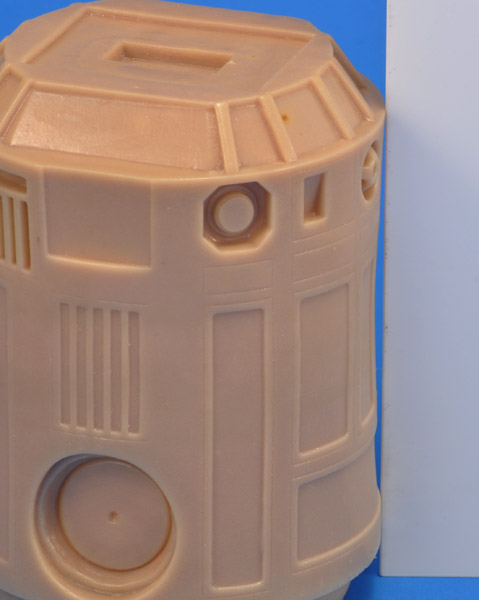
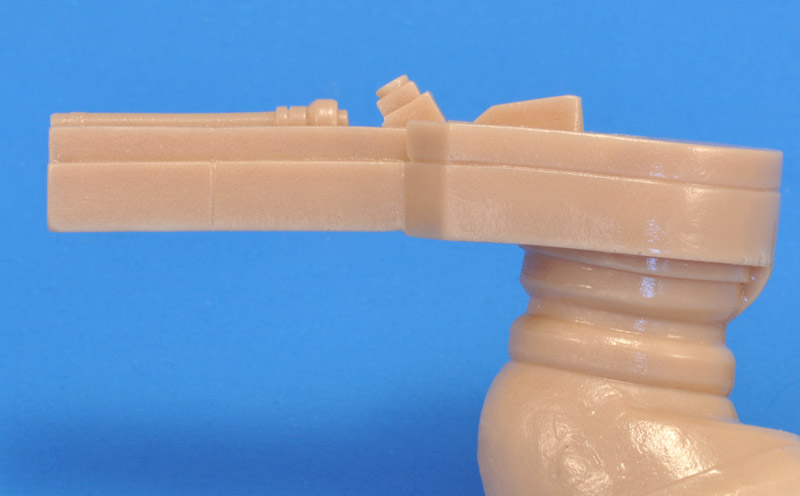
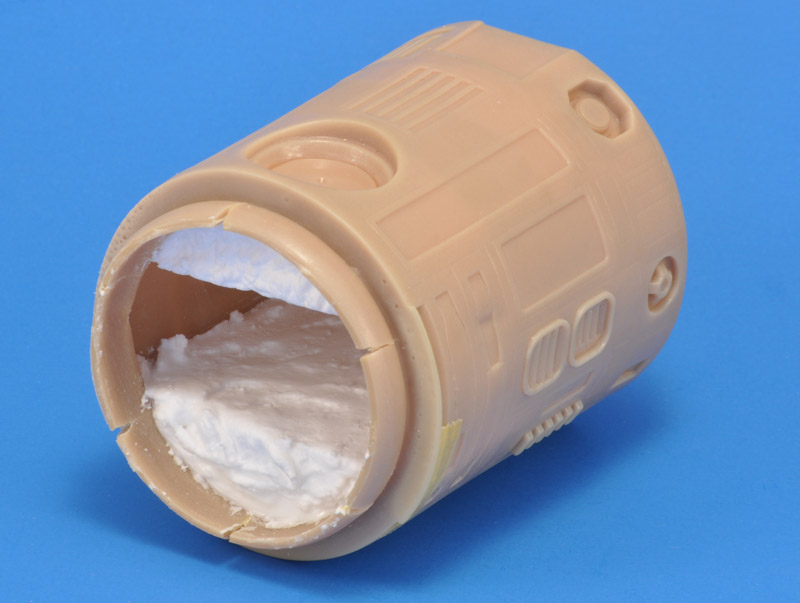
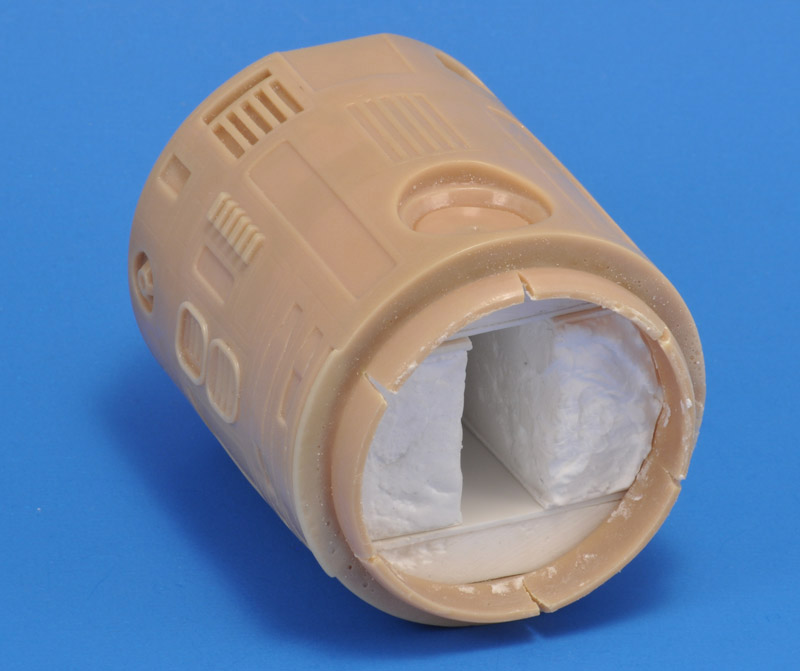
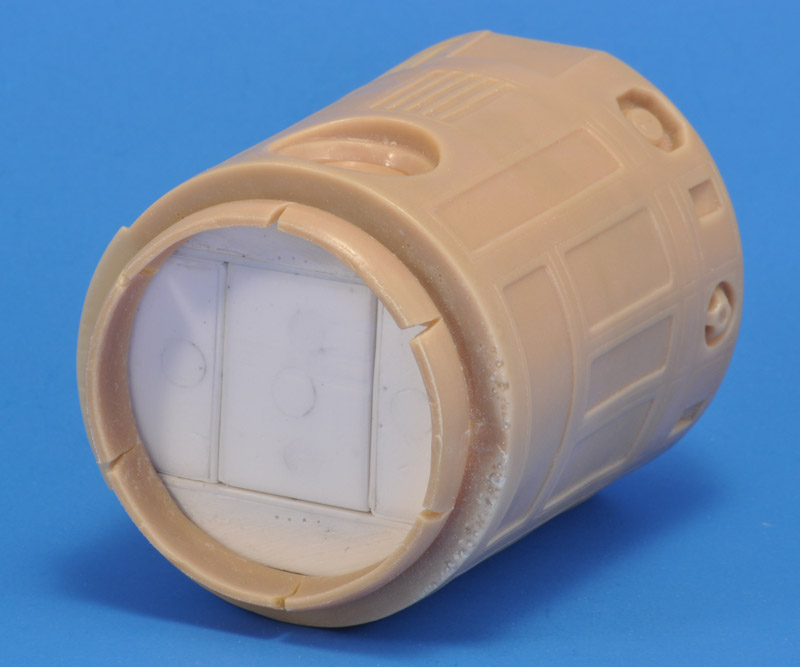
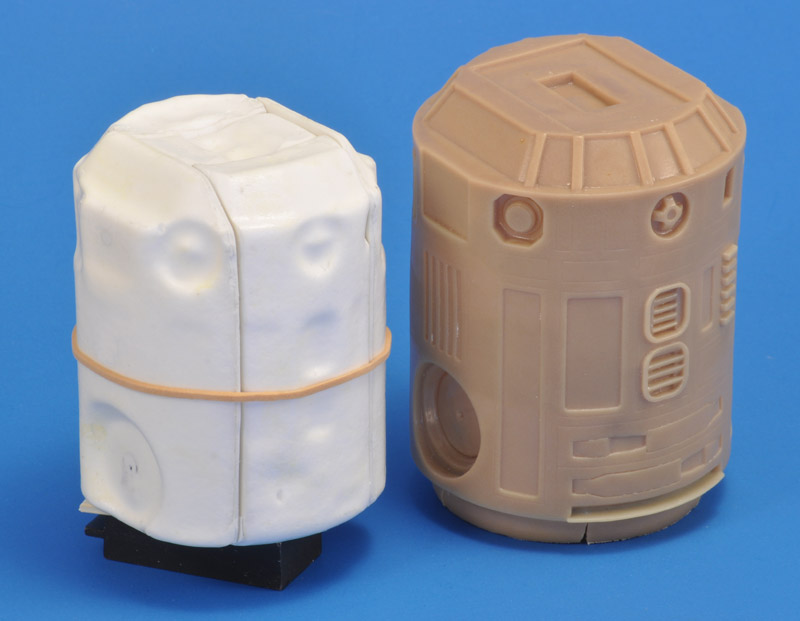
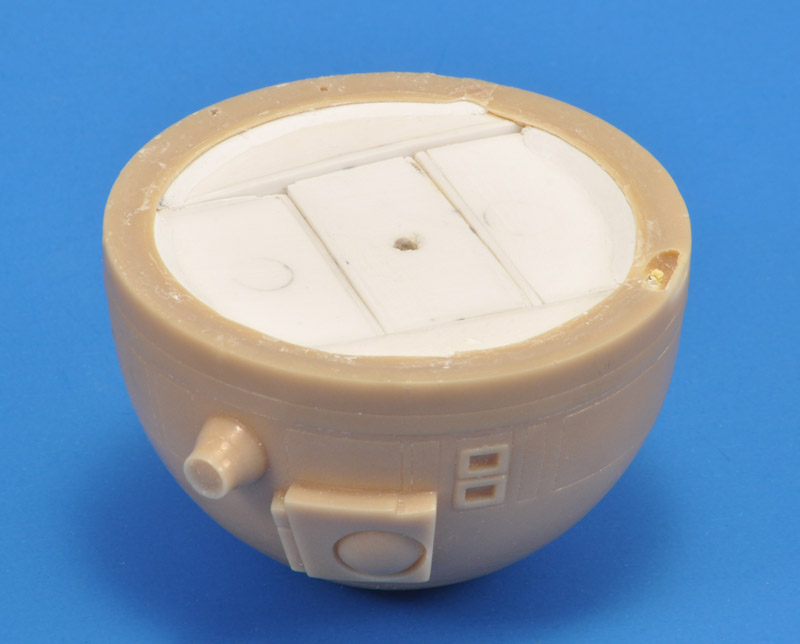
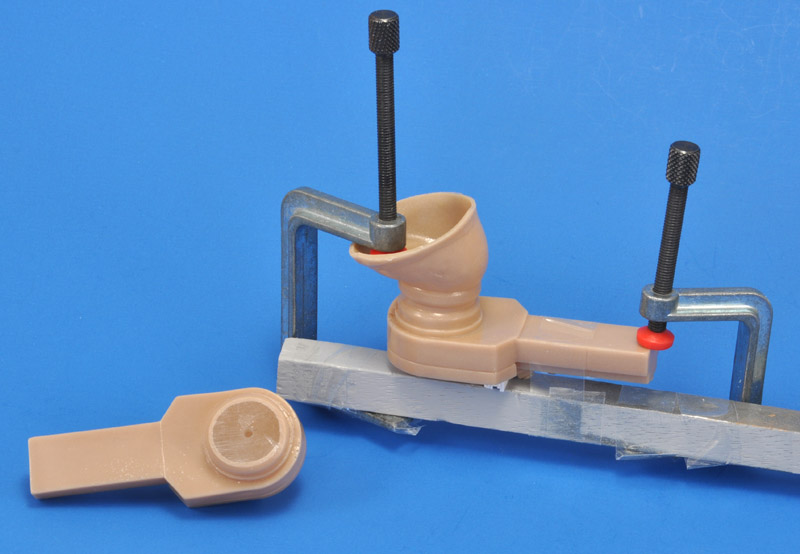
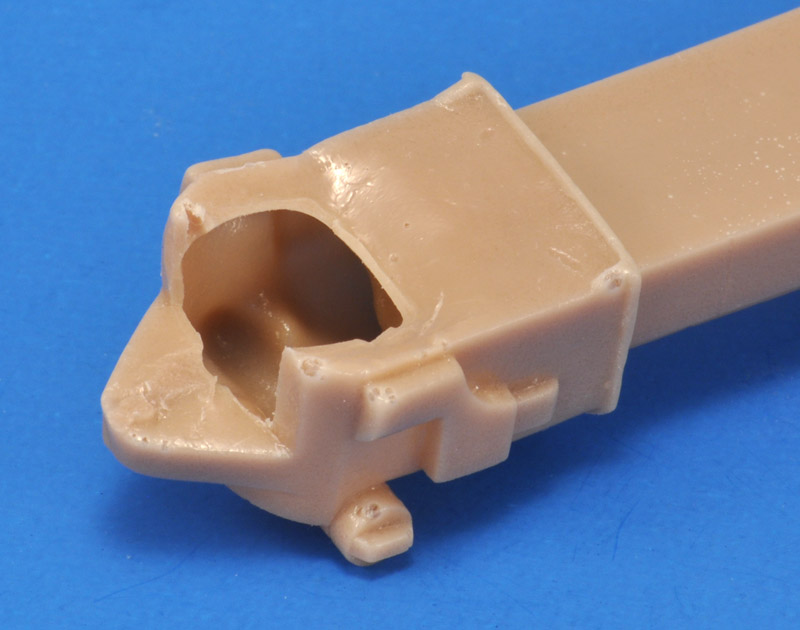
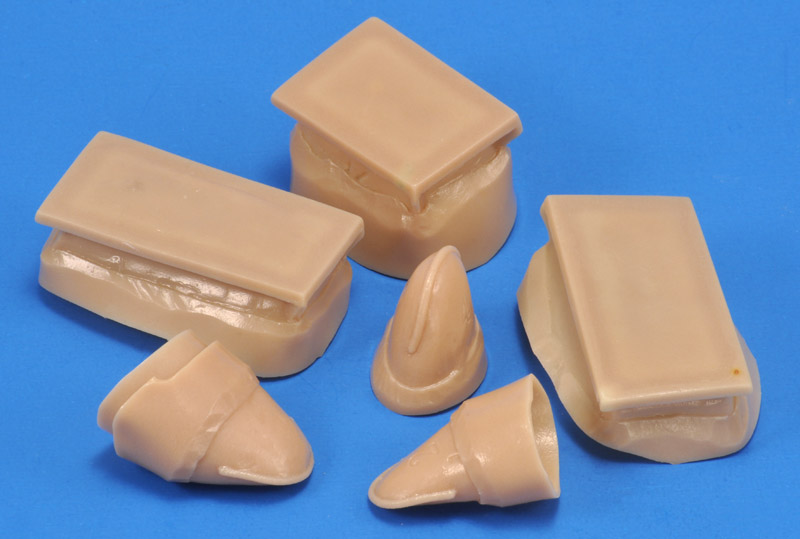
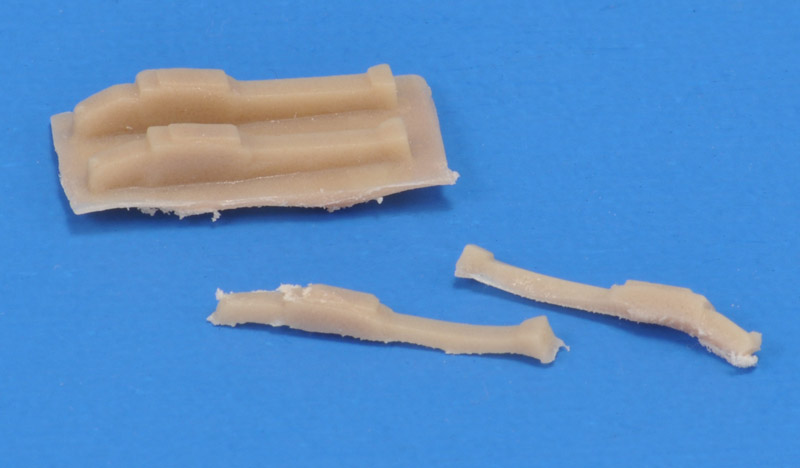
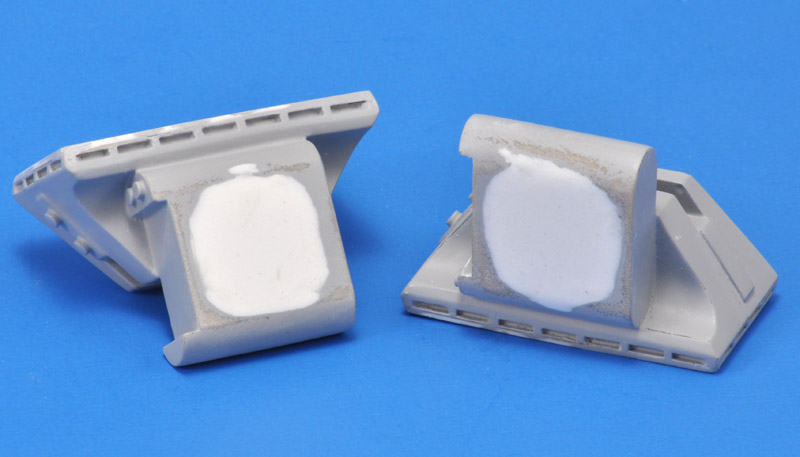
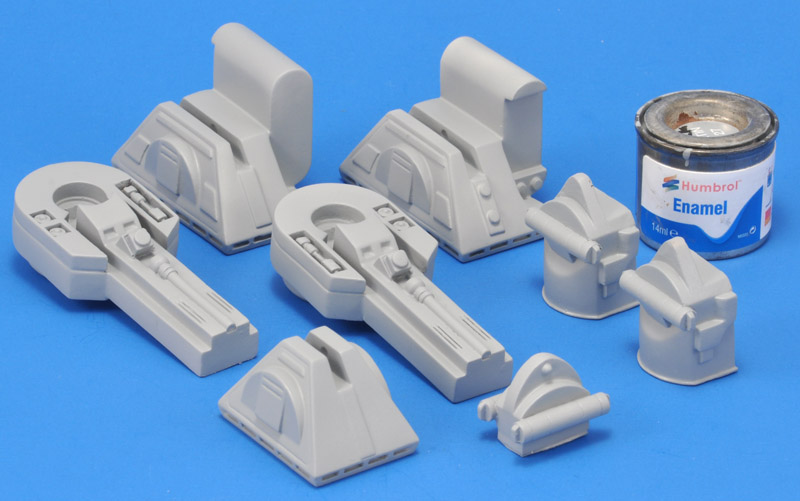
Inspired by various articles in Fine Scale Modeler about vinyl models, I bought this kit in 2001, at Van Nieuwenhuizen in Rotterdam, for 37 euros. I wanted to see what this 'new' material was all about, but I picked the wrong subject. Vinyl parts are apparently always slightly warped, and for a 'technical' object like R2-D2 this easily becomes a real problem. My kit had various deformed parts. For years I looked for ways how to solve that.
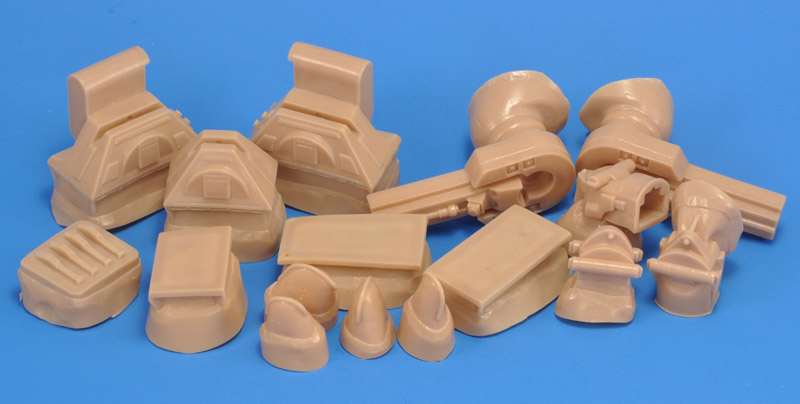
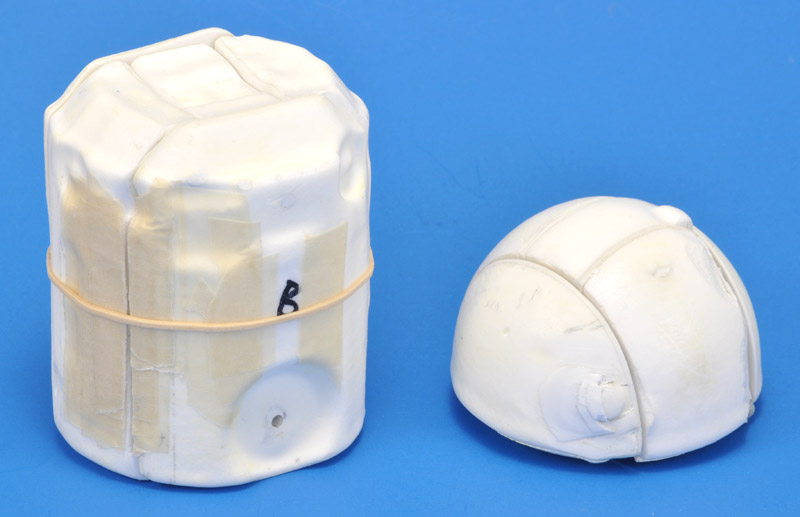
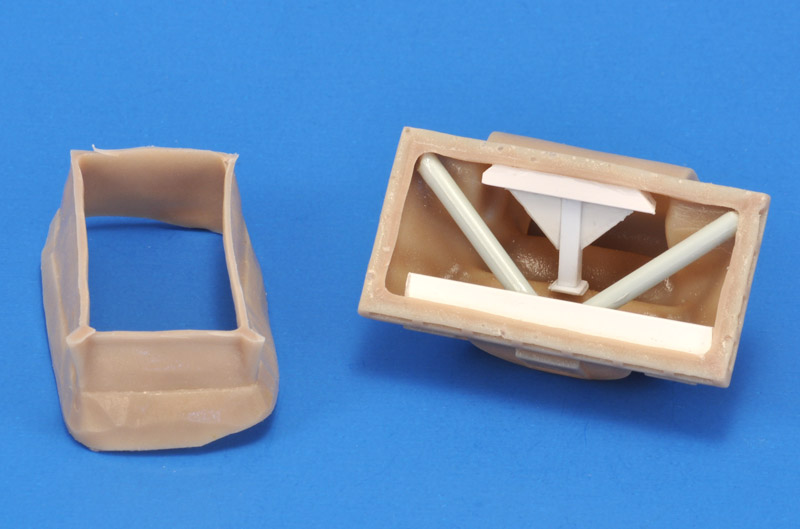
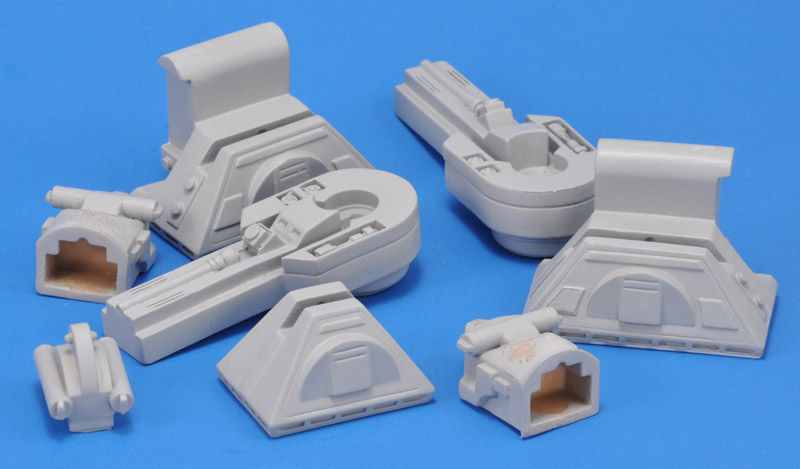
Slowly but surely I came up with a solution, but the amount of work held me back for a long time again. In the December 2015 issue of Fine Scale Modeler, an article about 'my' model was published, and it had similar deformations. That was comforting, and after a while I started the project. It's pretty crazy though. |
There is no brand anywhere on the box or on the shitty instructions sheet. The parts look identical to the Japanese Kaiyodo kit from 1994. Therefore it's most likely an unlicensed recast. I've found the brand names Sol and Elfin.
First the two largest parts: the body and the dome. They both had a substantial pouring lip that had to be cut off. The first 25 minutes of this video shows the complete production process of a vinyl model kit: Top 5 Most Viewed Japanese Manufacturing Process Videos in the First Half of 2024 | ![]() |
![]() | An overview of the smaller parts, sixteen if I counted them correctly. |
I quickly noted that the body wasn't a straight cilinder in places. Here's one of those areas where the side has caved in a bit. | ![]() |
![]() | The dome had a peculiar dent, that could be very difficult to repair. If you fill the dent, the projector will be too short. |
Some of the smaller parts are also deformed, like this leg piece. Basically it makes the kit unbuildable. From what I see on Ebay auctions of the original Kaiyodo kit, it had the same slightly deformed vinyl parts. It seems the problems were not introduced by the recasters.
The scale is not listed on the box or the instruction sheet. The model is approximately 160 mm tall, and the real thing is around 1090 mm according to the internet. That makes a scale of 1 to 6.8. The original Kaiyodo kit has the scale listed on the box as 1 to 6. | ![]() |
The December 2015 issue of Fine Scale Modeler included a feature article by James Green on the build process of his Elfin model. | ![]() |
![]() | Here's the section that lists the shape defects. That made me feel a lot less worse about my model - I concluded my kit's problems were more or less standard for this model.
It made me start a laborious process to correct the model's problems. However, I used different methods than author James Green. |
My plan was to fill the interior of the body and dome with a multi-part solid interior. By building up the exterior of the interior, using 0.1 mm paper layers, the areas where the vinyl had caved in could be pushed out. The shape problems could be solved gradually. The only risk was that the vinyl would split due to the tensile stresses.
Before commencing the operation, I used a cardboard circle template to check the roundness of the body. It would be stupid to lock in an oval shape with my inserts. But luckily the body was round. | ![]() |
![]() | Considering the volume required, a paste mixed from epoxy and microballoons was best suited. They mix into a thick paste that isn't too heavy (0.5 to 0.6 specific gravity). You have to add microballoons until the paste becomes quite dry and grainy, this gives a paste that stays put and won't sag.
The epoxy comes from R&G Faserverbundwerkstoffe in Germany via their Dutch supplier Carbonwinkel, the microballoons are from Polyservice in The Netherlands. |
I started building five piece interiors, that could be inserted through the smaller-diameter opening. The interior of the body was waxed multiple times, then the paste was applied to build the first two parts. | ![]() |
![]() | After curing, I popped the insert parts loose after a 24 hour cure. It looks very rough and ugly at this point. |
The inserts were too tall, so I 'machines' them roughly in a drill stand and a router bit. The first plan was to sand down the machining roughness, but I found an easier solution. I glued large pieces of 1 mm plastic card on the machined surfaces. | ![]() |
![]() | Then the next two inserts were produced. I put in plastic card sides first, then applied new batches of epoxy and microballoons. The parts were popped free after a 24 hour cure. |
The third and fourth inserts were cut down on a bandsaw, much easier. I cut them such that the center (fifth) insert would have a slight draft angle.
For the fifth piece, I first inserted four pieces of plastic card, waxed on the exterior, then applied the micro paste. Despite the wax, it was a considerable effort to pull it free. I had to hammer it loose before I could pull it out. | ![]() |
![]() | Here's the set of inserts outside the body. It was a silly amount of work, just to correct errors that the manufacturer shouldn't have made. |
I made a similar five-piece interior for the dome. This was considerably more difficult, since I could not use C-clamps to keep the cured pieces in place while building the next piece - they kept slipping on the rounded exterior. Therefore, the third piece required several filler pieces to correct errors. But the fourth one was perfect again. All this work to remove one dent in the dome.. | ![]() |
![]() | I made a very improvised jig to force the legs straight, then filled them with epoxy. I let each leg cure for two days to be sure the epoxy wouldn't creep. |
The body filler blocks were built up with layers of masking tape, slowly driving out the slight dents in the body.
The filler blocks for the dome required one built-up area, and I used plastic card and CA glue. | ![]() |
![]() | The side feet were also badly deformed - see the pouring stub how this foot was deformed before I used various bits and pieces to make it straight. I will fill it with epoxy resin too. |
Here the lower end of the arms - what a shit piece, with a gaping hole, air bubbles and a crooked tab to connect it to the foot. It will again be a lot of work to make something decent of it. | ![]() |
![]() | These parts will not be used: three bottom plates for the feet (all warped), and three spiral-wound cables (better replaced). |
The last parts to be used are detail parts for the side feet. But I soon found out that they were impossible to use. It requires a lot of sanding of the PVC, and that warps the parts to the point that they are unusable. I saved two of them, and will make resin copies. Sigh again. | ![]() |
I asked my modeling friend Eric about safe paints and primers for PVC, and he recommended making samples since it is very unpredictable. I made test pieces with Mr Surfacer 1200 and Tamiya Surface Primer, and the former worked much better, the latter could be scratched easily. I waited two weeks to see whether strange effects occured (luckily none), then primed all smaller parts with Mr Surfacer. The parts suddenly looked a lot prettier to me. | ![]() |
![]() | The primer revealed fairly deep dents in the side feet, that were filled with Apoxie Sculpt. |
Next step was correcting various defects on the parts, followed by a new layer of spray can primer. But I ran into troubles there: the old layers of primer would bubble in places, getting dissolved by the fresh primer. I decided to switch to my old 'primer': a good layer of Humbrol 127 enamel. That worked well: no more bubbling, and thick-ish layer to sand problems away. And the color is almost exactly the same. But the thick layer had to dry for a week. | ![]() |
The blue color would be critical to get right. I've heard the original movie R2s used 'machinist's blue' (see for example: Time to re-think R2-D2 Blue!). I explored the color with a few mixes from my limited collection of MRP paint, and painted plastic spoons to judge them. Left: Chrome oversprayed with Oxford Blue, middle: Oxford Blue, right: Silver oversprayed with a 2:1 mix of Oxford Blue and Insignia Red | ![]() |
![]() | YouTube videos showing replica build projects can also serve as inspiration. Like this video: Building a Full-Size Functional R2-D2 Droid: The Complete Series. Unfortunately the builder does not mention the paint brand or color. I can only spot a can of 'Spray max 2K 368-0067 Clear Satin Finish' |