Attack Squadron 1/72 RQ-7B Shadow


Early 2013, Attack Squadron from Poland issued their second UAV model, the RQ-7B. I definitely wanted it for my growing UAV collection, and bought it for 10 euros. I expected it to be a weekend project, but this little model turned out to be more than a few days work.


Model description

It was a bit of a puzzle to find out what version were dealing with, so I could search for the correct reference material. As of spring 2017, I believe four versions have been used operationally: the RQ-7A (3.89 m span, retired), RQ-7B (4.3 m span), RQ-7BV1 (with short tip extensions for long wire antennas) and finally RQ-7BV2 (6.22 m span, tapered outboard wings). I haven't found a serial listing that could clarify things, unfortunately. The Attack Squadron model represents the first RQ-7B version.
The kit consists of three resin parts, one brass tube, a photo-etch fret with 24 parts and a decal sheet. The wheels are provided as photo-etched parts, which I don't like much.


Construction

First task was to free the fuselage plus wing and the tail castings from their sprue. The task was fairly easily accomplished with a JLC razor saw. The wing had a few small air bubbles to be filled. Next two 21.5 mm brass tubes were cut with a cutting disc in my motortool. Then the problems started: bonding the brass tubes to the tail surfaces with a butt joint. Predictably this did not work well. One tube kept falling off. I tried to drill an 0.3 mm hole in the root of the right tailplane, to install a steel pin. It sort of worked. It's unfortunate that Attack Squadron did not opt to make notches in the tailplane, so the tailplane would rest on the tubes.

On the wing side two similar butt joints were to be made. Instead I decided to install 0.3 mm steel pins here, to reinforce the joints and help with alignment of the tail booms. I drilled 0.3 mm holes in the center of the cutouts in the wing and superglued steel pins in them. Surprise when I tried to fit the tail section: the pins were spaced too far apart, leading to splayed tail booms, and of course one broke off the tail. Also, tubes were a loose fit on the 0.3 mm pins, I had underestimated their internal diameter.
On with the landing gear. Despite doubts about the strength of the photo-etched landing gear legs, the main landing gear and nose gear legs were bent in shape, and installed with epoxy glue. To fine-tune their position, and to support the legs while the epoxy cured, I used blobs of Blu-Tack. You can see the pin-pricks where I carefully deformed the blobs to 'steer' the position of the legs. I can only hope that the legs will survive!
After the landing gear I redid the steel pins in the wing. I removed the undersize steel pins, superglued stretched sprue in the holes, enlarged the cutout in the wings, drilled new holes and installed 0.5 mm steel pins. After some bending of the steel wires, the tail boom finally fitted properly.
The model then rested for a while in its box, and changed color considerably it seems! Time for some repairs on the wing. A corner of the left aileron had broken off, that I filled with a piece of plastic strip and sanded smooth. On the inboard sides of both flaps there was now too much of a gap to the tailbooms, because I had moved their attachments slightly inboard. Plastic strip was installed there too. Lastly I filled six air bubbles in the leading edge of the wing.
The wheels are folded photo-etched parts. Meh! To thicken the photo-etched main wheels, I made 0.5 mm thick discs with my Waldron punch & die set, and sandwiched them. The wheels still need some fine-tuning. The photo-etched prop was given a slight twist, and I started to build up some thickness with paint.
The repair on the left aileron corner kept falling off, and my attempts at repairing it only made things worse: I now had a tapered wing :-( Only after some time I found a way to repair it properly: with Albion 0.2 mm nickel-silver rod and superglue I could make a strong and straight new trailing edge. It was a fiddly operation, but success at last: I had a non-tapered wing again. I left the excess rod on for the photo, otherwise you might not see the repair. Everything was subsequently base-coated with Humbrol 127 to check for build quality and smoothness.
With the wing repairs doen, the model was getting close to the finish line. Here it is fully base coated with Humbrol 127. I also hand-painted several layers of Humbrol 127 on the landing gear legs, to give them a bit more body and a bit less of a photo-etch look.
The least enjoyable part of assembly was the tiny photo-etched pieces on the lower side: lots of actuators, hooks and antennas. The smallest parts were 0.4 x 0.4 mm and nearly impossible to handle. I managed to install all four of them, but two disappeared afterwards. I had to replace them with plastic card parts. It seems brass parts and CA glue is not a good combination, but epoxy did not work well either for these small parts.

I drilled an 0.3 mm hole in the nose for the short pitot tube, and inserted a piece of Albion 0.2 nickelsilver wire. I left the excess material, and glued some Albion tubing over it, to serve as a temporary handle. That worked very well for this tiny and delicate model.


Colors and markings

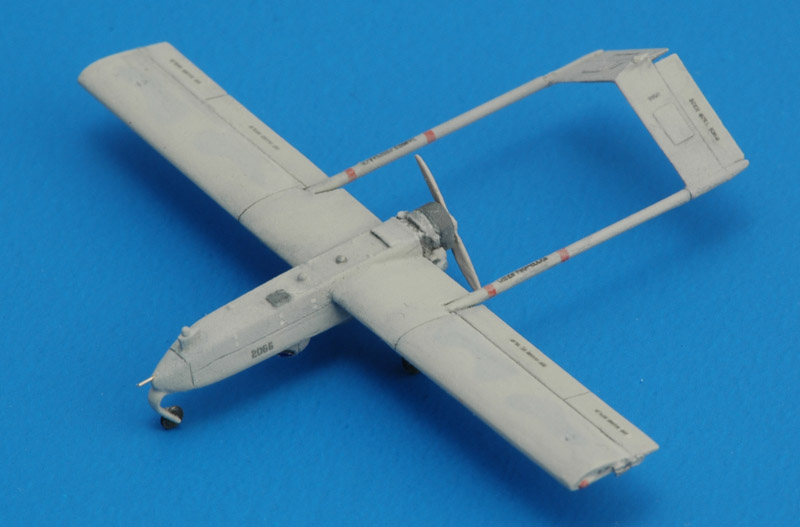
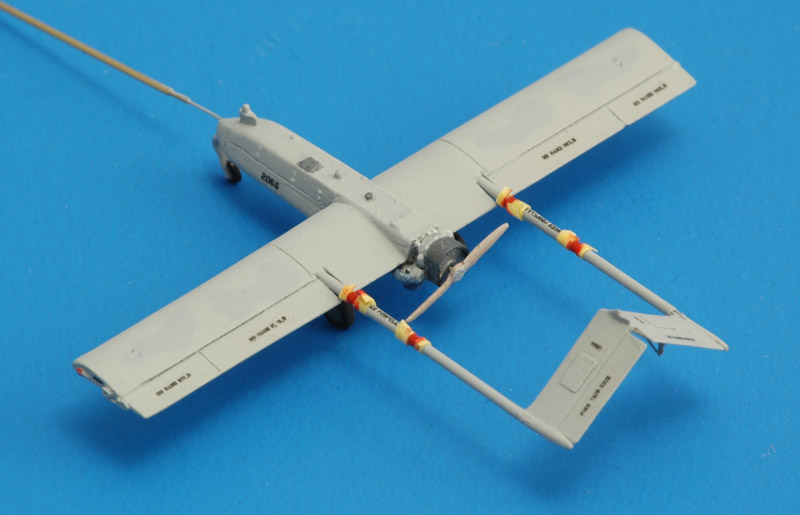
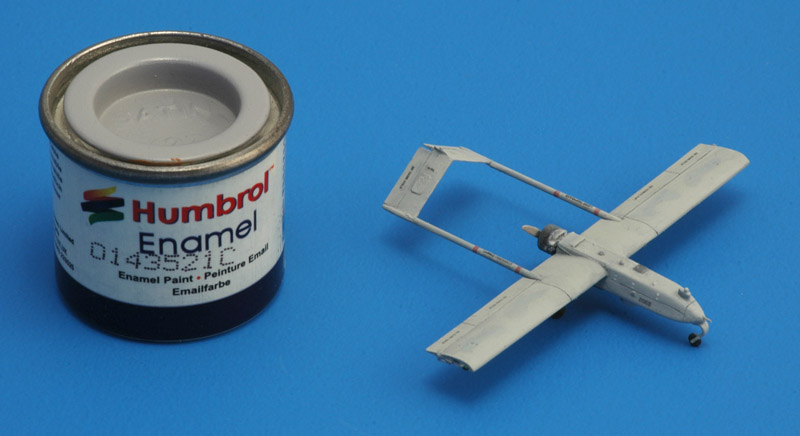
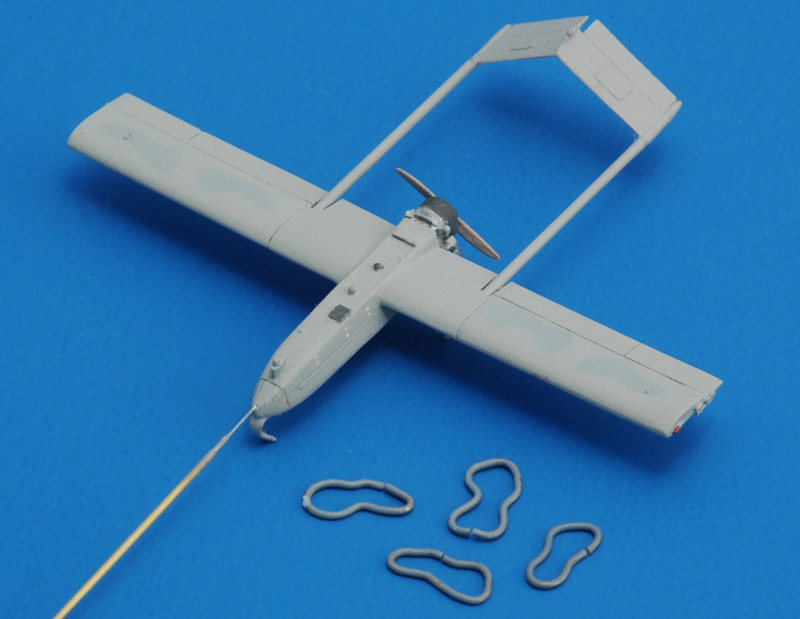
I base coat most of my models with Humbrol 127, and this happened to be the correct color of the RQ-7 (FS 36375), so no further painting was required. I added four camouflage patches, a mix of Humbrol 127 with a few drops of blue. I used 0.6 mm solder wire to create soft-edge masks of the patches. I surrounded the wire masks with Blu-Tack to keep them in place, and Maskol around that to mask the whole wing. The contrast was still too strong, so I misted Humbrol 127 over it. The instructions say the patches are FS 35270, but the latter color does not exist in the Federal Standard 595 A, B or C (I checked them all). I now think they meant 36270, but that color does not have the blue tint that I consistently see in photos.

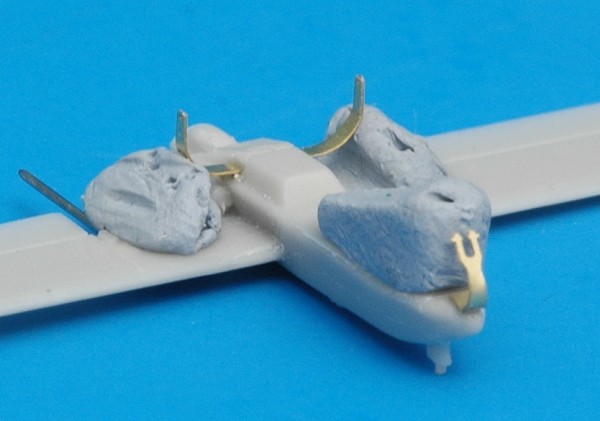
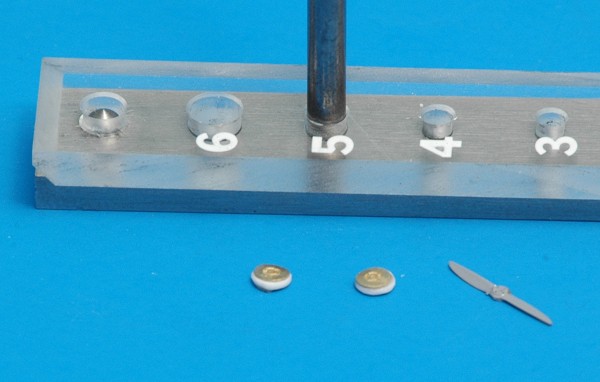
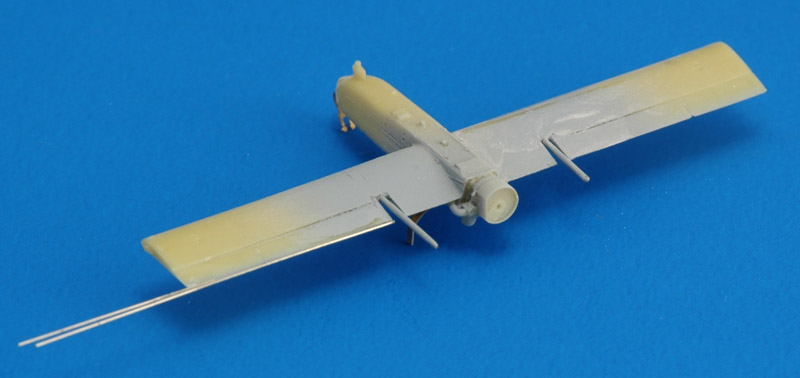
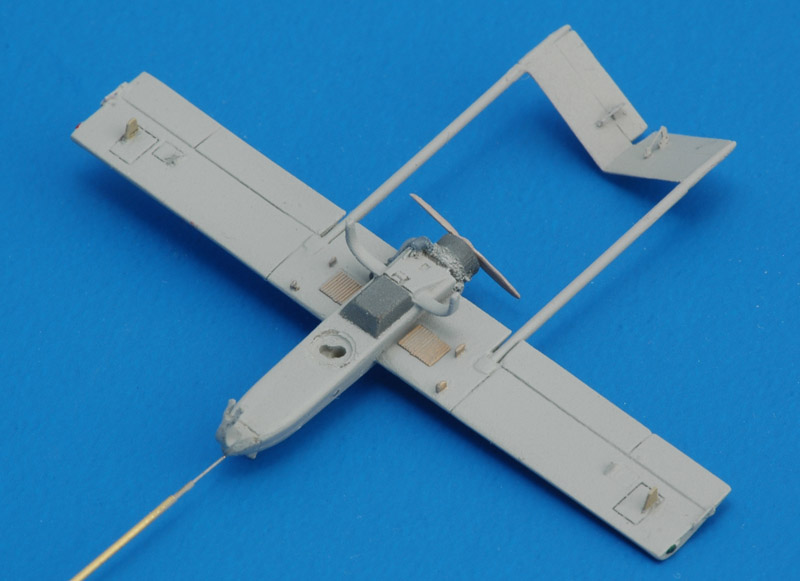
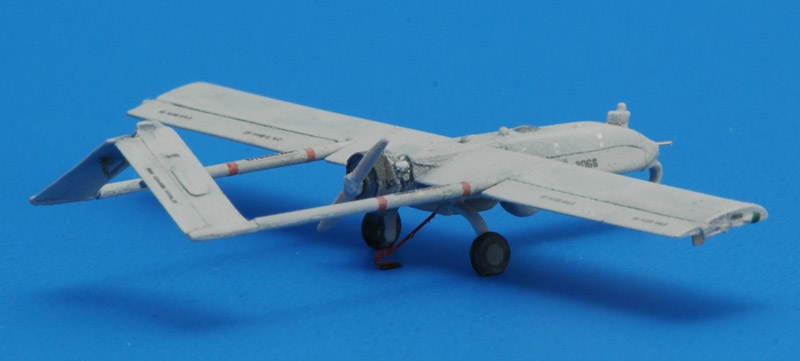
I also did some detail painting. Attack Squadron has no instructions, so I used photos. Various metallic colors were used for the engine, with a charcoal shroud. The propeller was painted a metallic goldish color. Buttons to open the nose cover were painted with a silver+white mix. Wingtips light red and green, other lights silver.
More paint details on the lower side: the catapult launch hooks were painted goldish metallic, the cooling fin blocks roughly the same color, the underwing antenas in a gray+tan mix, and a black box under the fuselage. Barely visible are the blue hoses for the engine inlet air. I airbrushed a light mist of Humbrol 127 over everything to tone it down a bit.

After this step I glued the wheels on, as can be seen in the next photos. The nose wheel was attached with matt varnish, the main wheels with a tiny drop of epoxy. I even built a miniature jig for the operation, to keep the landing gear legs at the right height and the wheels aligned properly.
The decals were as crazy as the photo-etched details: extremely small! The smallest ones, the serial numbers on the wing tips and on the tailplanes, are 1 x 0.4 mm. It's like picking up half the wing of a fruit fly! The decal sheet has a continuous decal film, so you can choose how much film you want around each marking. Unfortunately Attack Squadron provided only five out of six 'NO HAND HOLD' markings - I faked the sixth one with some surplus serial numbers :-)

I used Future floor polish to aid in decal adhesion. Unfortunately I skipped some surface preparation steps with some decals, so I got a bit of silvering. I blame the stress of handling the tiny decals! After the decals dried I sprayed a layer of H135 satin varnish. BTW, I could not find photos of the four decal options provided, so I just picked one - something I never do.

I planned to do the red propeller warning stripes with decals, but the stripes I cut from spare decal sheet absolutely refused to drape around the tubes. A horrible masking job dawned. You can see the painting in progress here.
After a light wash I overcoated the model with H135 satin varnish, plus some thinned Humbrol 127 over the decals, to tone them down a bit. That in itself worked well, but the overspray made the detail-painted parts very gray too. I solved that by locally removing the fresh paint with a brush loaded with thinner.

The very last part to attach was the arrestor hook. From photos I concluded it's always down, so I mounted it such that it touched the ground. I added a tiny black skidplate to the hook end, as seen in photos. And then I cut off the excess pitot tube, that had served so well as a handle for the tiny and super-delicate model. Done!
Lastly a photo of the model together with a tin of Humbrol paint, to show the actual size. It's amazingly small for a 1/72 scale aircraft.


Conclusion

Except for the butt-joints of the tail booms, this is a well-engineered model. But it is very, very small, and requires a very steady hand to build! I definitely needed an Optivisor equivalent to deal with the smallest bits. Any smaller and I would probably go nuts or blind! Nevertheless recommended, and a job well done by Attack Squadron.


Modeling links


Return to models page