Atlantis 1/156 Convair Space Shuttlecraft
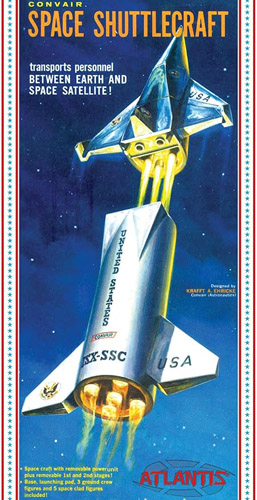
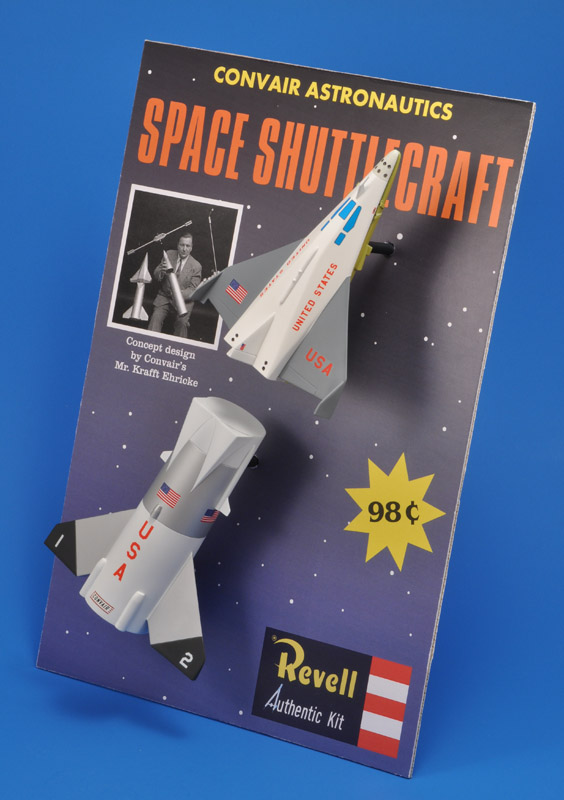
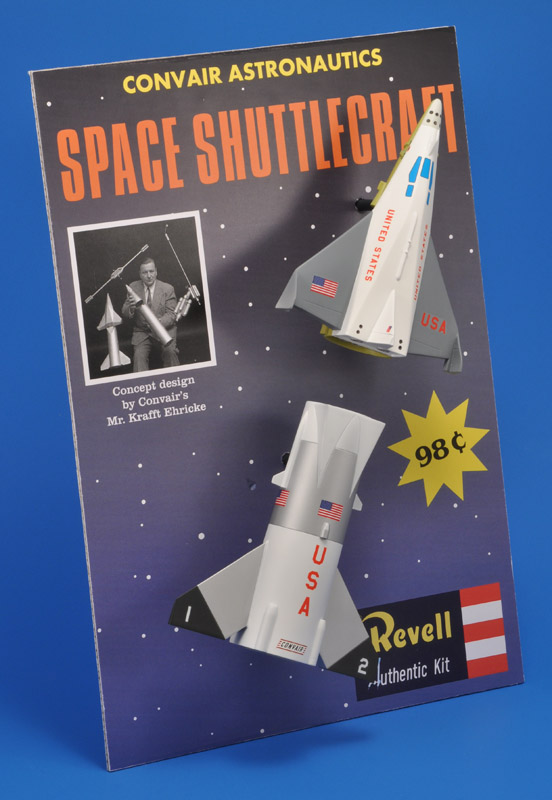
| For our club's table theme at the 2025 edition of Euro Scale Modeling, I wanted to build a typical fifties/sixties concept space model, that several kit manufacturers produced during that time. I found the Atlantis (ex-Revell) Convair Space Shuttlecraft, and decided to build that model. However, I didn't like the kit's markings and color scheme, so I went my own way there. I also wanted to have working rocket motors, 'just like the box art'. Lastly, I decided to present the model on a shop display, of my own design.
|
The model
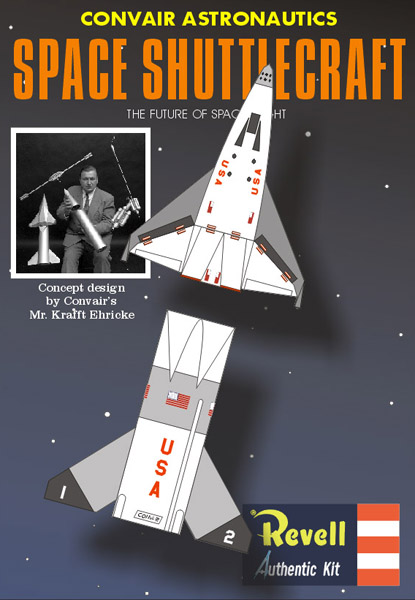
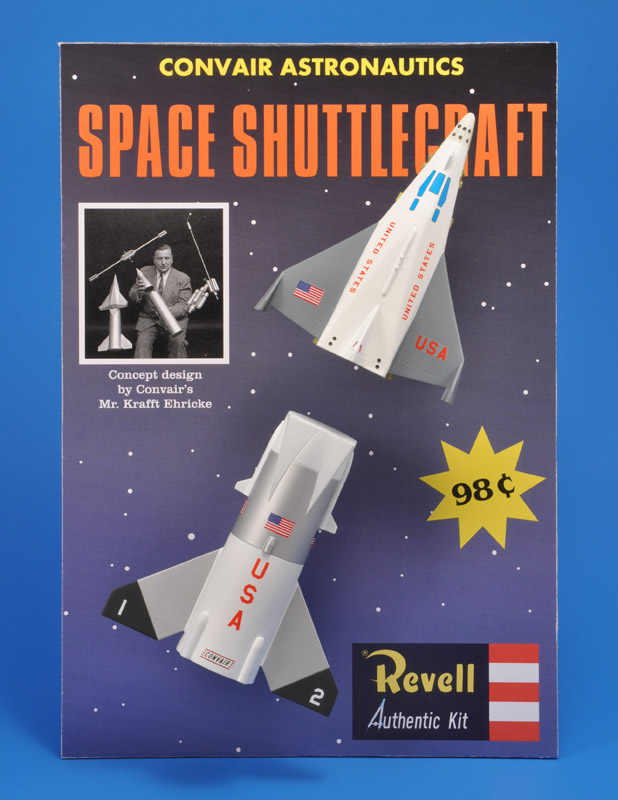
Just a few words on the model - this is not meant as a review. First a link to Scalemates for an overview of all issues of this model. The Atlantis box is wider than the original from 1958, with 'stars and stripes' borders added. I like the original box design better. The parts are molded in white, whereas the Revell parts were a soft medium blue (or at least in one of the issues). Parts count is a modest 40 pieces. The instruction sheet looks like a reproduction of the original kit. The eight figures included are far larger than the indicated scale of 1/156; the standing figures are maybe 1/100 scale. Compared to the original kit, the decal sheet has almost doubled in size, giving you more marking options.
First stage construction
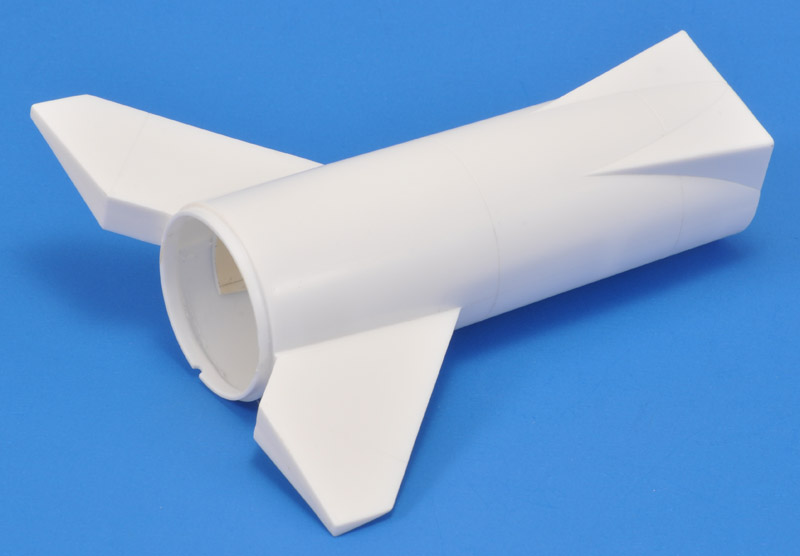
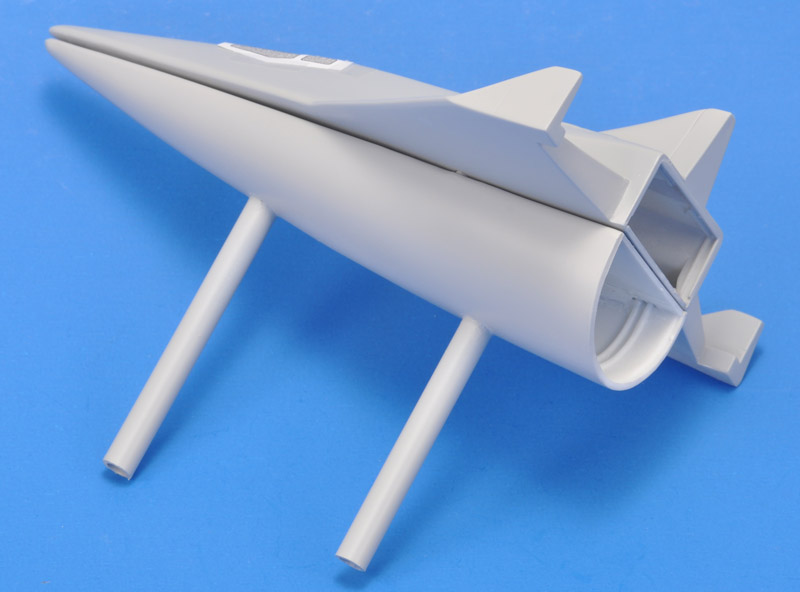
I started construction by assembling the two halves of the first stage. The plastic was fairly thin, making for weak joints, so I reinforced them with plastic card strips - you can see part of one at the left. I scribed two circumferential panel lines on the tank section, and two each of the fins (not visible).
I thought the fins looked horrible and unrealistic, with their enormously thick trailing edges. But it would be too much work to change them.
| 
|
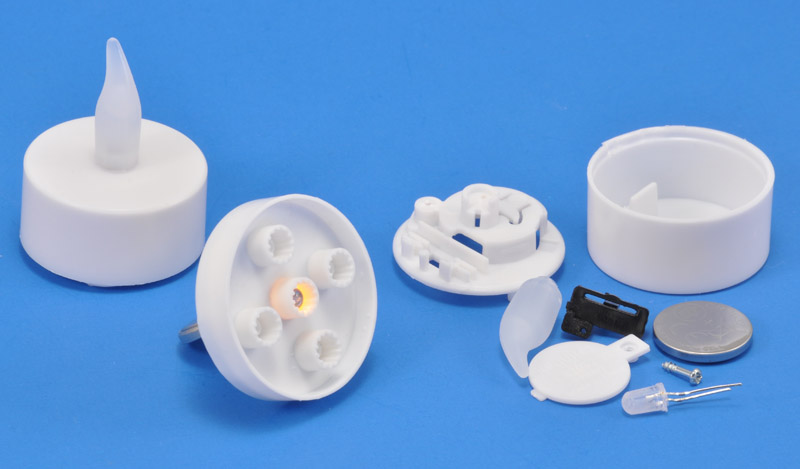
| I wanted to add something of my own to the model, and I decided on lighted rocket engines. LEDs are an obvious choice, but I wanted them to flicker a bit, not burn continuously. First I looked around for an electronic solution to make that happen, until I found out about LED tea lights, what a crazy product.. They have a LED with built-in flickering electronics, so it couldn't be easier. I bought a set of six and took them apart, ending up with the LEDs and the CR2032 batteries.
I drilled out the center engine of the first stage (photo center), and pushed a LED into the hole, and it was very close to what I was looking for. I experimented a bit with added polyester fiber exhaust gas simulation, but it didn't look good at all.
|
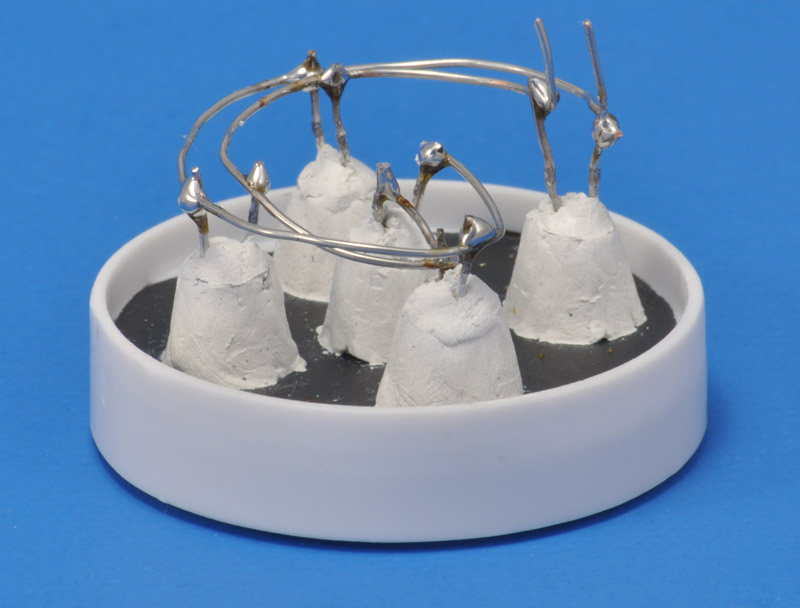
| I painted the interior black, glued the LEDs on the undersized holes, and embedded them in Apoxie Sculpt. I wanted to prevent at all costs the risk of a LED coming loose. Lastly, I connected all LEDs in parallel, with apologies for the soldering work.
| 
|
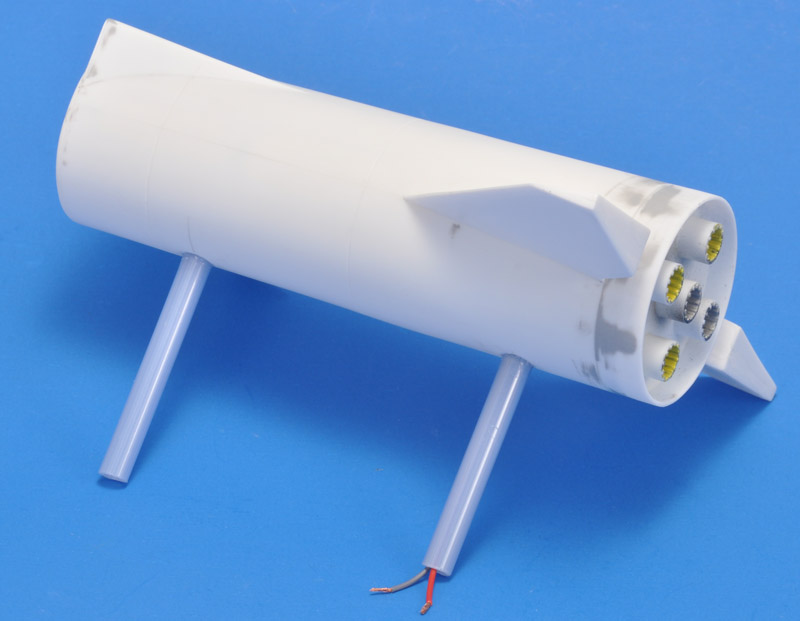
| The fit of the rocket motor section on the bottom of the first stage was rather wavy, as witnessed by the large areas of filler. I expect more work after priming.
6 mm tubing was used to make two supports for the first stage, for mounting on the fictitious shop display. I routed the wiring for the rocket motors through the rear support.
|
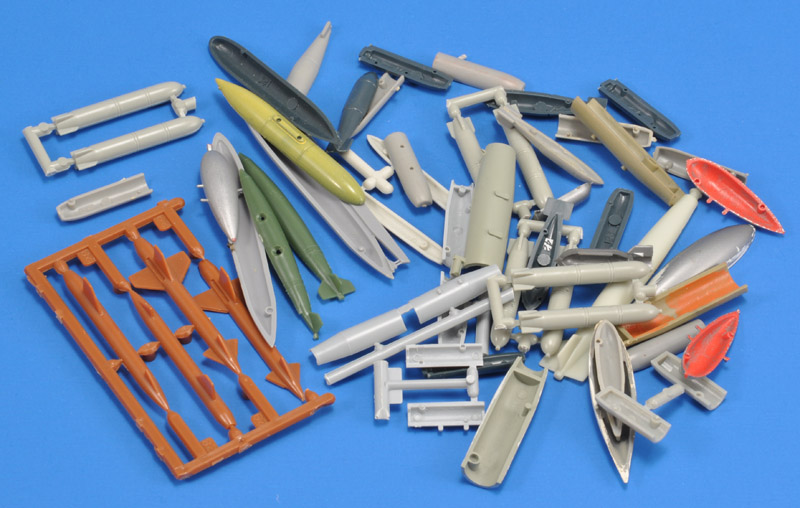
| I studied several other builds, and the one by Patrick Sparks had some extra detailing on the first stage. I liked that idea a lot. My spares box yielded a large number of parts for detailing. I looked specifically for cylindrical tanks, pods and missiles that were not yet glued together.
| 
|
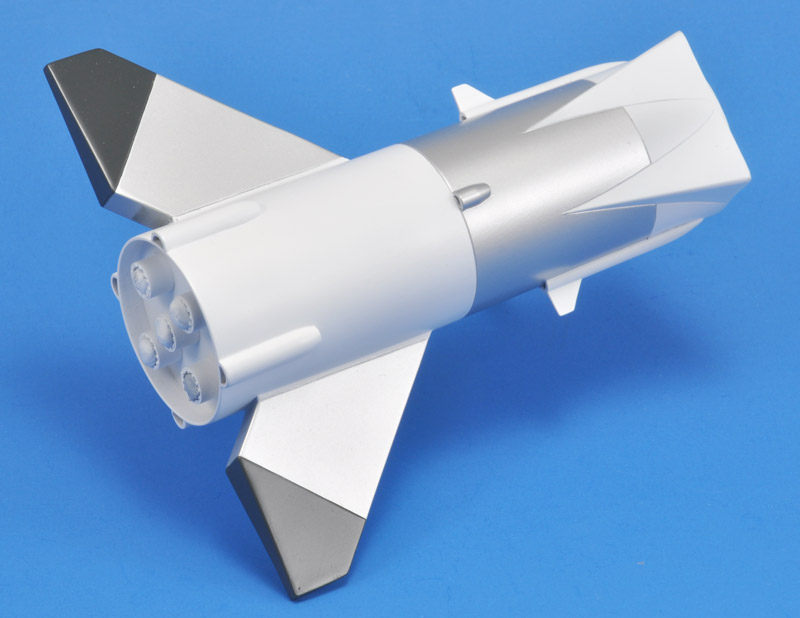
| I used four ex-Matchbox Matra rocket pod body halves to detail the lower side, and halves of an ex-Matchbox Bullpup missile to add fairings with small fins on the sides of the top side. The small pieces that I cut off the rear of the Bullpups were added in the middle. It's a bit like how 'Thunderbirds' models were detailed.
|
Shuttle construction

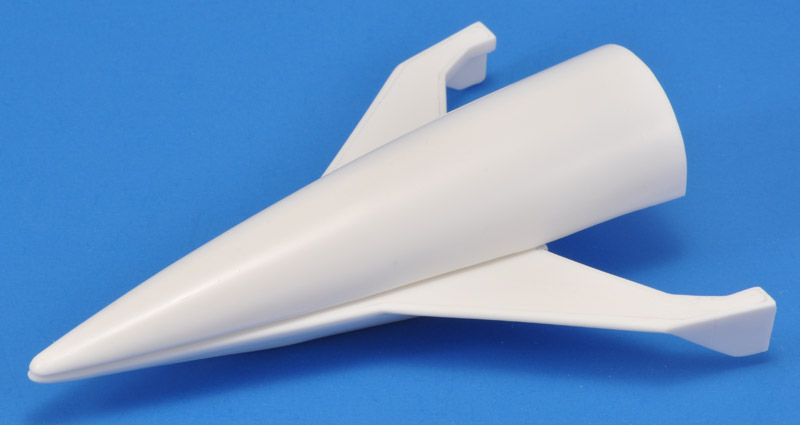
| The top hatch of the shuttle fitted badly, and I used Apoxie to smoothen things. I also rounded off the sharp edges of the fuselage and wings.
|
| The belly tank's edges were similarly rounded off, to make it look more like a separate part to the shuttle.
| 
|
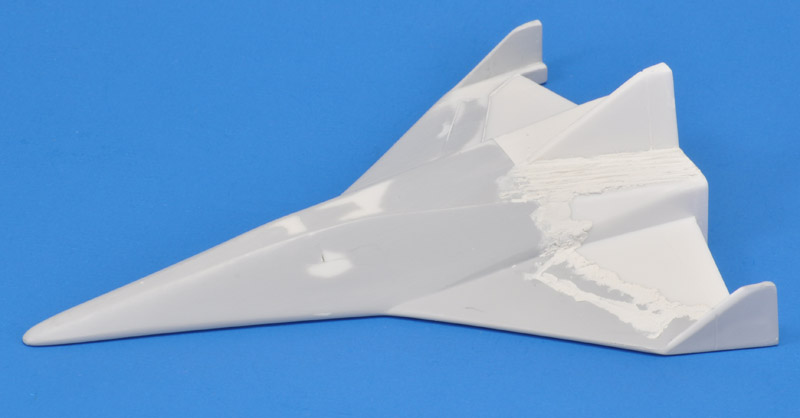
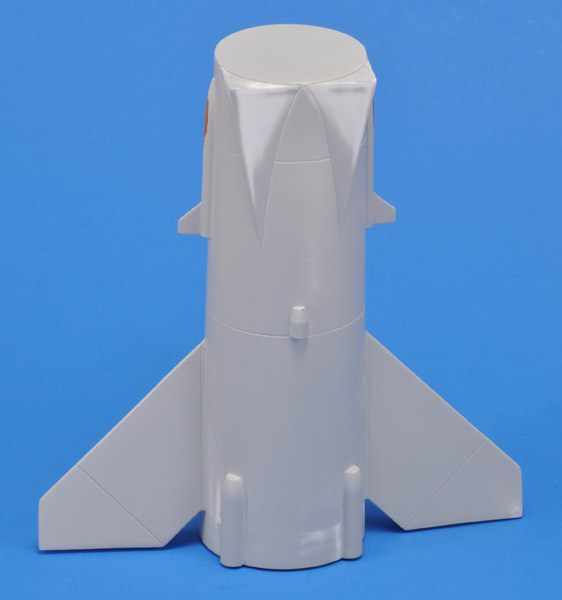
| The rear stage of the shuttle (parts 7 and 8) wouldn't fit very well. If the wing's upper surfaces are lined up, the fuselage top sides wouldn't line up. Since it required a lot of filling, I got the idea to combine the parts, delete the fourth stage concept, and make a bigger shuttle. It looked so much more natural to me, but Mr. Ehricke might say 'Nein. Nein! Nein!!'.
|
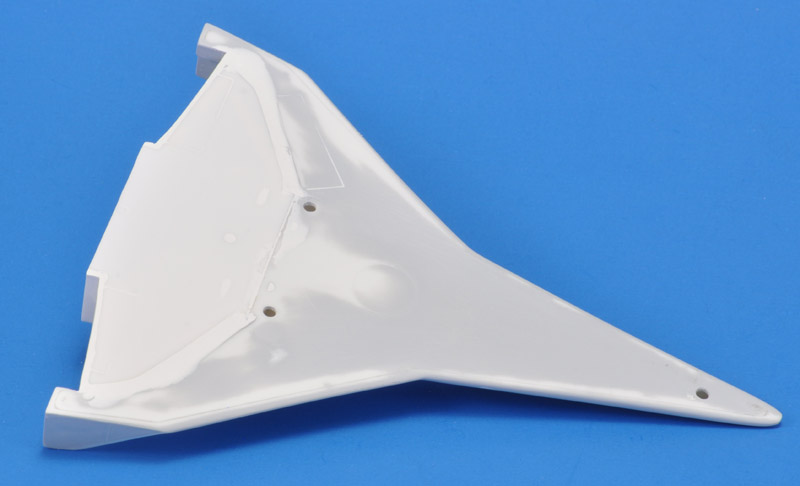
| A lot of filler was also required on the lower side. But I won't complain too much, it's a very old kit.
| 
|
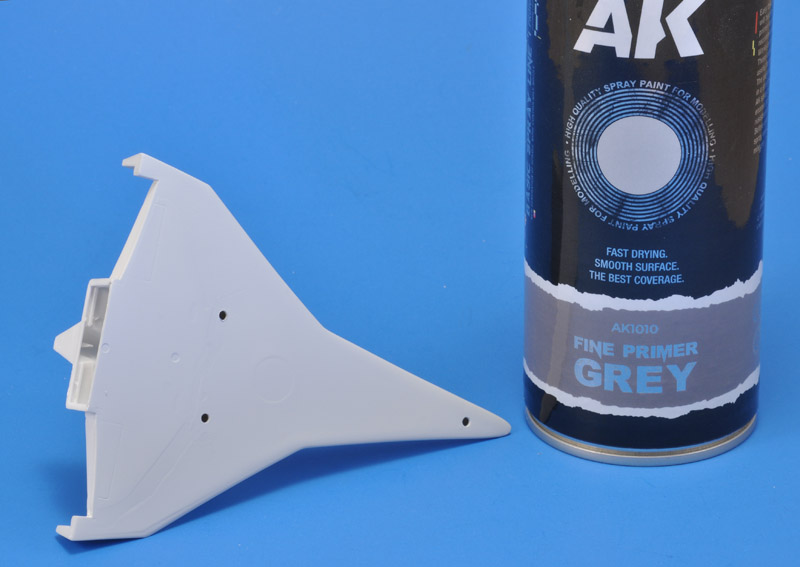
| I used AK Fine Primer Grey (AK1010) on the model, that I bought recently. Unfortunately, I noted again that it has a strange effect on models with filled areas. The filled areas, despite being sanded smooth without any steps, the filler shows steps after drying. You can see it best on the left wing, comparing it to the photo above. Maybe the solvents make the plastic swell?
I haven't noted this behavior with other spray can primers, and it makes this particular brand of primer of very limited use. Back to Tamiya Fine Surface Primer!
|
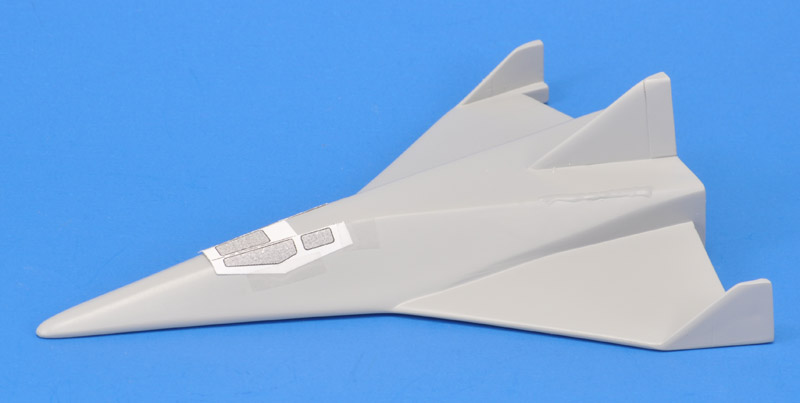
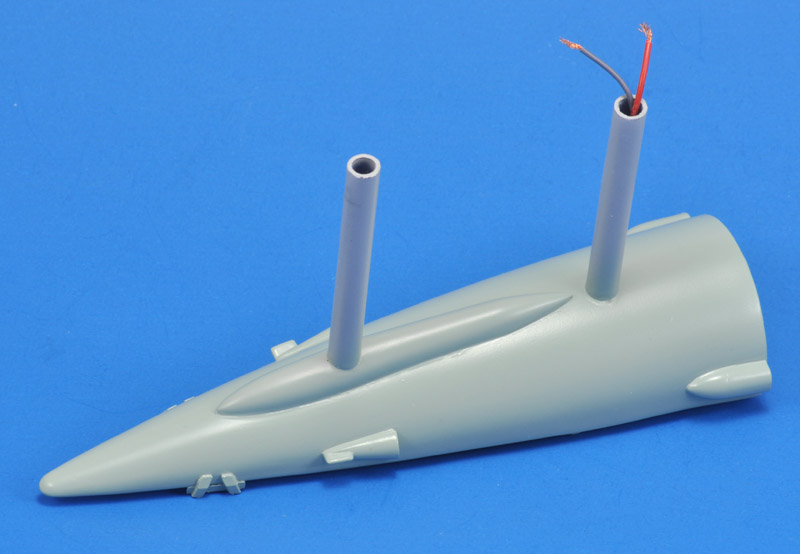
| I wanted cockpit windows 'somewhere' and started with a small printed drawing. Maybe it looks too modern?
| 
|
| 6 mm tubing was also added to the fuel tank + shuttle combination. The rear panels with the rocket motors are absent, because I didn't have more flickering LEDs at the time.
|
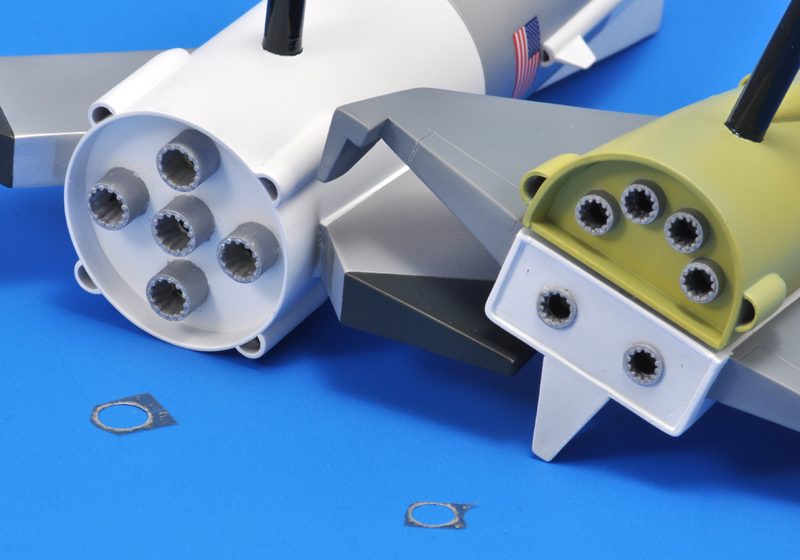
| I added flickering LEDs to the engines of the shuttle and the booster. This photo shows the engine cluster of the booster, and that of the shuttle installed. The wiring exits from the bottom and will go into the booster tank.
| 
|
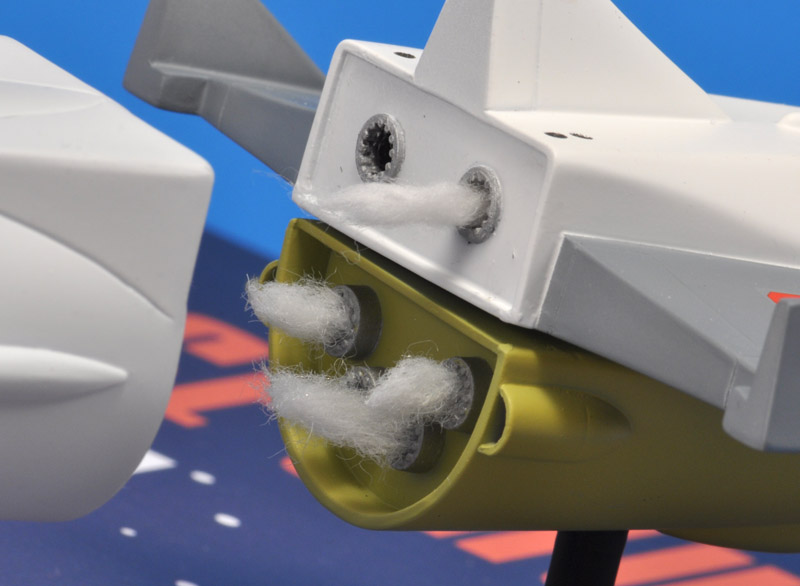
| Fast forwarding to the end result: I tried polyester 'fluff' to show the light of the engine LEDs, but it didn't work. It also looked bad!
|
Painting and decals
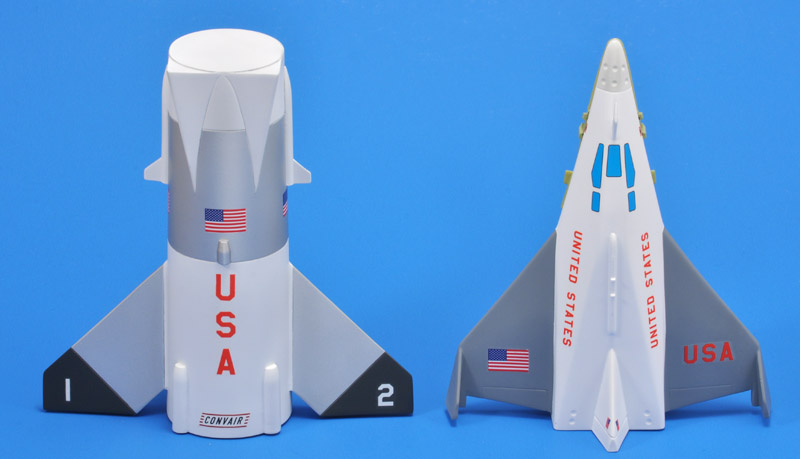
| Here are the planned colors and markings. The shuttle is now one piece, with the propulsion section a permanent part of the airframe.
| 
|
| I painted the first stage with MRP-004 White, MRP-128 Silver and MRP-77 NATO Black. It went on close to perfect, as usual with MRP. The masking was laborious though.
|
Following the example of the (real) Space Shuttle, I wanted to paint the fuel tank in a different color, to set it off from the shuttle itself. But I lacked inspiration for what color to use, and ended up using MRP-066 RLM76.
Later I overpainted it with a mix of yellow and a light grey. The blue component of the light grey turned the mix into a an ugly yellow with a green tinge. I gave up at that point, after noting that the fuel tank was hardly visible when the model was placed on the shop display.
| 
|

| I painted the shuttle in MRP-004 White with MRP-105 FS 35237 wings and an MRP-392 FS 26493 Pearl Gray nose. The wing color was a bit of a random choice: I wanted different colors than the first stage, and succeeded with that. But I created a new problem too: the first stage and the shuttle now look like they don't belong together. But I wanted to be done with the model, so I did not change it.
The SpotModel printed decals fought me considerably, even with a bit of Future underneath, which usually solves any problems. On a few of the decals, the decal film, extending 0.5 mm from the inks, folded double, and I couldn't undo that. After drying I cut it off with the sharpest knife I had. But that of course left a hard edge to the decal, not ideal.
|
| I've had my share of problems with sticky clear coats - thank you Alclad! On this model, I tried Tamiya's LP-series clear coats. I tested the satin version (LP-24 semi-gloss clear) first on a test model, thinned with LP-10 lacquer thinner, and was very happy with the evenness, lack of stickiness and fast drying. But I wouldn't call it satin, so I used the matt version (LP-23 flat clear) on the three model parts.
| 
|
| The last details to paint were the rocket nozzles. Due to their simplistic design, I chose a simplistic color: Humbrol 11 Silver. I used masks cut from the Arctic Decals circular masks (ARC72-FR-05 and FR-06), and brush-painted the nozzles.
|
Shop display
| I want to make a shop display around this model, based on the box art, with the first stage separating. Here's the first iteration of the design.
| 
|
End result
| The end product! The plan with the flickering rocket engines didn't work, but the rest was according to plan. Still, I'm not totally happy with this project. Maybe because the model was toy-like, or because I had trouble selecting the 'right' colors. My first and last concept space vehicle!
| 
|
| In this right side view you can see that the shuttle's fuel tank is almost invisible. Also visible is the lack of (broken) connections between the first stage and the shuttle - I didn't have any inspiration how to imagineer that.
|
| A left side view shows basically the same :-) I think the shop display works well, it's a nice way to present the model.
| 
|
Up for adoption
For the first time ever in my scale modeling career, I did not like what I had built. I felt reluctant to display (or store) this model, and I just did not want to keep it. I put it up for adoption in our model club, and club member Reinhold became the new owner.
Links
Return to models page