Italeri 1/72 Su 17M-4 Fitter
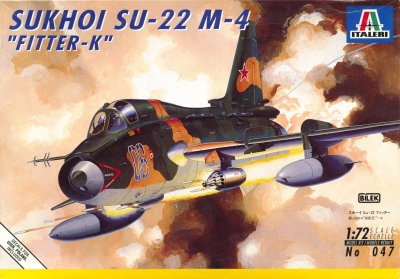
Ever since I saw operational Russian Su 17M-4s at Neuruppin and Templin in East Germany, I love this beast! As soon as Italeri released the Bilek model in western Europe in 1997, I bought it. My plans could change, but I think I will build Templin Fitter with bort number '10', mainly because of its unique dark camouflage.
In 2019 it was announced that Modelsvit would issue a Su 17M-4, probably the last in a whole series of Su-17 models. Since their current models are more than excellent, I would rather build their new kit than finishing the old Italeri one with all its small shortcomings. However it's 2023 now, and there still is no Modelsvit Su 17M-4. And then the invasion of Ukraine, home of Modelsvit, started, making things even more uncertain.
|
The model
I can't report too much about the kit yet, since I've mainly worked on the resin parts so far. I don't like the canopy shape, but I have to look better into that subject. The only problem I've heard about the Italeri/Bilek model is that the main landing gear legs are too short; it will rest on its pylon tanks! I also bought the Pantera model from Poland, which came out at the same time. The Pantera model has different shapes, and is also slightly smaller I believe. After a comparison I clearly preferred the Italeri/Bilek model.
Accessories
There are a lot of aftermarket accessories for this kit. The following is most likely an incomplete list:
Pavla resin cockpit set, see below
NeOmega sells exactly the same set, and claims the ownership
Eduard photo-etch interior detailing set
Eduard photo-etch exterior detailing set
PART photo-etch interior / exterior detailing set 72-010 (landing gear, cockpit)
PART photo-etch exterior detailing set 72-011 (speedbrakes, gun blast panels, chaff dispenser tops)
PART photo-etch exterior detailing set 72-012 (wing fences, engine exhaust)
PART photo-etch boarding stairs 72-031 (very nice)
Extratech photo-etch 72-069
I bought item numbers 1, 4, 6, 8 and 10, which is much more than I usually buy. I am not a big fan of photo-etch parts, especially the uninspired Eduard sets. Usually I like PART much better, but splitting it up over three sets for one model is really ridiculous.
References
My main reference is the fantastic Czech 4+ book on the Su 17/22. I attended the withdrawal of the 20th Fighter-Bomber Regiment at Templin from East Germany (last Russian Su 17 unit in the GDR), and of course I shot a large number of photos. Some of them will definitely serve as inspiration for this model.
Construction
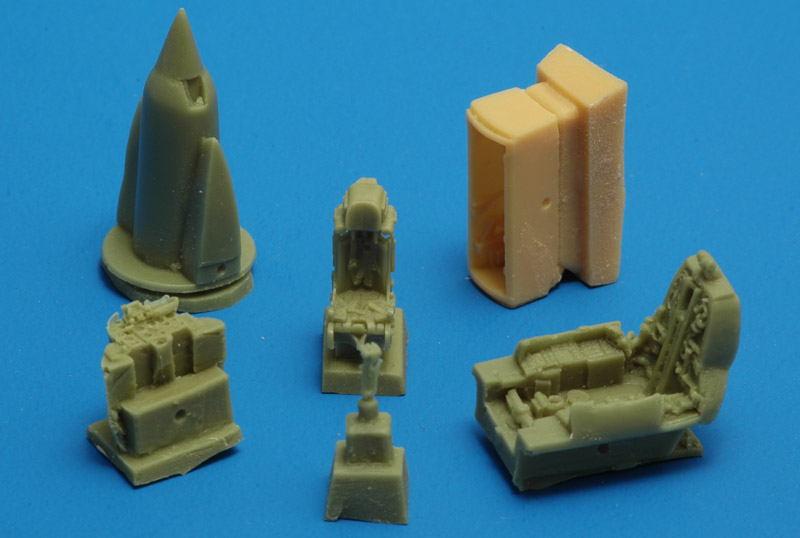
| I started, as usual, with the cockpit. The photo shows the contents of the Pavla resin detailing set, the very first resin cockpit set I ever bought. I cast a copy of the set in epoxy resin, to have something to practice resin casting with. At the time I only had access to a transparent epoxy with a yellow cast, so that's what you will see in subsequent photos. I painted one cockpit tub in light grey (its eventual color) and I was amazed at the detail level. It looks very good!
|
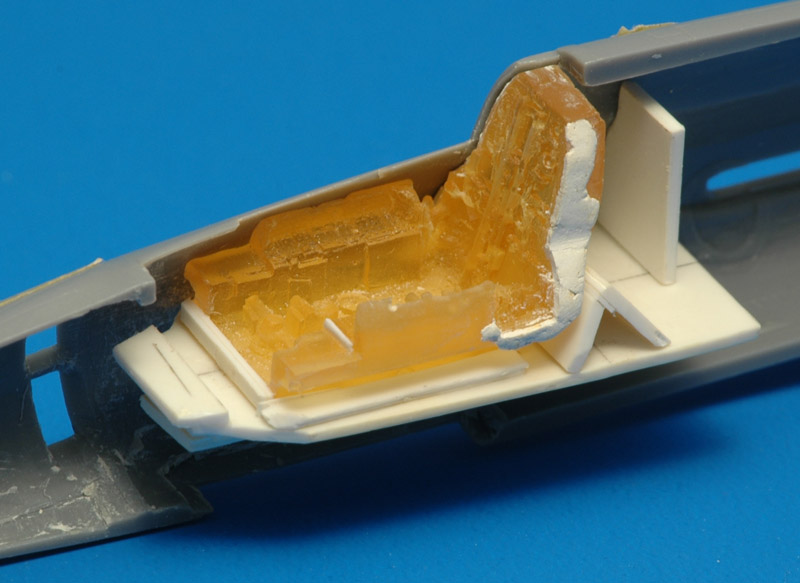
| First thing to do in the cockpit was to scrape the sides thinner, to make room for the resin cockpit. Having done that, I tried to fit the resin cockpit tub in the fuselage. I found out that I had a problem. There is no way to position the tub, and it kept rattling around in the fuselage. I decided to attack the problem radically and scientifically :-) As the first step, I glued a plastic card floor in the fuselage, to fix the vertical position. By a stroke of genius, the floor happened to be in exactly the right position. If it had been positioned too low, I would have added thin pieces of card until the correct vertical position was achieved. I stabilized the floor piece with a crude piece of card at the rear side. Next, I fixed the fore-aft position by gluing a strip on the floor, that aligned with the rear bulkhead. Last position to fix was the left-right movement, for which I glued a longitudinal strip to the floor. The end result looks pretty rough, but it serves its purpose well, and it isn't visible later.
| 
|
| The tub now clicks in place, and its position is firmly established. Now I could improve the tub's fit. I had scraped the fuselage thinner around the rear bulkhead, and I used Milliput to fill the remaining crevices.
|
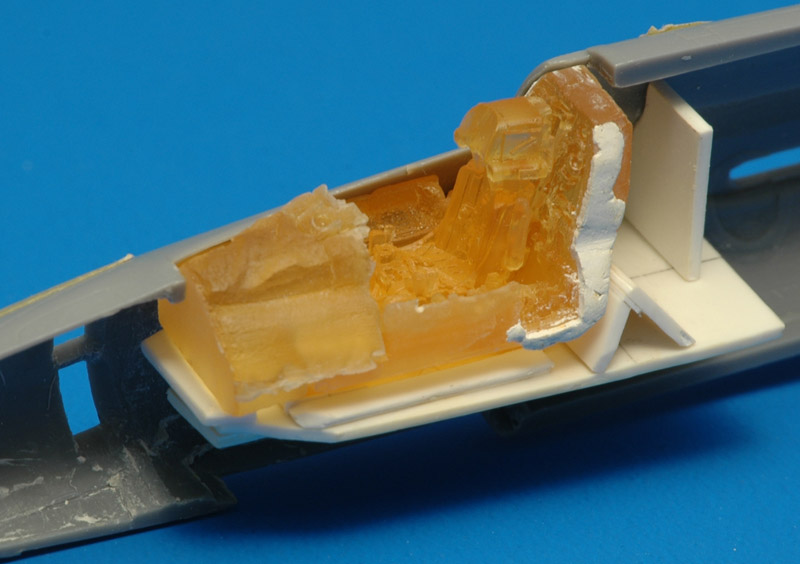
| This photo shows all the resin parts installed. The instrument panel plus coaming part fits nicely over the forward part of the cockpit tub. Next, the nose landing gear bay clicks in place. With all this resin in the nose, my Fitter won't be a tail sitter, that's for sure.
| 
|
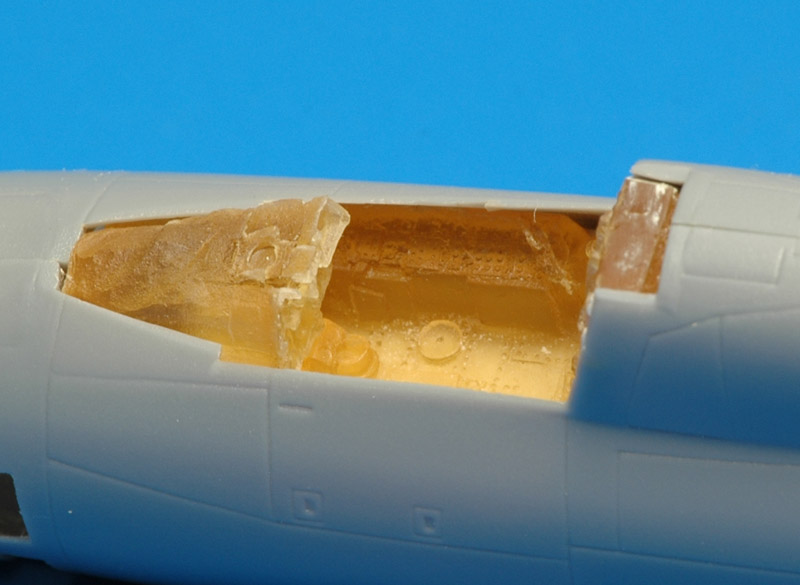
| All the ugly plastic card is no longer visible in this close-up view of the cockpit. Its detail richness can't be seen very well with the clear resin I used, but believe me it looks very good. Note that I gave the coaming a little offset to the right, because the fuselage halves are not symmetrical! The right half is 11 mm wide, the left one 10 mm. The photo also shows the slightly pebbly surface of the model. It disappears quickly with a light sanding, and as a bonus, the panel lines will become very subtle.
|
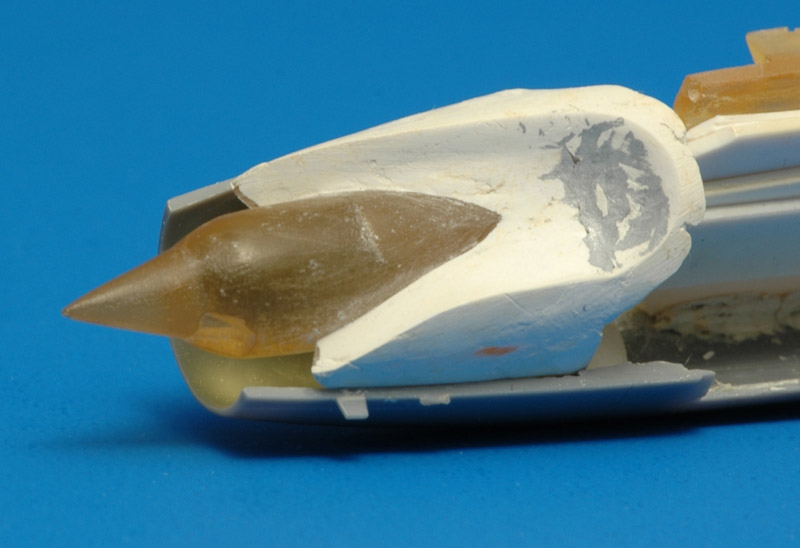
| After the cockpit parts were positioned firmly, work continued with the inlet. The Pavla resin nose cone is largely identical to the kit part and therefore pretty useless as a resin part. It does not contain the intake ducts that are visible through the air intake. In reality the inlet splits in two ducts that go around the cockpit. Using a lot of Milliput I sculpted those ducts, but stopped them at the front of the cockpit tub. You can't see that far in the inlet anyway.
| 
|
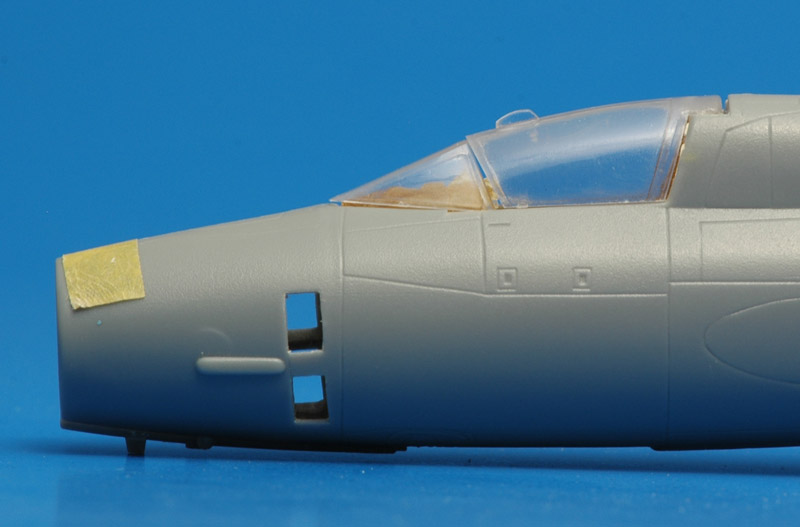
| The biggest problem I found so far is the canopy shape. The canopy slope is way too strong, and the windscreen is subsequently set much too flat. This largely destroys the brutish character of the Sukhoi's nose. This was quite a show stopper for me.
|
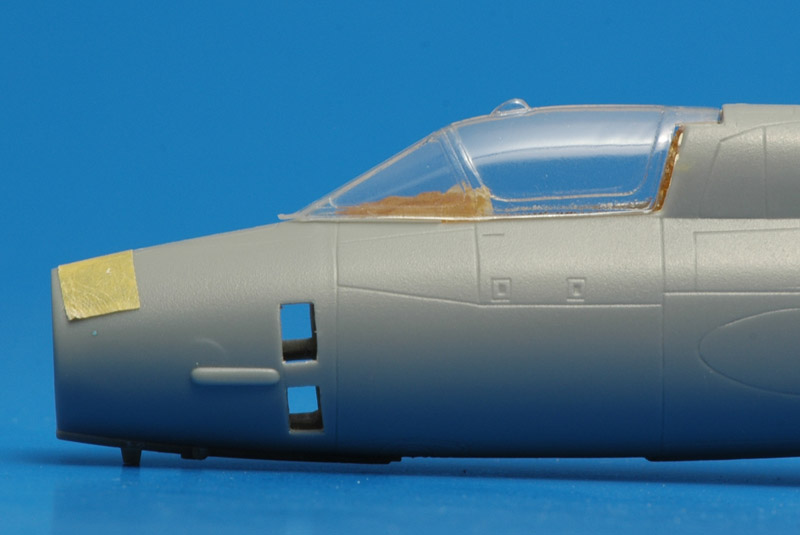
In 2004, Pavla issued a vac canopy for the Su 22M-4, but I found that out five years later. I am very glad to report that its shape look a *lot* better! The canopy is made from almost 1 mm thick material, reducing to around 0.5 mm in the deep drawn parts. Therefore the optical qualities are not up to Falcon level, but it is decent. The thickness made the cutting easy, much easier than with a flimsy thin canopy. I used a brand-new scalpel blade, and the job was done in five minutes.
| 
|
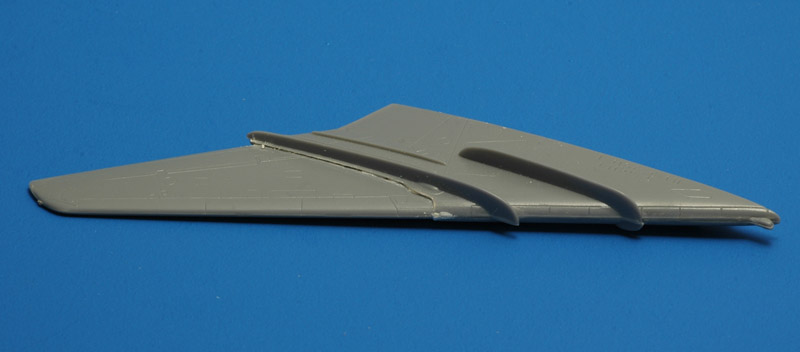
| The wings need some tender loving care too. The outer wing is made to pivot, with large openings as a result. I wanted my Fitter to have its wings swept, because I plan a pre-flight scene. Having the wings fixed makes it easier to improve the wing's appearance. I chamfered the edges of the fixed wing part, and mating surfaces of the outer wing, and achieved a much tighter fit. The gap is still there, more fitting and Milliput is required. I'm not sure yet what to do about the wing fences. Several photo-etch sets contain them, but I honestly think brass is a bad solution for these parts, being way too easily bent. My best idea so far is to replace them with thin plastic card, glued in narrow saw cuts.
|
Decals
Some aftermarket 1/72 decals for Russian Fitters:
HiDecal Line from has a decal set for Templin Fitters (72-031) with six aircraft, issued in 1994 or 1995 I think. This set has the most extensive painting instructions I have ever seen! Also included are good collection of stencils. Very nice.
Authentic Decals issued a Su-17M-3/M-4 decal set (72-12) with eight decal options and even more stencils. Another very nice set.
The Italeri sheet also contains two options for Templin Fitters, bort numbers Blue 06 and Yellow 49. I don't understand Blue 06 yet, since Templin Fitters had yellow codes.
Modeling links
Some links to other 1/72 Su 17s:
Return to models page