Tamiya 1/72 Bell X-1


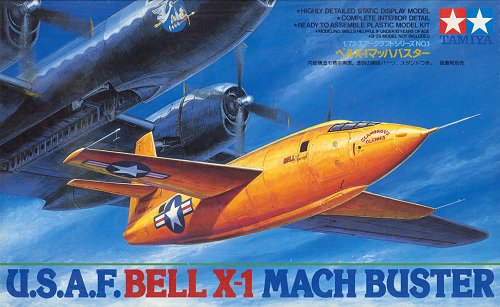
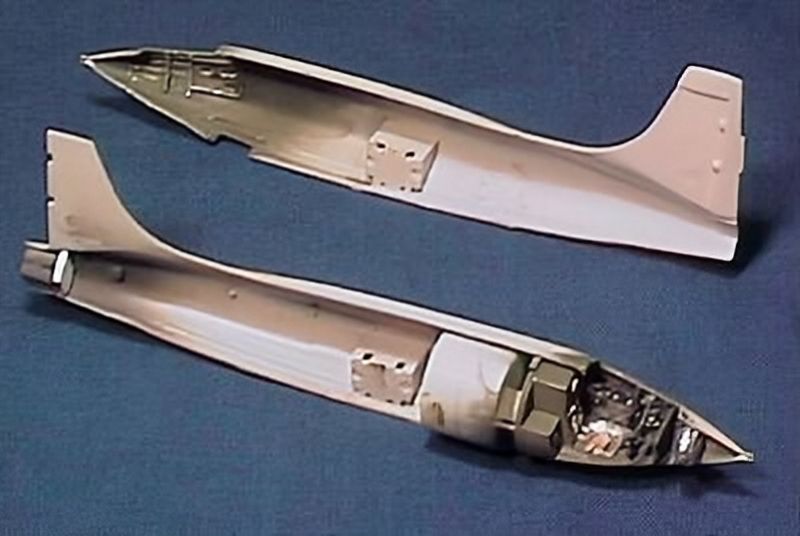
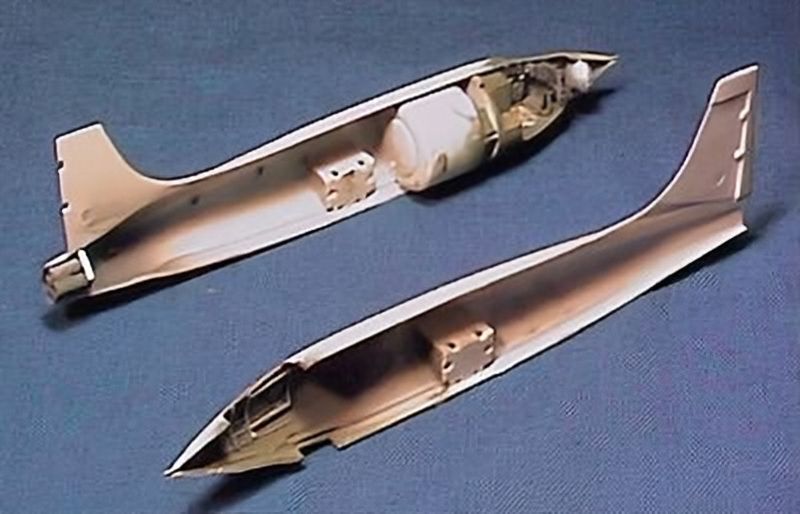
I bought this little Tamiya kit in 1996. This kit was originally issued in 1989 by Hobby-Spot-U, a Japanese model shop that produced a few models (their XF5U Flapjack went to Hasegawa). It looks like a great little kit in the box, with excellent detailing. You get an extra set of clear fuselage halves, in case you want to show the internal fuel tanks and rocket engine.

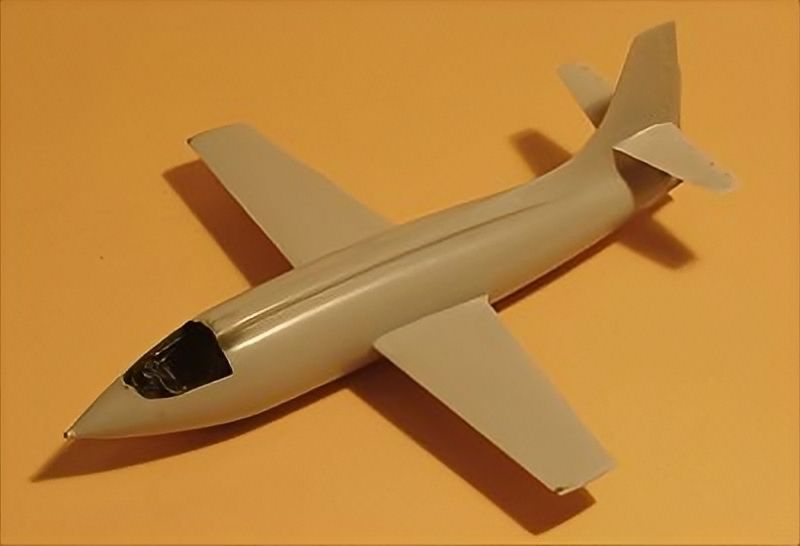
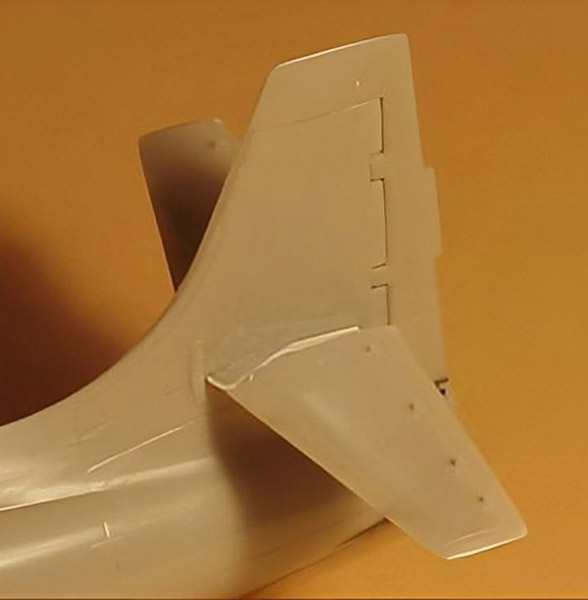
The combination of the twisted fuselage repairs and some dodgy rescribing really took the fun out of this project. I've also lost most of the interest in the subject. Therefore I decided to stop this build.


Other X-1 kits

Alternative models in 1/72 scale are made by Hobbycraft (injection molded), Eagles Talon (a resin XS-1), 12 Squared (#2-6, limited-run injection) and AirVac (vacform). For even more X-1 kits (I counted 12), see the Ninfinger Spacecraft and X-Plane Models page.


Construction

I started with the cockpit, by detailing the airframe with frames and stringers. Later I found out that no stringers are used in the cockpit, but it looks nice anyway. The door got a surrounding frame, and some details of its own. The rear of the instrument panel was thinned considerably, and fitted with instrument housings made from rod and strip. The seat got belts made from thick aluminum foil. I installed the forward fuel (oxygen?) tank, since it is a useful way to mount the ballast ball bearing.
Since the details in the cockpit would be difficult to see through the canopy, I decided to do an exagerated drybrush job of the cockpit. I used light green and aluminum paint for this, although the real aircraft hardly showed any wear. After installing all the kit's cockpit components, the area in front of the instrument panel and rudder bar looked quite empty (and is quite visible through the canopy). Some more studying turned up that a large spherical nitrogen tank was installed in the extreme nose. I found a suitable spherical piece of plastic (part of a pen), painted it aluminum, and glued it to the small circular bulkhead I mounted there before. Tamiya also supplies a tank for this purpose, but its diameter was reduced severely to make it fit between the non-scale fuselage halves, so it is way too small.

The kit's nozzle doesn't look realistic at all. I replaced it with four short pieces of tube. Using a knife, I reduced the wall thickness to a sharp edge. This makes the tubes look like real convergent-divergent nozzles. A piece of plastic card avoids a see-through effect.
After finishing the cockpit and the rocket motors, it was time to assemble the fuselage. Here things went horribly wrong, in a way I have never experienced before. Here's my reconstruction.

The fuselage halves did not align nicely. I solved it largely by reducing the chord of the vertical tail of the left fuselage half. At the same time I rounded the left leading edge of the rudder to make it identical to the right hand side. Then I started glueing the fuselage halves, using CA glue as a I always do, bonding it in pieces of about a centimeter. I worked my way forward over the spine, then did the lower fuselage joint, and finally the underside of the nose, that required some force. And only after finishing the gluing, I noted that I had severely twisted the fuselage; the tail stood some 5 to 10 degrees to the left side!! I guess this was the result of trying too hard to line up the panel lines on both the top and bottom sides. Luckily CA breaks clean, so I could try again. It took some force to make the fuselage align properly, but I managed. The lower fuselage joint required lots of reconstruction to look nice again. I do wonder whether the kit is partly to blame too, since the wing roots and the horizontal tail roots do not align accurately.
I had glued the wings and tailplanes to the fuselage before the second bonding step, to help aligning everything. I removed the instrument booms from the wing tips, cut a notch, and installed small tubes. These will accept new steel wire booms later. I glued a small piece of 0.1 mm card inboard of the flap, to reduce the gap there. The next problem was what to do with the wing roots moulded on the fuselage. These were quite some thicker than the wings. Was this done deliberately? I've read about a thick and a thin wing that could be fitted. I looked at every X-1 photo I had, but I just couldn't see it. Therefore I removed the stepped wing root with a sharp knive. The wings will require one more improvement: the massive 'bolt holes' need to be filled with primer.
The attachment of the tailplanes was not very good. There are steps to be filled, and the leading edges of the root and the tailplane do not agree. I used Milliput to restore it all. The tailplane's trailing edge is very thin, i.e. scale-like, but this also makes it very vulnerable. I damaged mine already.


Colors and markings

Yeager's X-1 had only few markings, and Tamiya appears to have covered all of them on their decal sheet. However, I did not like the serial numbers '6062'. The '0' was too fat, and the '2' slightly wrong. I scanned the decal sheet and drew new numbers over them using CorelDraw. The artwork isn't 100% finished yet. The stars and bars on the rear fuselage could be another problem. 6063 had stars and bars without a red stripe. I still haven't found a photo of a completely orange 6062 where you can see whether it has a red bar. Lastly, the 'Glamorous Glennis' decal should have a metallic border, but Tamiya didn't use metallic inks. Alps decals are no solution either, since any subsequent clear coat would remove the metallic effect. A few weeks after I received my Alps-printed serial numbers from Italy, I found out that Cutting Edge had just released an X-1 sheet in 1/72, 1/48 and 1/32, with corrected serial numbers. Grrr..


Return to models page