Italeri 1/72 X-32 Joint Strike Fighter


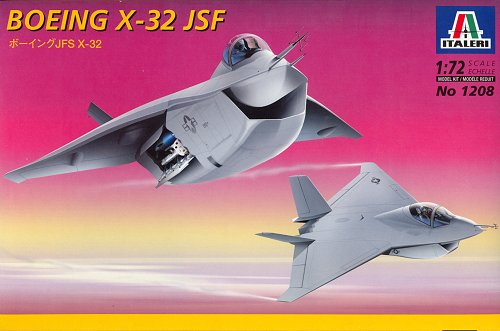
The reason for buying this model is somewhat unusual: I wanted to know how Boeing had managed to create such an ugly aircraft. The few photos published by Boeing at that time didn't give me a complete picture of the aircraft. I thought that buying the model would be of some help, so I bought it right after it was released in Europe. I decided beforehand to build it straight out of the box, since my interest was largely about the looks, not the details.

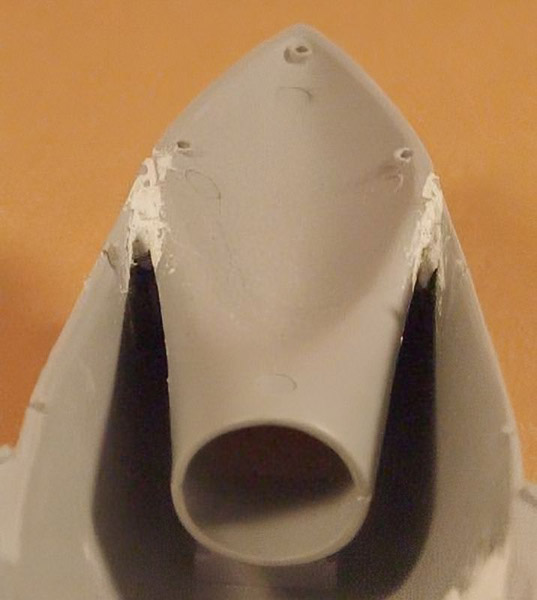
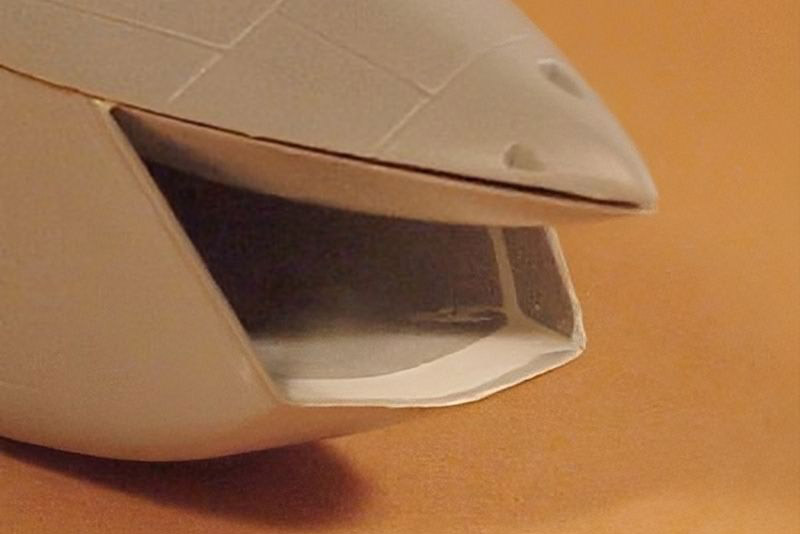
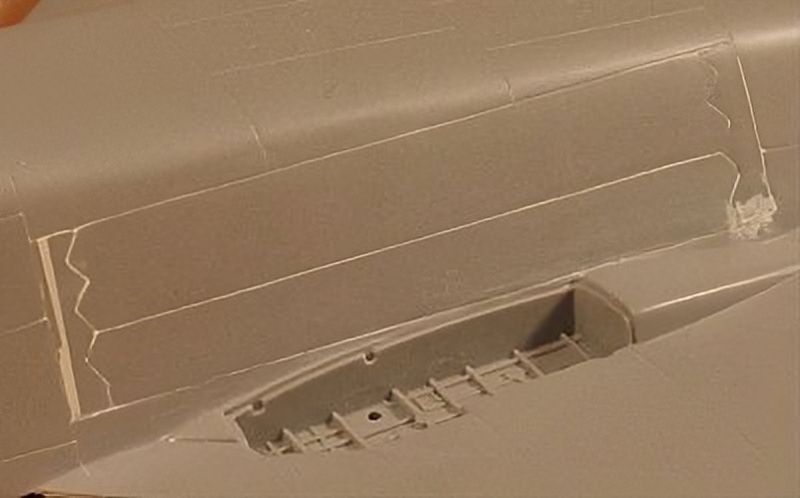
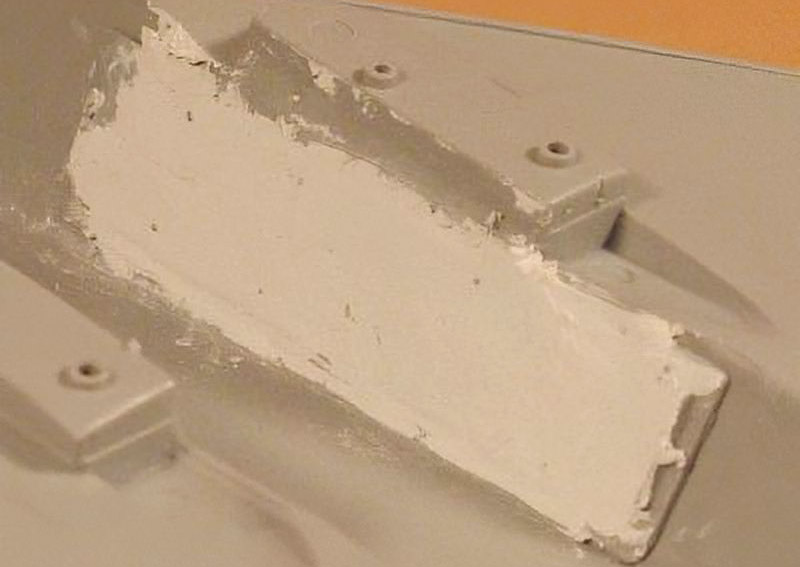
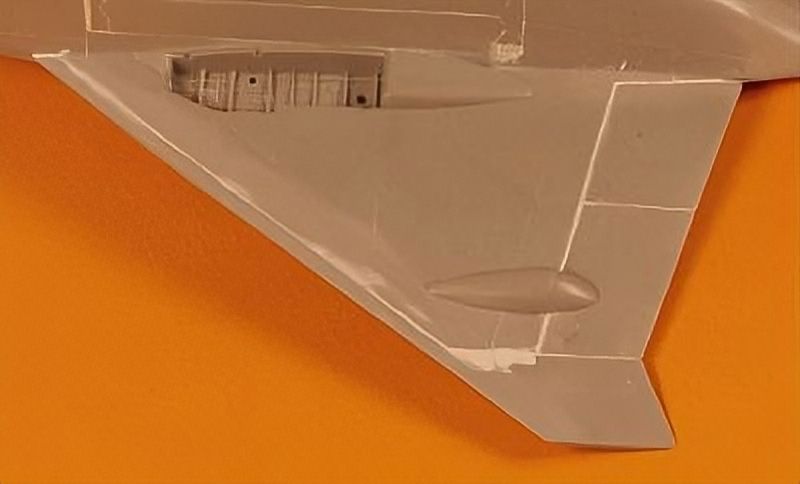
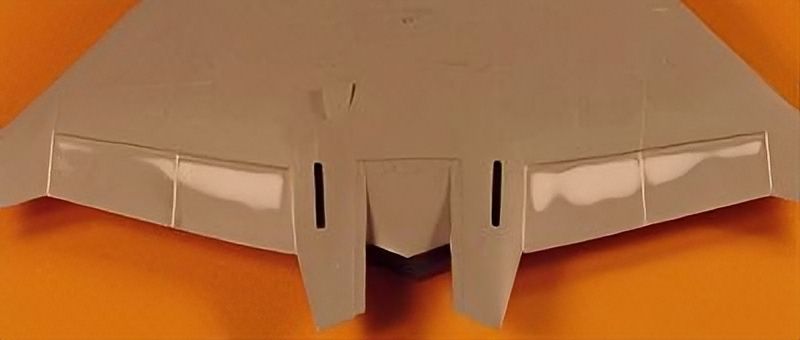
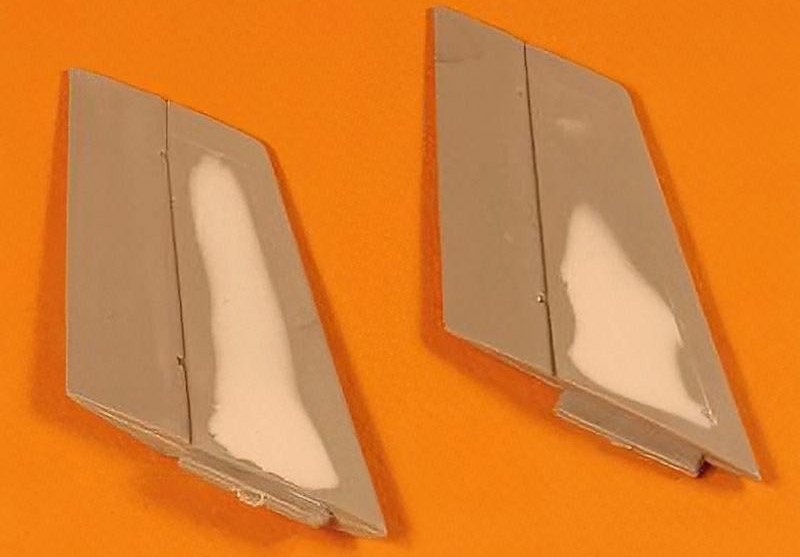
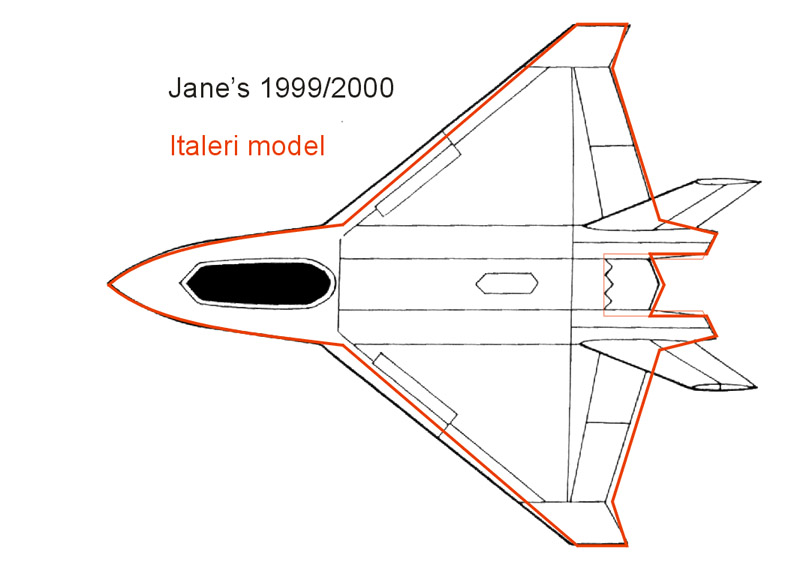
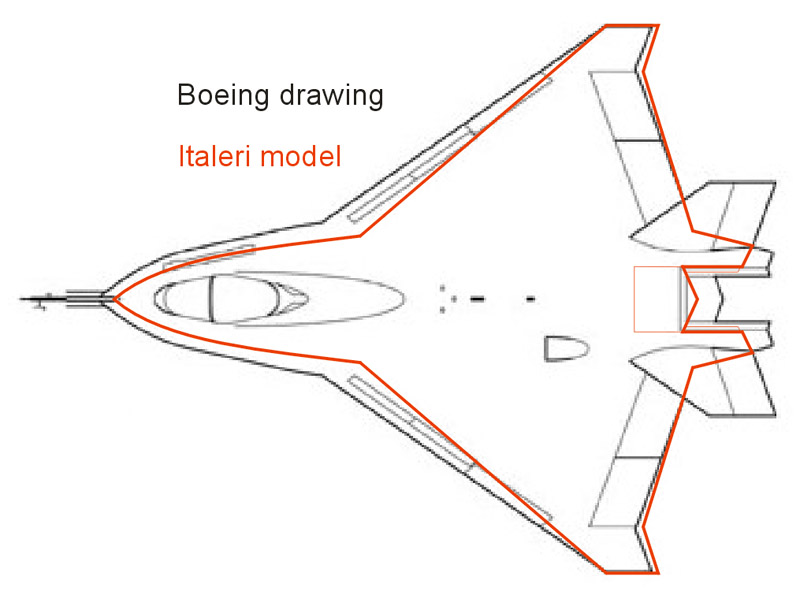
Quite soon after the model's release it became clear that it has grave errors, that will take a lot of modifications to make it more or less correct. After a through shape analysis (shown below), I understood what was wrong with this model. When I saw this, I stopped construction. However, I still like the real thing, and I hope to build a correct X-32 model one day.


Construction

First task was building the very exposed air inlet. Due to its complex duct shape it was moulded in two parts. Eliminating the seam inside the inlet was difficult, but not impossible. I used self-clamping tweezers to hold a strip of sandpaper, to smoothen the Milliput spread over the joint. This method worked nicely. The inlet duct diameter is probably far too small for the F119 engine, but I have't found the engine inlet diameter yet. The follow-up F135 is reported to have a 1168 mm diameter inlet (16.2 mm in 1/72 scale). The kit's duct is ~13.4 mm, which makes it 68% of the correct area.
After this joint looked good enough, I tried to fit it in the lower fuselage. This didn't work out. Either the inlet sat to high, or the lip in the lower fuselage was wrong, I still don't know. I fiddled, cut and sanded a lot until it seemed to fit properly. Still, the upper fuselage wouldn't fit properly with the inlet installed. The upper and lower radome parts stood a bit open like a bird's beak.
Nevertheless I glued the inlet in the lower fuselage, and added a lot of Milliput inside the inlet lip, to achieve a smooth transition. This turned out quite nicely. I later airbrushed the duct and it was seamless.
Next job was the bomb bay. I decided to build it closed, since I was not interested in the bomb bay details. I started building it from the rear, working to the front. The parts are slightly too short, because I had a gap at the front that needed filling with Milliput. I also used Milliput to partly fill the panel lines, so they would look similar to the other panel lines.
The bomb bay doors are quite flexible, and therefore I decided to reinforce the area with Milliput on the inside. It looks pretty ugly, but it will not be visible after assembly.
After installing the cockpit tub, the upper and lower fuselage parts could be assembled. This was no easy job, since they fitted rather badly. The lower fuselage was narrower than the upper fuselage, possibly due to warping, since other modellers didn't report problems. I had to glue the front fuselage centimeter by centimeter with CA glue, and lots of bending, pulling and pushing was involved to achieve a good fit. The lower wing insert created some deep panel lines, that were filled with more Milliput. A lot of Milliput was needed to fill the gap between the insert and the control surfaces, since the upper and lower wing parts didn't even touch there. Lastly I also put some Milliput in the gaps between the control surfaces, because I found them too deep.
The upper side of the wing control surfaces showed shallow dents due to shrinkage. I used Milliput to fill them, and used it also to fill in the too-deep gaps between the control surfaces.
Even more shrinkage was found on the tail surfaces. More Milliput, and more sanding!

In the mean time I've researched the technical backgrounds of both the X-32 and X-35 aircraft. It made me understand the reasons for the X-32's ugliness, and it made me appreciate the novel and innovative engineering by Boeing. The X-32's configuration was a unique solution to the JSF requirements, and in many ways much smarter than the Lockheed-Martin configuration. I take my hat off to the Boeing designers!


Shape analysis

I was fascinated to know how Italeri got the shape so wrong. Eventually I found the answer in 'Jane's all the world's aircraft', 1999-2000 issue. The plan view outline and the awkward fin shape are almost identical to that of the model, and therefore I'm quite sure this drawing was the basis for the model. This does not get Italeri off the hook however: the real aircraft was rolled out in December 1999, and the model came out in November 2000, so Italeri could have used better information.
Boeing released a drawing some time later, and I overlaid it with my contour drawing of the Italeri model. It clearly shows how far off the shape is. When I saw this, I stopped construction. However, I still like the real thing, and I hope to build a correct X-32 model one day.


Die-cast alternative

Chinese manufacturer Yat Ming produces a 'Flying Warbird / Air Signature' series, and issued a X-32 diecast in 1/72 scale with catalog number 99138. It is not (or no longer) listed on their site, probably because it is out of production. It is offered by the regular die cast suppliers and sometimes on Ebay.


Modeling links


Return to models page