Revell 1/144 YF-23A
| My second model is a Revell 1/144 YF-23A. Nearly all models that I'm working on are in 1/72, but I bought this 1/144 scale model to make a desk model from it. |
| My second model is a Revell 1/144 YF-23A. Nearly all models that I'm working on are in 1/72, but I bought this 1/144 scale model to make a desk model from it. |
| Revell issued the model in 1994, and to me it looks like a downscaled version of the nice 1/72 Italeri model that was issued in 1991. To my eyes the shape looks pretty accurate. The box contains some 25 parts and a small decal sheet. | 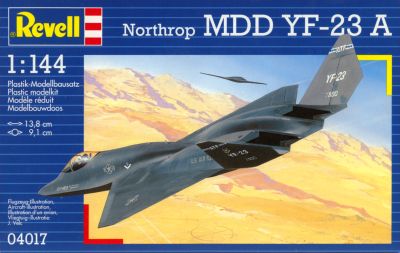
|
| Construction went reasonably smooth. The kit only consists of a few parts, and most connections are located on the lower side. The photo shows Tamiya putty used to smooth the connections. Vaguely visible is a strip of thin plastic card sandwiched between the fuselage halves at the rear. This was necessary to ensure a good fit. The photo also shows the (white) mounting insert, laminated from thick plastic card around the pole I was going to use (taken from a Tamiya X-1 kit). It was roughly glued in position, and then secured and smoothed with Milliput. | 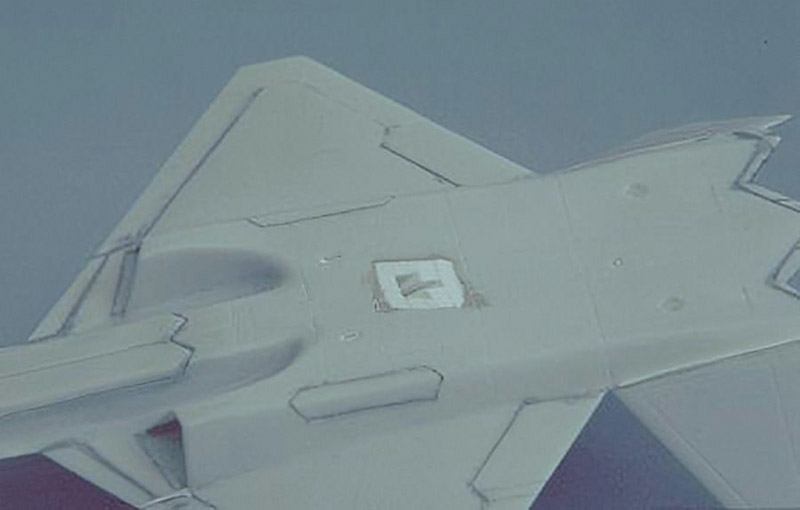
|
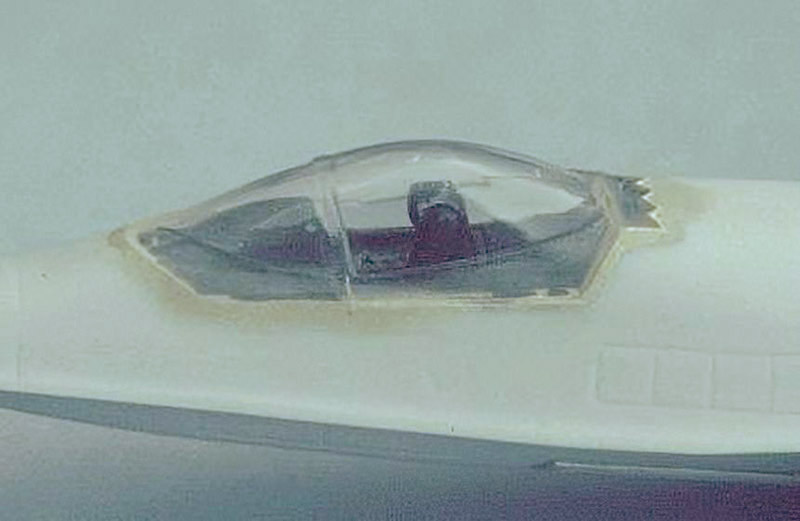
| The cockpit interior was modified a little. I moved the seat forward, and added a flat deck behind the seat. Still, the seat should be positioned higher. The fit of the canopy was not perfect, and I increased the problem by unsubtle attempts to improve the fit. In the end everything was smoothened with Milliput. |
| The exhaust ducts were too short: between the turbine faces and the nicely detailed exhaust duct ends, there is an open area, allowing a view inside the fuselage. I extended the ducts forward, and improved their fit to the lower fuselage. After that they were painted in a mixture of gun metal, black and brown. | 
|
| The canted tails required some extra attention, because of their small bonding area. I made a simple alignment jig from cardboard, shown here, then tacked the tails in place with drops of plastic glue. After some drying I flowed super glue in the remaining gaps, which gave a very strong bond. After masking the exhaust and the canopy, the model was ready for airbrushing. |
| I modelled the first prototype, which was painted in FS 36118 overall. I did not use a scale color for this model, and I'm happy with that choice.
The decal sheet provides only two decals for the serial number, whereas the real one has four (on all sides of the tails). I was 'fortunate' enough to have a misprinted decal sheet (most white decals were double-printed with a small shift), so I ordered a new sheet through Revell's excellent replacement parts service. This gave me four usable serial number decals. But I now had two rather different sheets: the original sheet was printed in Germany, on a white background, and the replacement sheet was printed in Italy, with a light blue background. The German decals were printed rather 'fat', while the Italian decals were printed very thin. I always perform tests on the decals before I apply them to the model. And it was a very good thing that I did this, because the decals were very difficult to apply. They silvered incredibly even on the smoothest surfaces. It is difficult to capture in scanning, but the test sample shown here shows the experimenting. Decal 1 was applied on a polished area, using Super Set and Sol. Initially it looked perfect, but it started to silver after five minutes, and finally the whole decal had silvered (difficult to see, but believe me). Decal 2 was applied with Set only, decal 3 using no 'juices' at all. They both silvered like decal 1. Decal 4 was applied with a small drop of Future underneath the decal, but the decal still silvered partially. Decal 5 was soaked, the decal glue was rubbed off, and then it was applied with Future underneath. This decal did not silver at all, and finally I had a way to apply the decals. After a coat of semi-gloss clear (Humbrol 135) they are nearly perfect. | 
|

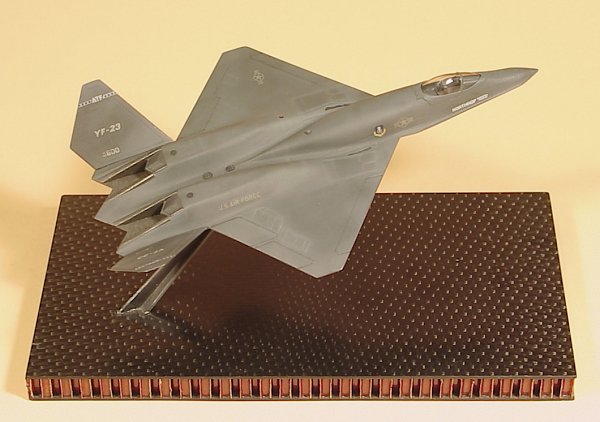
| Photographs of the real aircraft showed a heavy weathering of the paint. After studying many photographs, I started to weather the model with pastels. The first attempt went very wrong when I applied a semi-gloss coat over the pastels. It caused large color shifts of the pastels, and the intensity of the pastels was reduced some 50-70 percent. Only after performing a test I knew which pastels to use, and how much. The second attempt gave me very satisfying results. The subtle weathering hardly shows in the digital photographs, but I think the realistic 'busy' appearance is visible.
I mounted the model on a piece of carbon fibre sandwich, as an example of the composite materials used in the real aircraft. The stand comes from a Tamiya 1/72 X-1 kit. I really like the result: the aircraft's shape is always interesting to study, and it looks quite realistic for such a small model. Apart of the difficult decals, I think this is an excellent little model by Revell. |
I was more than happy with the end result of my second serious model. I can't stop looking at the lines of this futuristic fighter! I also learned how important the painting and weathering is for the overall appearance of a model. After a year or so I noted that having an aircraft in a flying attitude without a pilot is not very realistic, and I definitely would add one if I was to build this model again. I entered the model in the Dutch IPMS Nationals 2000, where it received a first place in 1/144 category.