I was already working on-and-off for years on my first BD-5J model when the opportunity arose to take a look at Juan Jimenez's BD-5J N3038V during a visit to Puerto Rico. I decided to quickly build a 1/72 replica for him. It took me three weekends to put it together, an absolute record time for me! But then again I knew the ins and outs of the model. The links below will guide you to my other BD-5J pages.
| |||
1/72 BD-5J under construction | 1/72 BD-5J N3038V finished | BD-5J census | BD-5A/B factory engines |
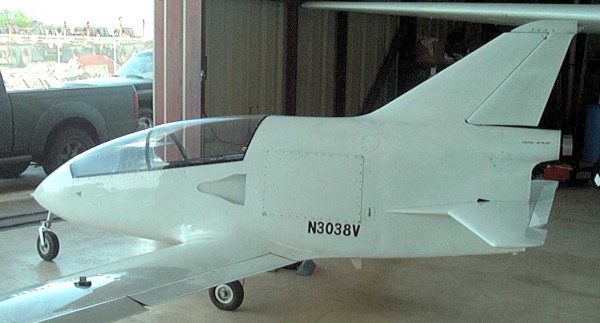
First a photo of the real thing. If I remember correctly, Juan bought the aircraft (unflown) from Australia. The original builder had substituted the original Bede-typical tubular spar construction with a classic front spar / rear spar construction. In this regard it is a unique BD-5. Many more details can be seen at Juan Jimenez's BD-5J N3038V web site. (Photo by Juan Jimenez) |
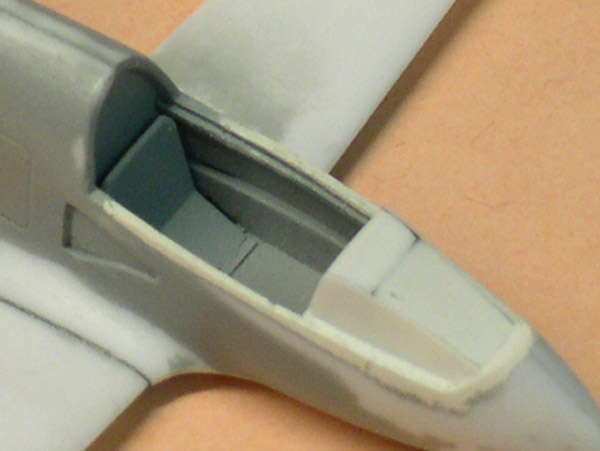
As usual, construction started with the cockpit. Using the photos from Juan's site, I made tiny side consoles and top longerons from strip, and a seat from card. The photo also shows the NACA ducts that I modified considerably to represent those seen on N3038V. |
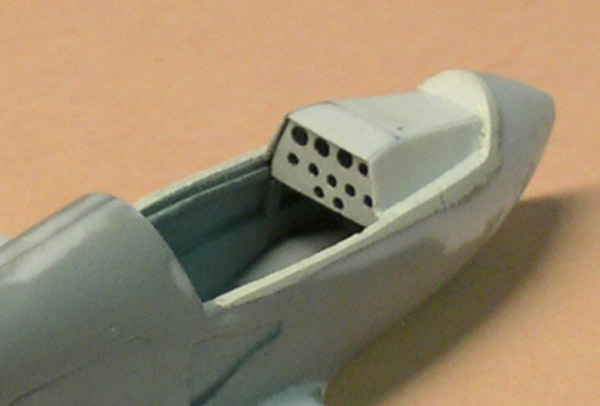
A new instrument panel was made from thin card with suitably sized instrument openings, glued on a black piece of plastic. The instrument panel was moved some 1.5-2 mm towards the pilot compared to the kit's instrument panel. A coaming was then built around the new panel. |
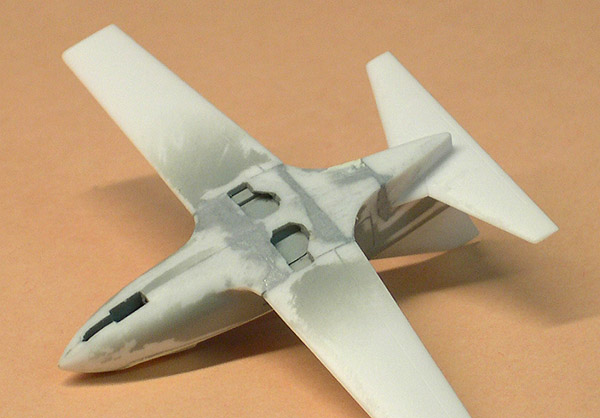
Before assembly of the fuselage halves I cut open the nose gear well, and added sides made from card. The very shallow main gear wells were cut out, scraped thinner from the back side, and a new wheel well was created using strip and card. The model was then assembled using super glue. As you can see, the wing-fuselage joint required quite some putty. Halfway during assembly and sanding the model was given a partial coat of gray paint to check build quality. |
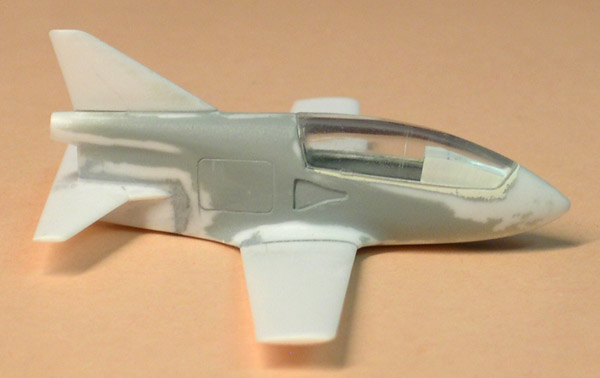
In this side view you can see the putty applied to the fuselage to rear-fuselage-plus-stabilizer part. The canopy had its own problems. Apparently the mold was damaged since LS made it, and the ARII canopy looks quite horrible, with a pimple and many scratches. I cleaned it up using a Micro Mesh sanding set and Tamiya polish. The canopy also had flash, and it wouldn't fit in the fuselage opening. I probably sanded it too vigorously, and had to use Milliput to make it fit properly again. Due to the 'feathering' of the Milliput the repair looks larger than it is. Update: this unintended canopy modification turns out to be an improvement. I compared the model's outline with the real thing, and the canopy is too big. |
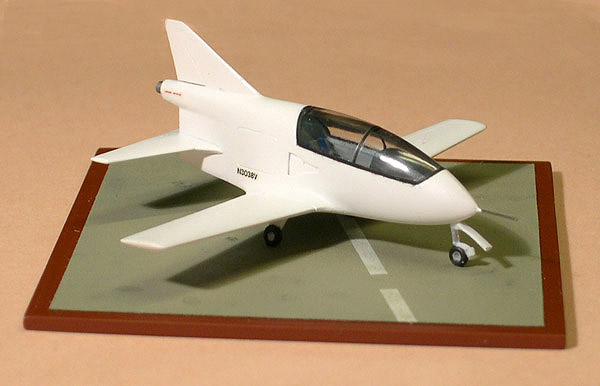
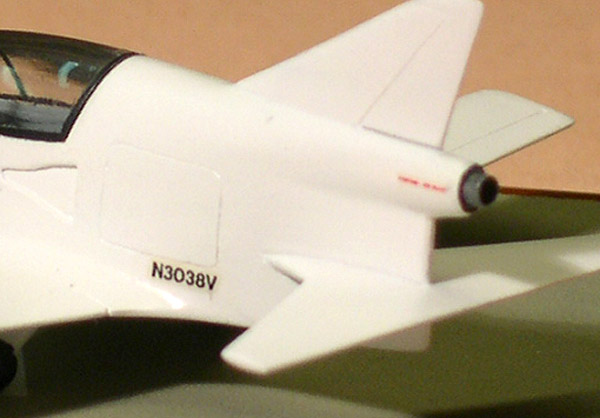
Fast forward to photos of the finished model. The model was painted with Revell 301 satin white. A lot of small defects surfaced, and they were eliminated with sanding and puttying. A second layer of white showed a much improved result. Custom-made 'N3038V' and 'Caution - jet blast' decals (printed on an OKI-5000 by fellow IPMS-NL member Maarten Schönfeld) were then added. An engine exhaust was made from cigarette paper and super glue, and pushed into the pre-drilled tail cone (see also the top photo). Unfortunately I did not have time to add the thrust reverser. |
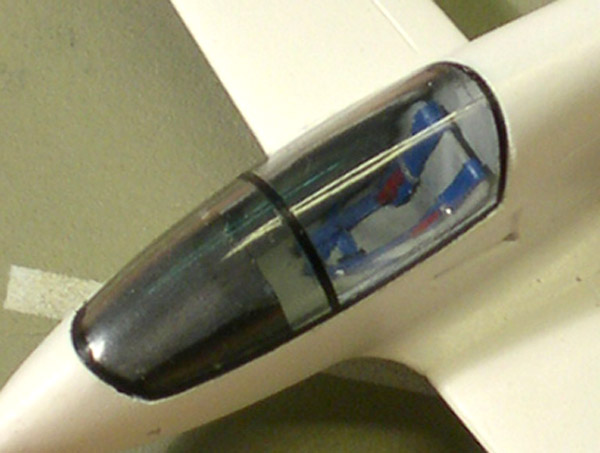
The seat belts were made from thick aluminum foil in various widths. They were painted blue with some parts left aluminum color and the tightening straps painted red. Not visible: a stick handgrip from an Me 163B was added to the right side console. The canopy was masked with Cheap Chocolate Foil and the frames were painted satin black. |
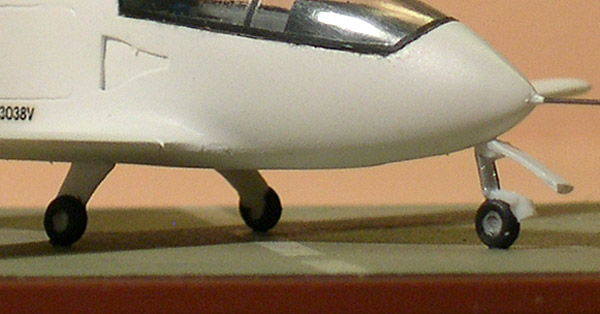
The landing gear was attached with tiny drops of super glue. After checking that the model stood level, more super glue was added to fix the legs in place. I had drilled tiny holes in the wheels, so I could mount the model on a base later. The landing gear doors presented a problem, since photos of N3038V show various configurations. I decided to add the front NLG door only. I didn't know how long the pitot tube was on the real aircraft, so I had to guess. Its mounting was painting white. |
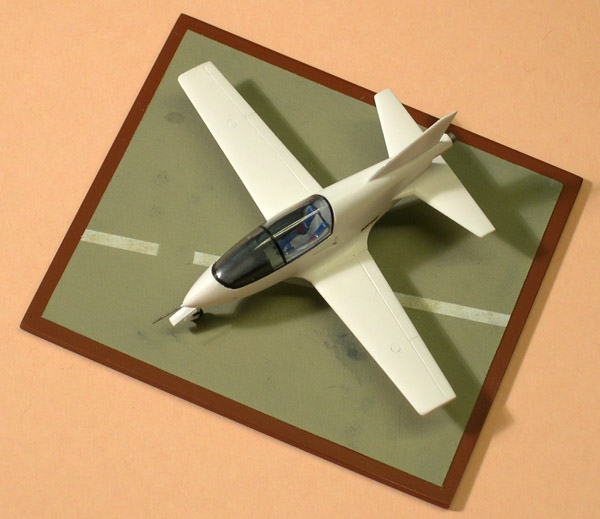
I built a simple base from a piece of 2 mm plastic card painted brown, with a piece of sandpaper simulating a concrete apron. 0.3 mm holes were drilled in the base plate to accept tiny pieces of 0.3 mm wire, that fitted in the drilled wheels, to hold the model in place. |
Ready! I had to take some shortcuts while building this model, but the result is still very nice. I hope the new owner will enjoy it!